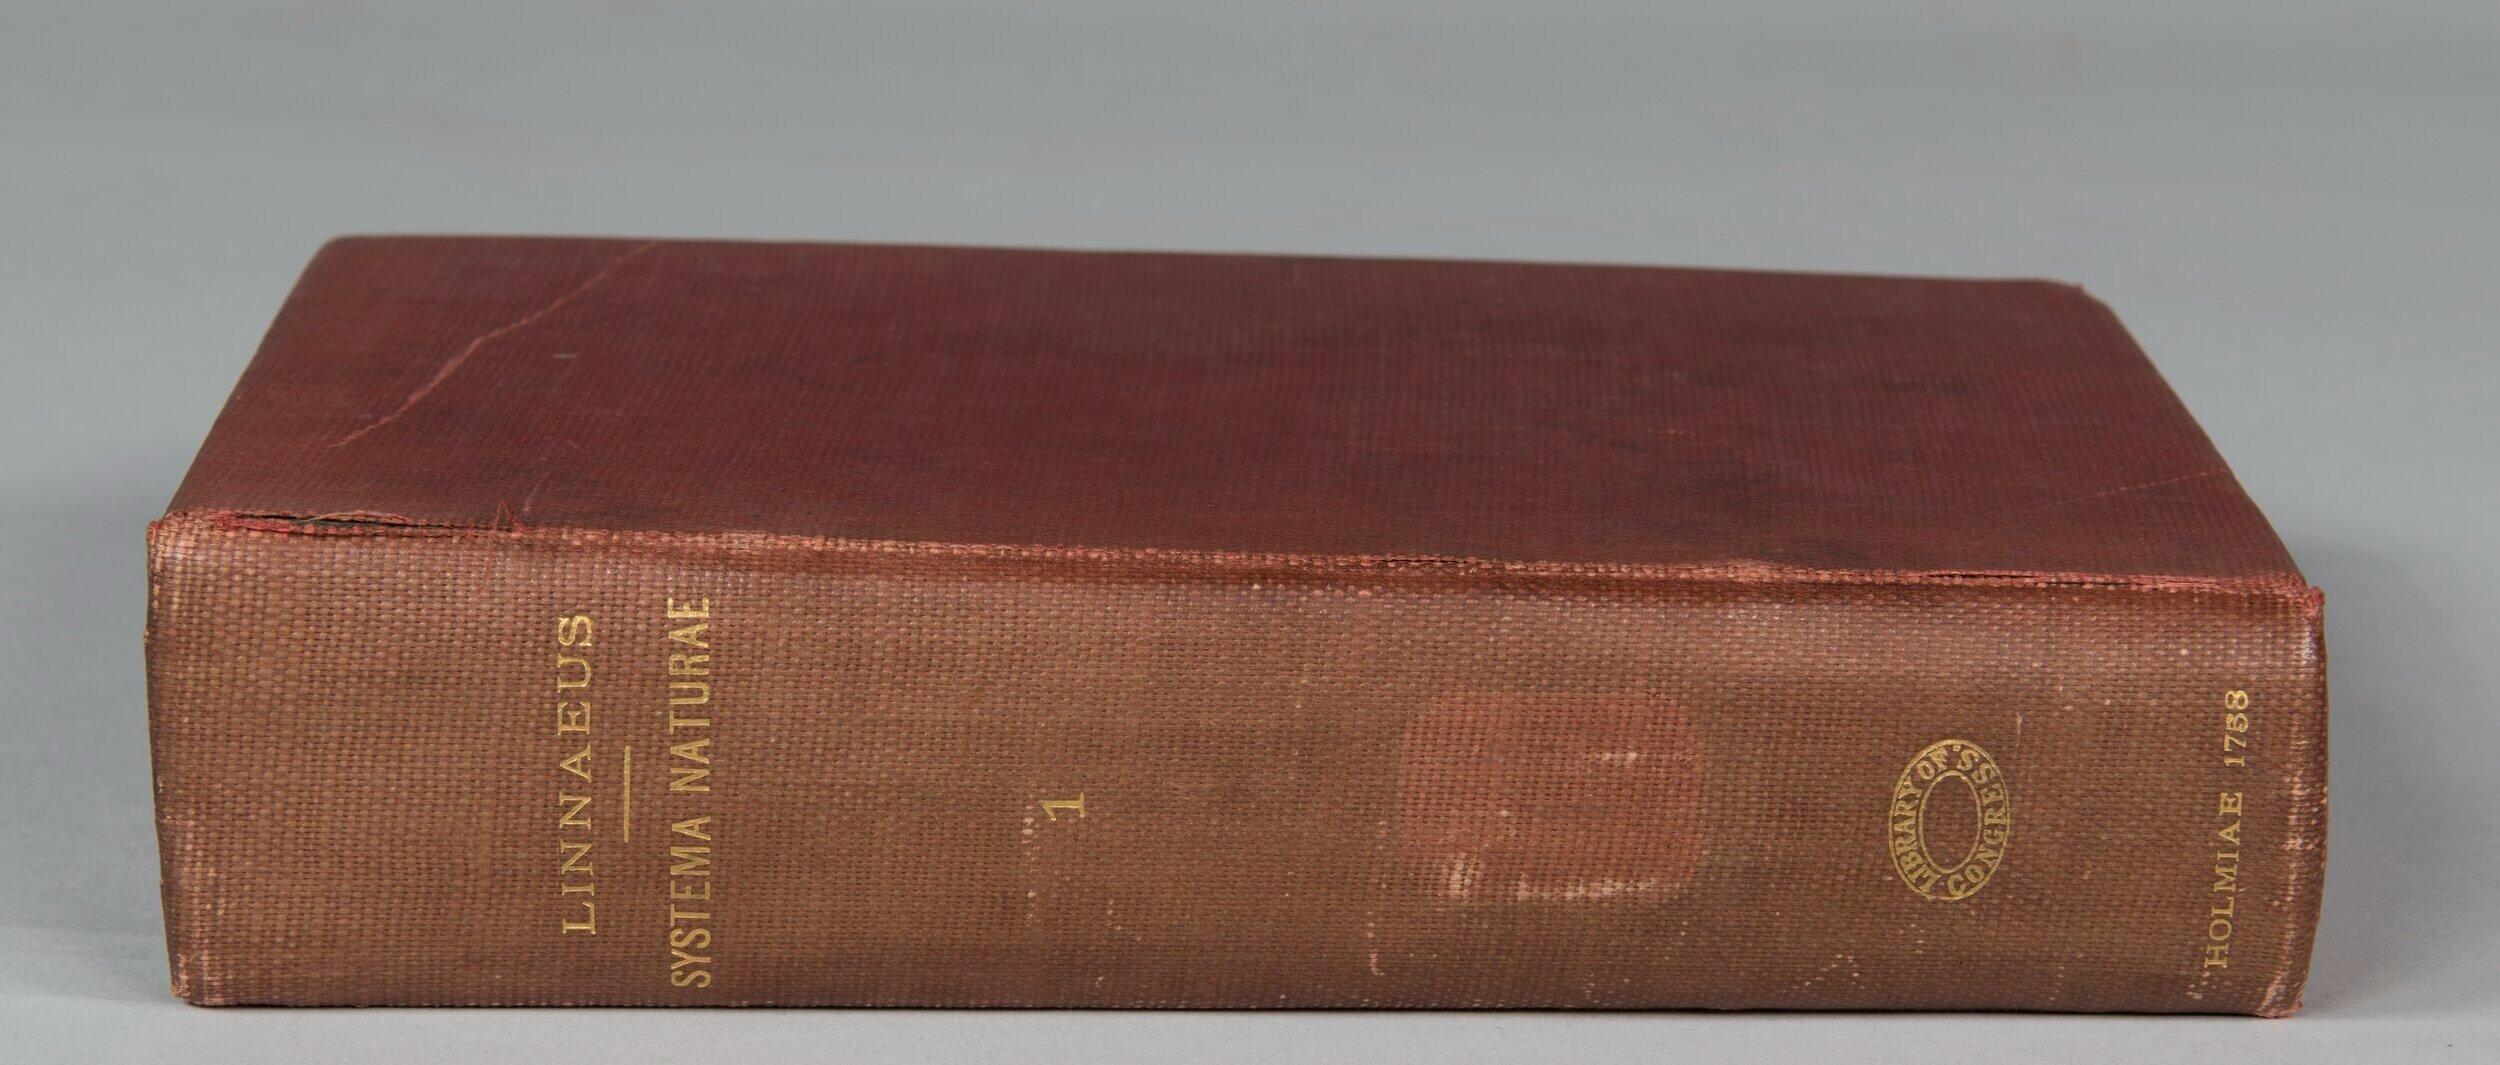

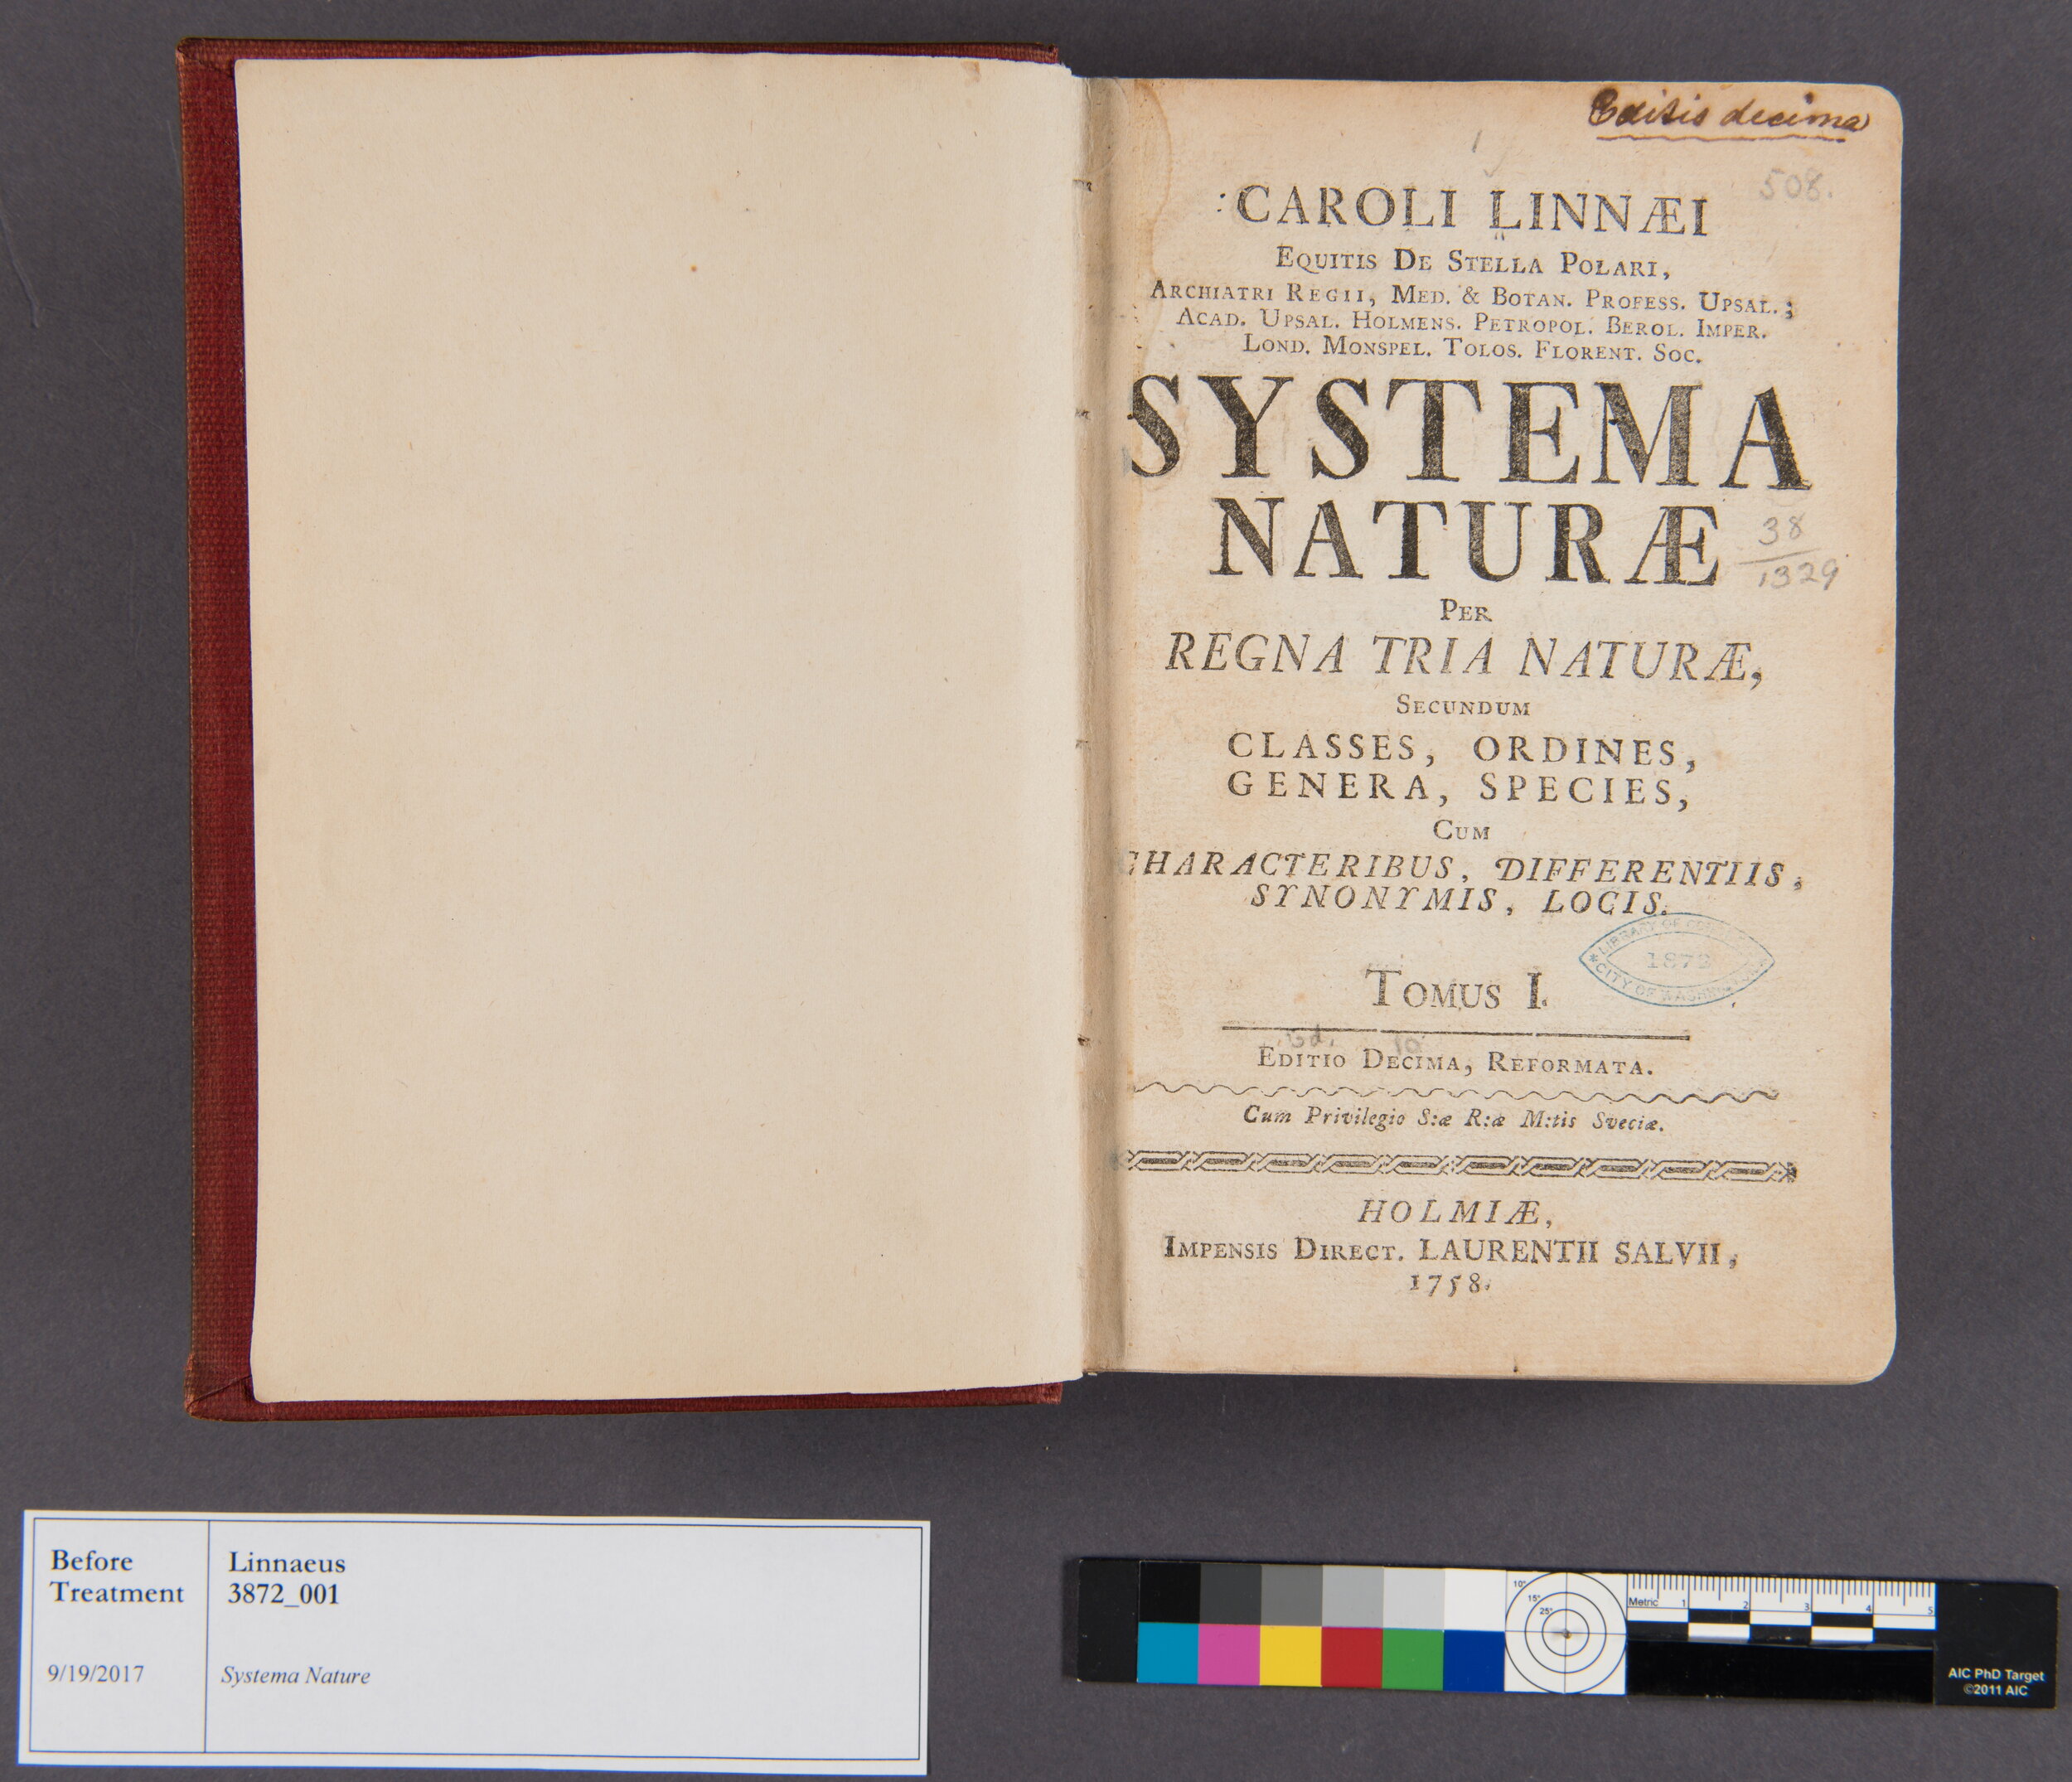
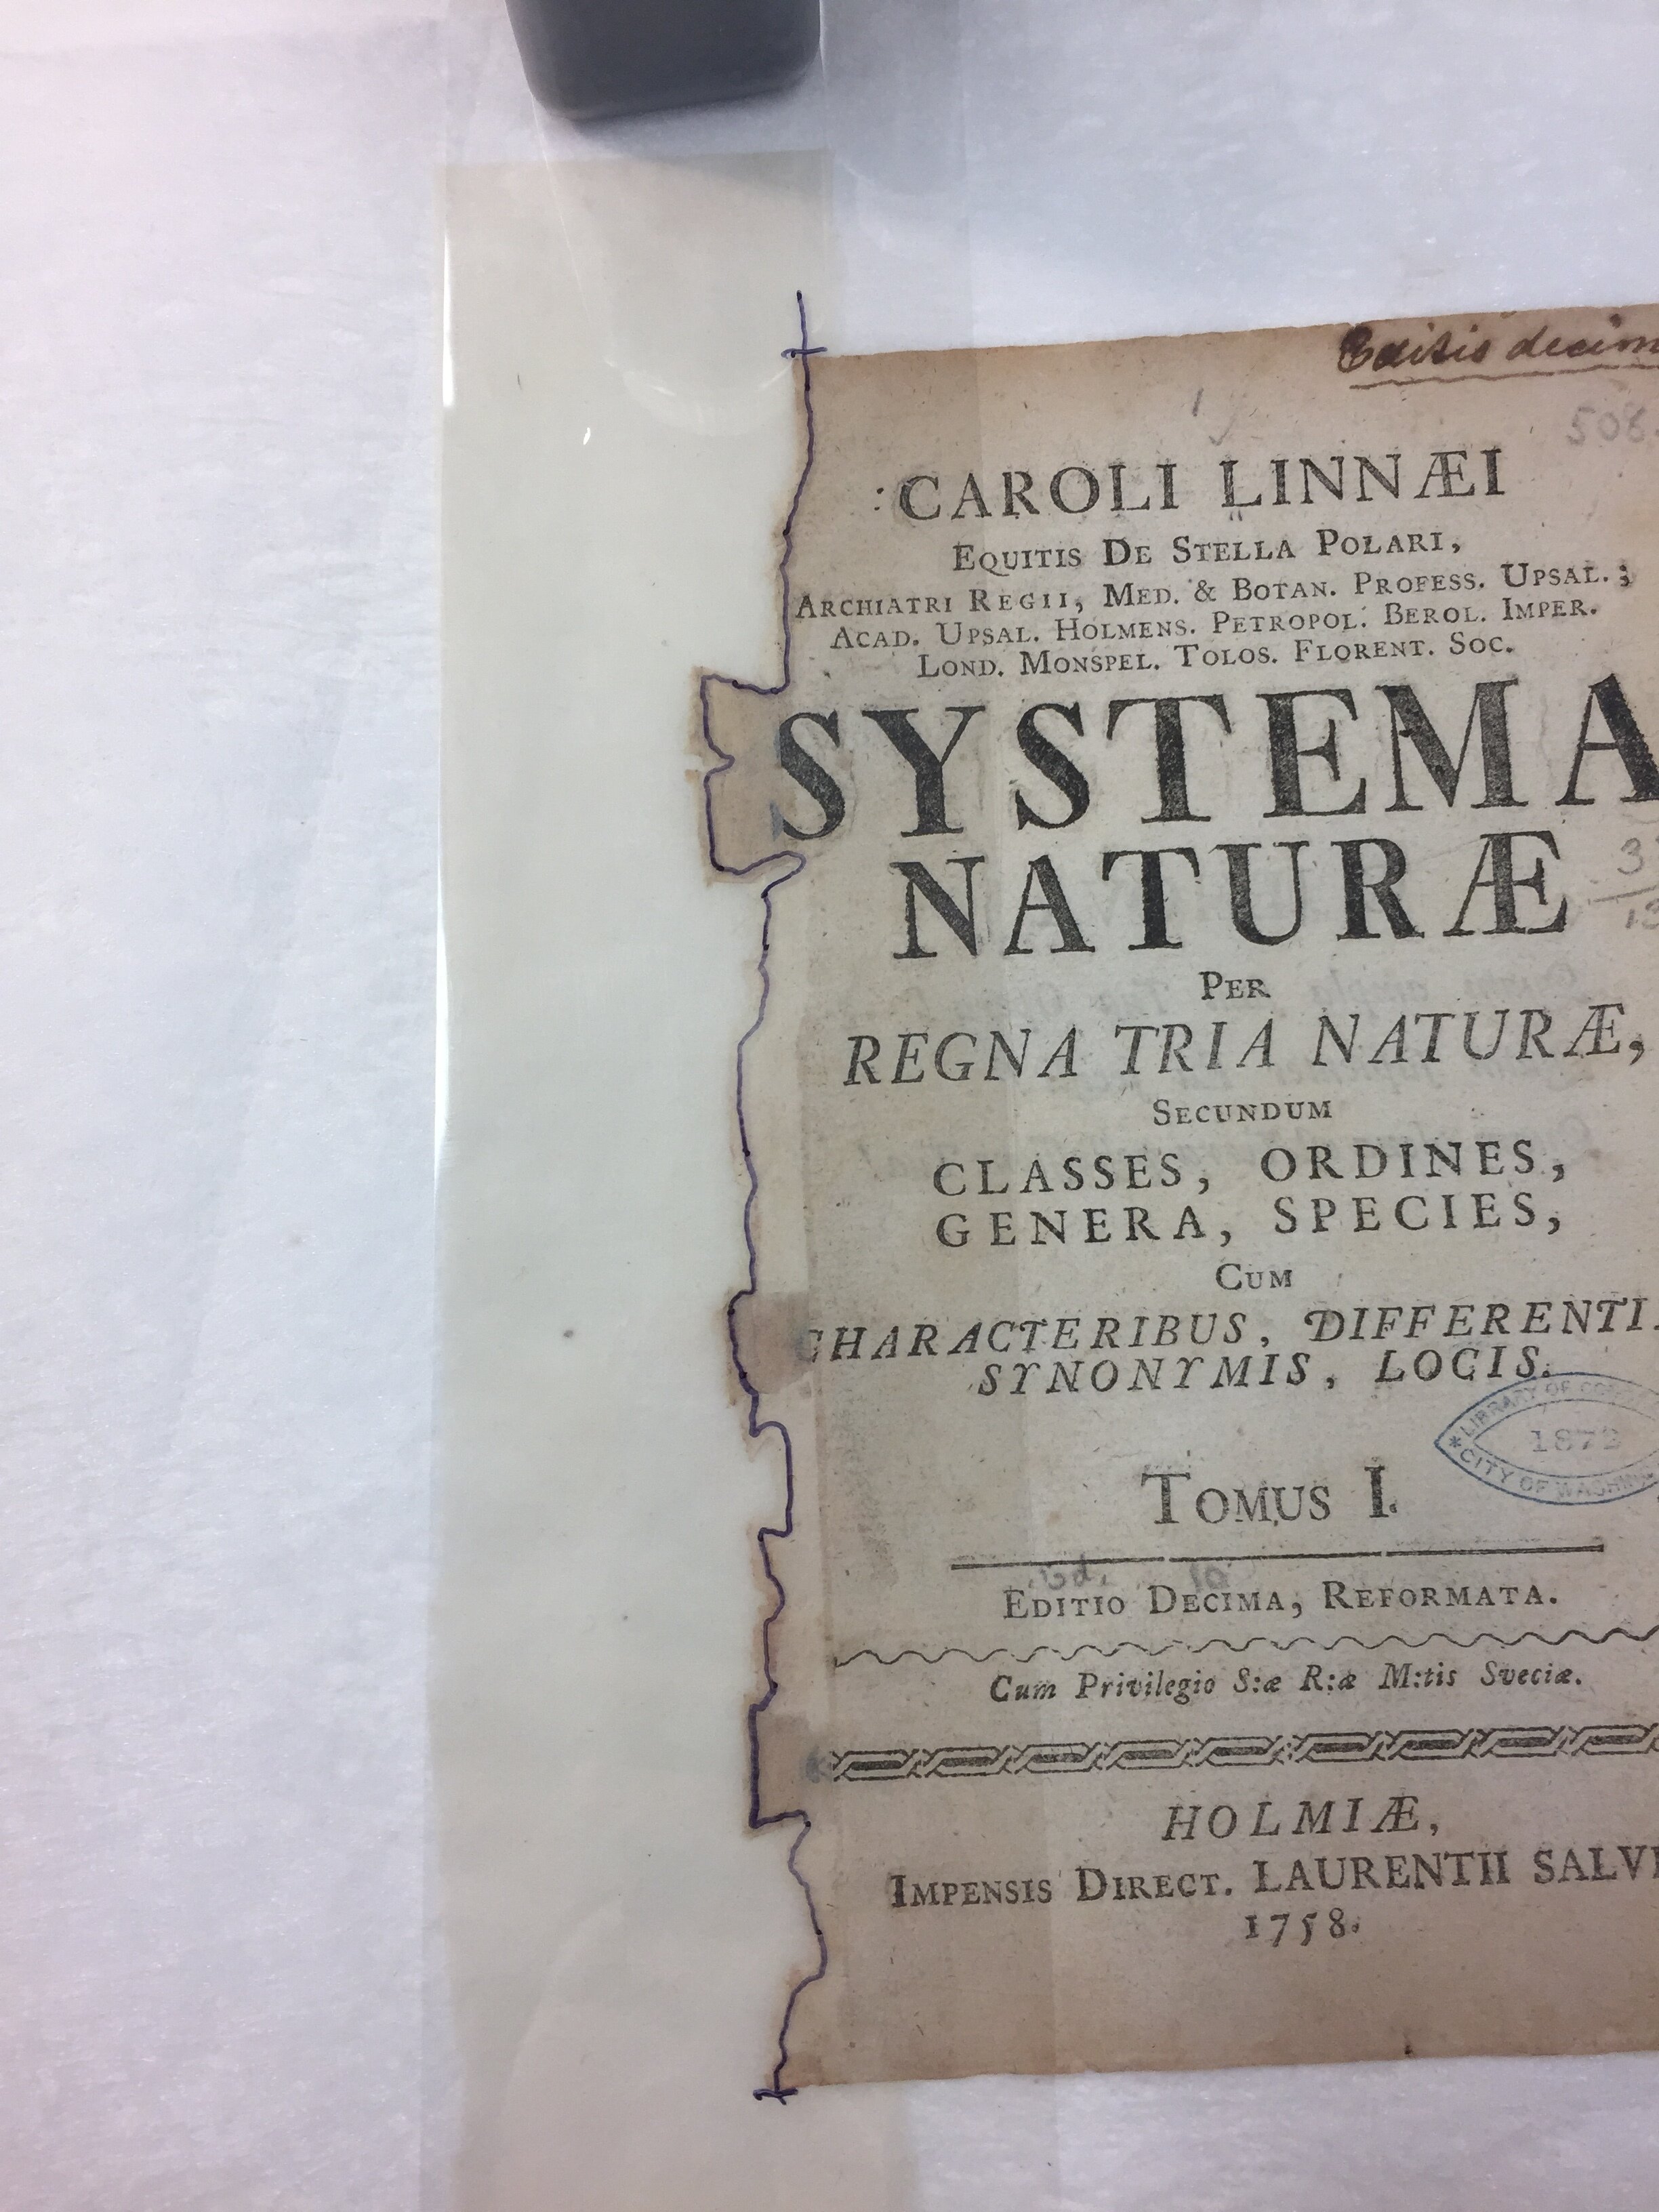
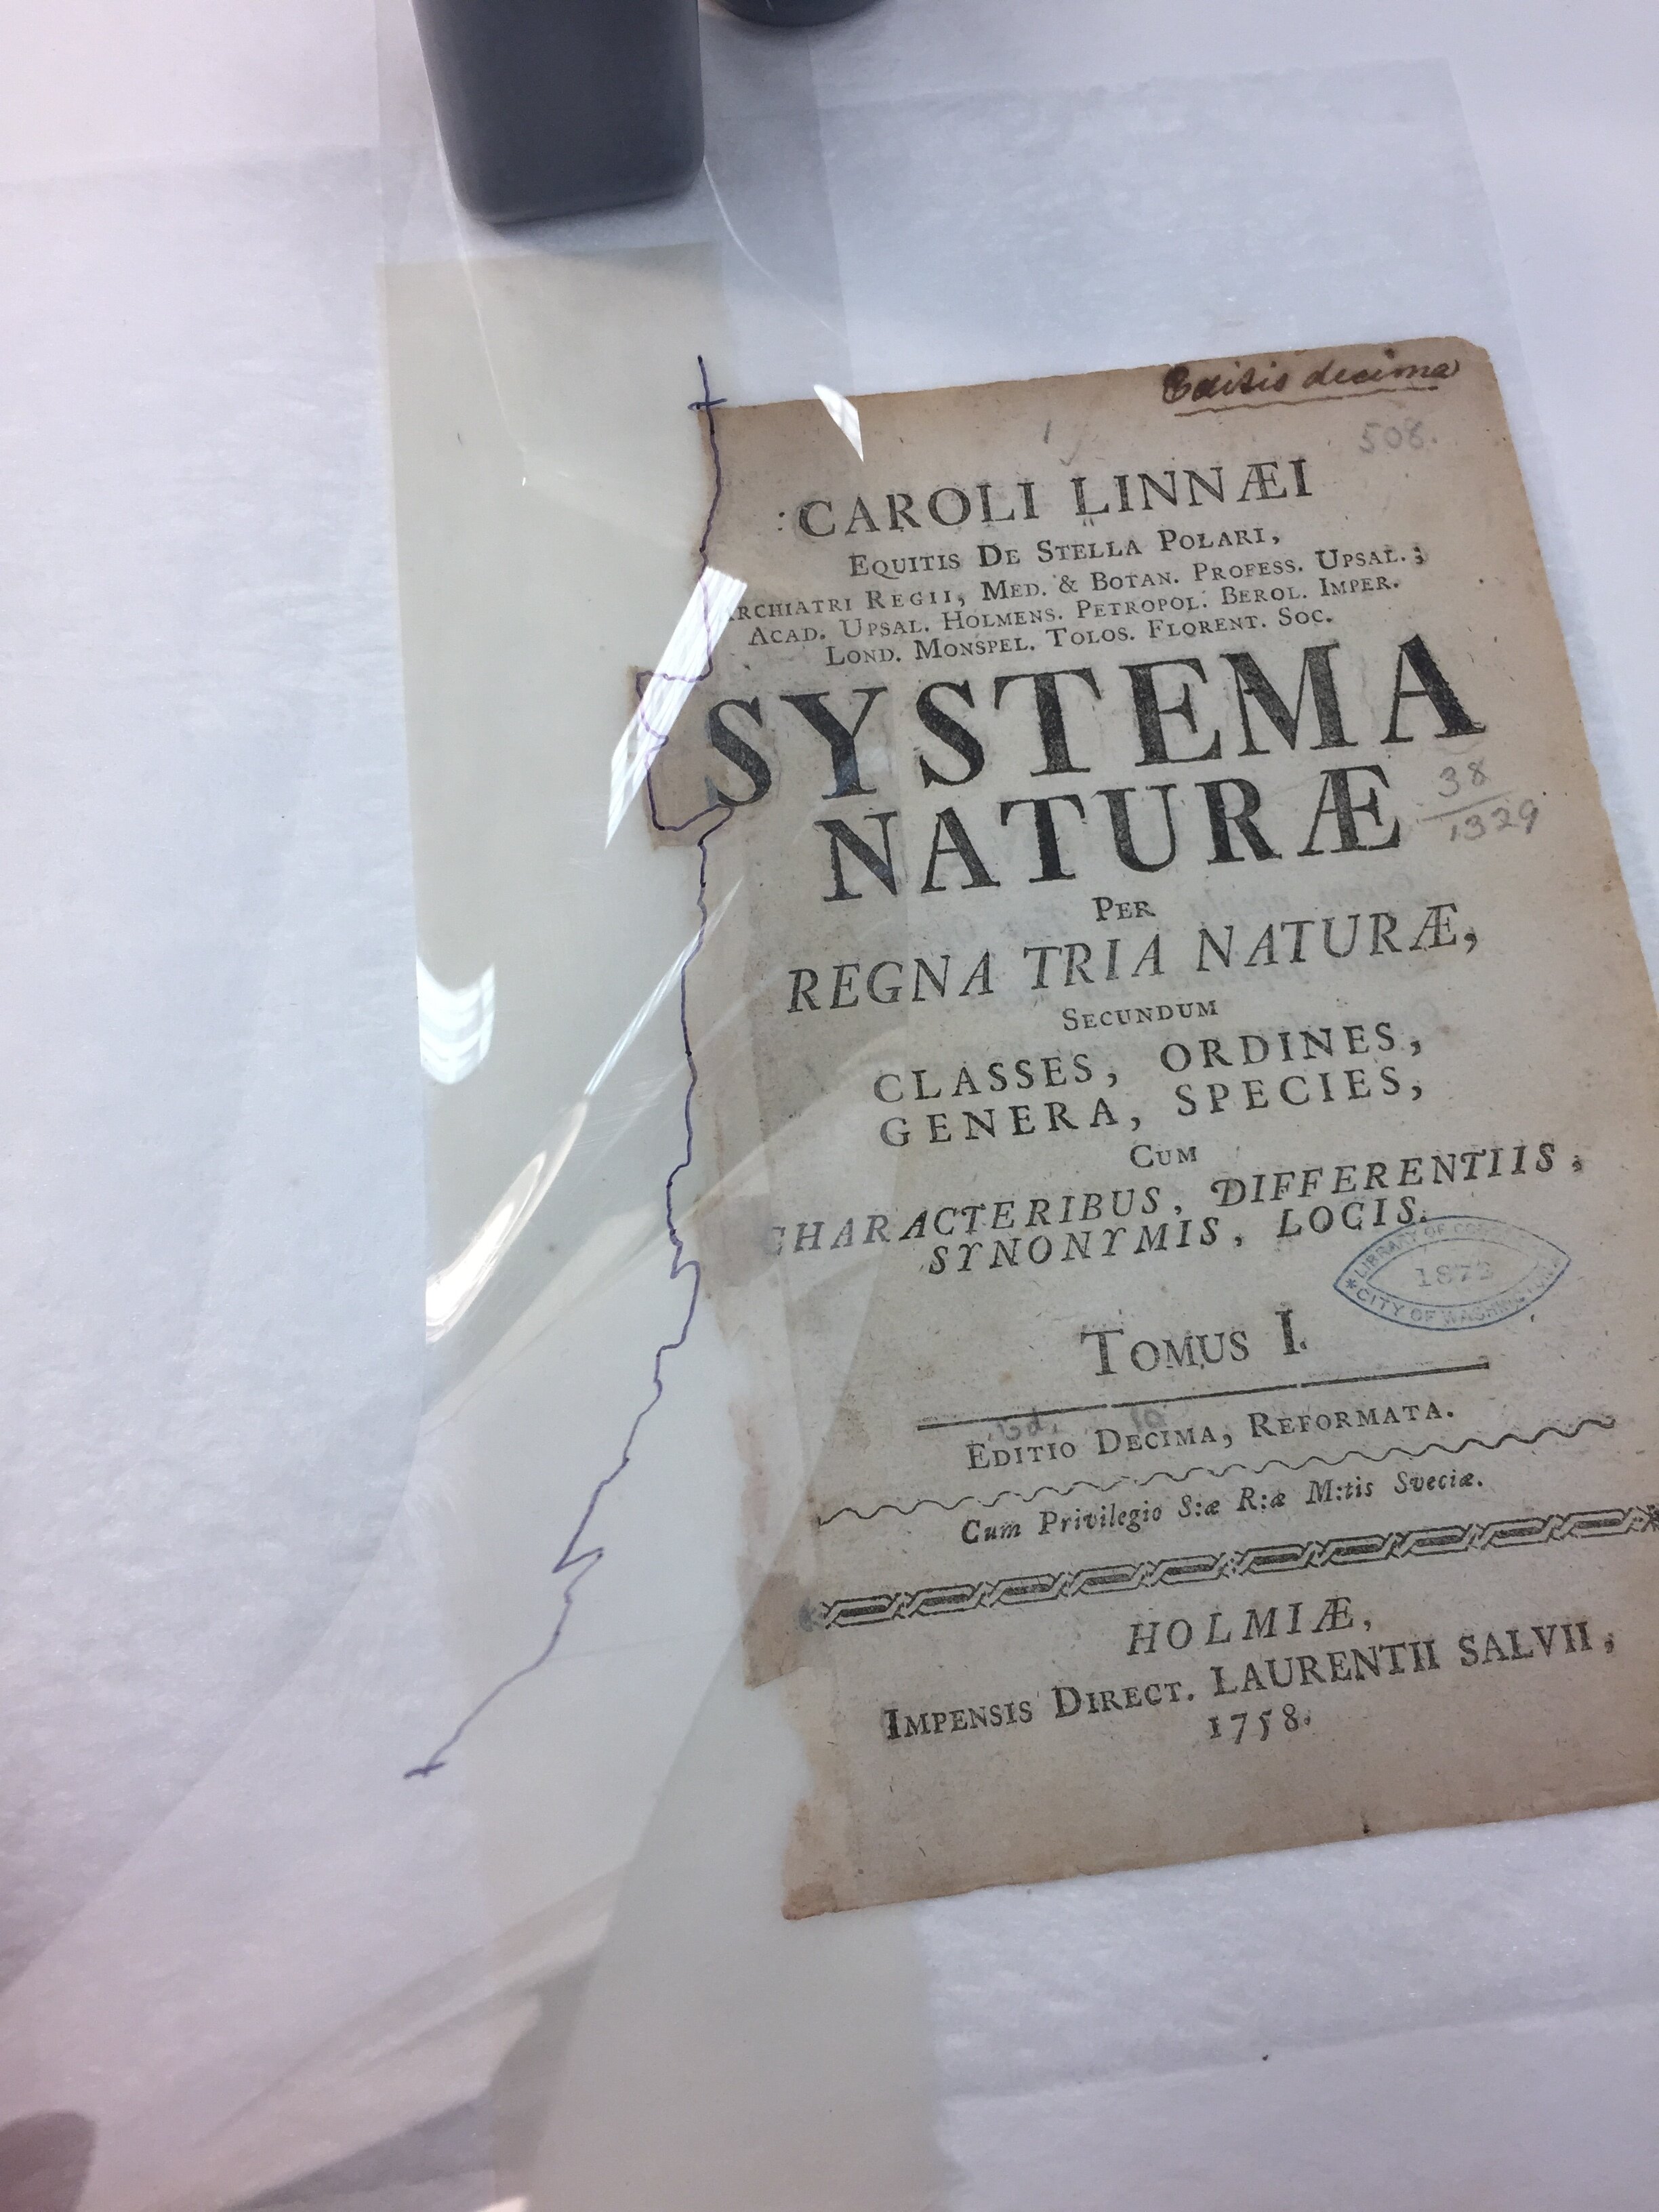
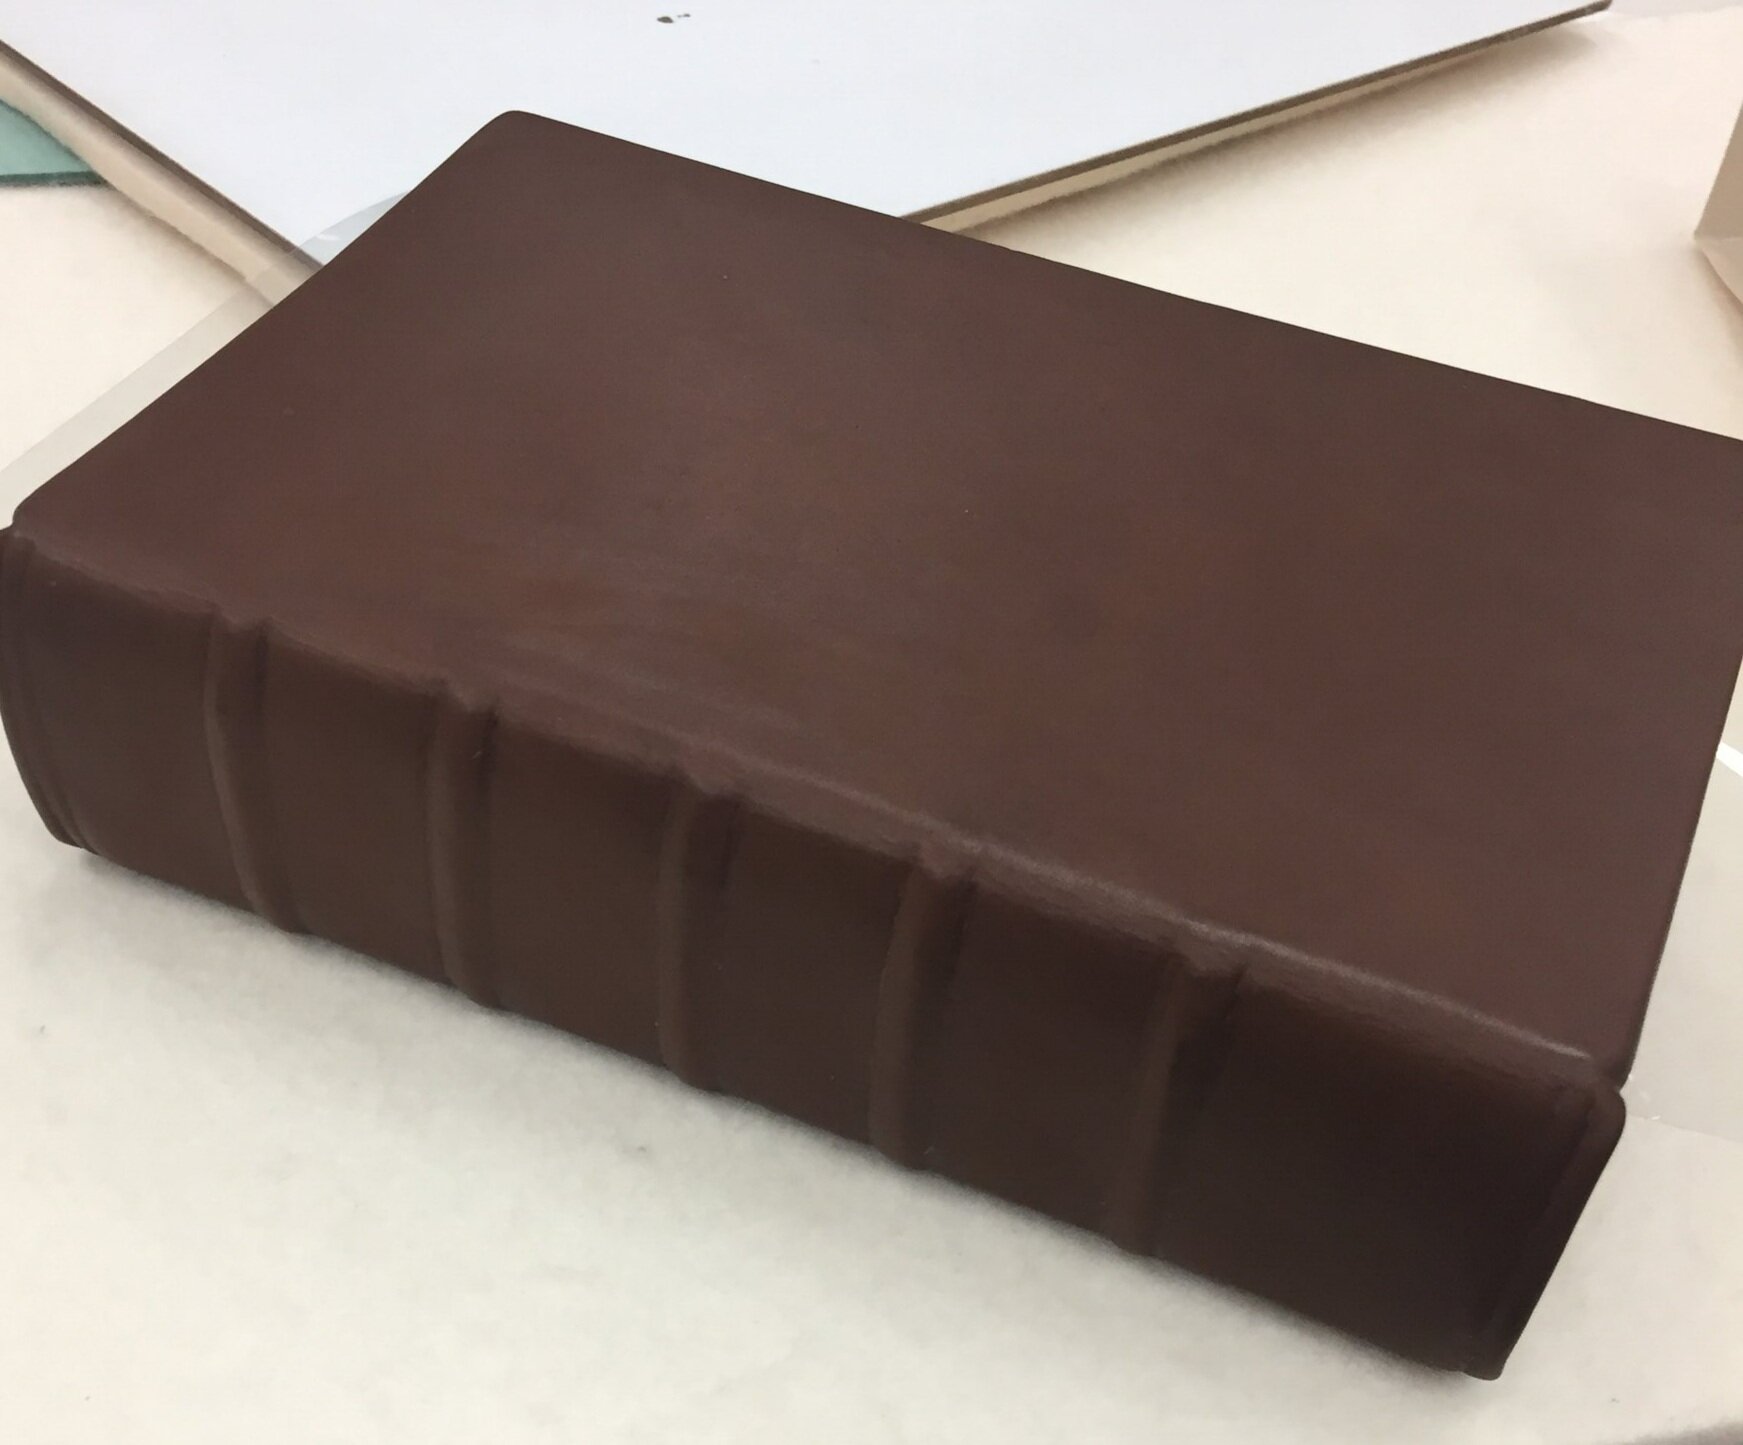
I thought I would talk about a really fun treatment that I did while interning with the Library of Congress in 2017-18. This was an awesome project because it involved a full rebinding of this book. It was originally printed and bound in 1758, but nothing remained of the original binding as it had been rebound by the Government Printing Office (GPO) in first half of the 20th century in cloth library binding.
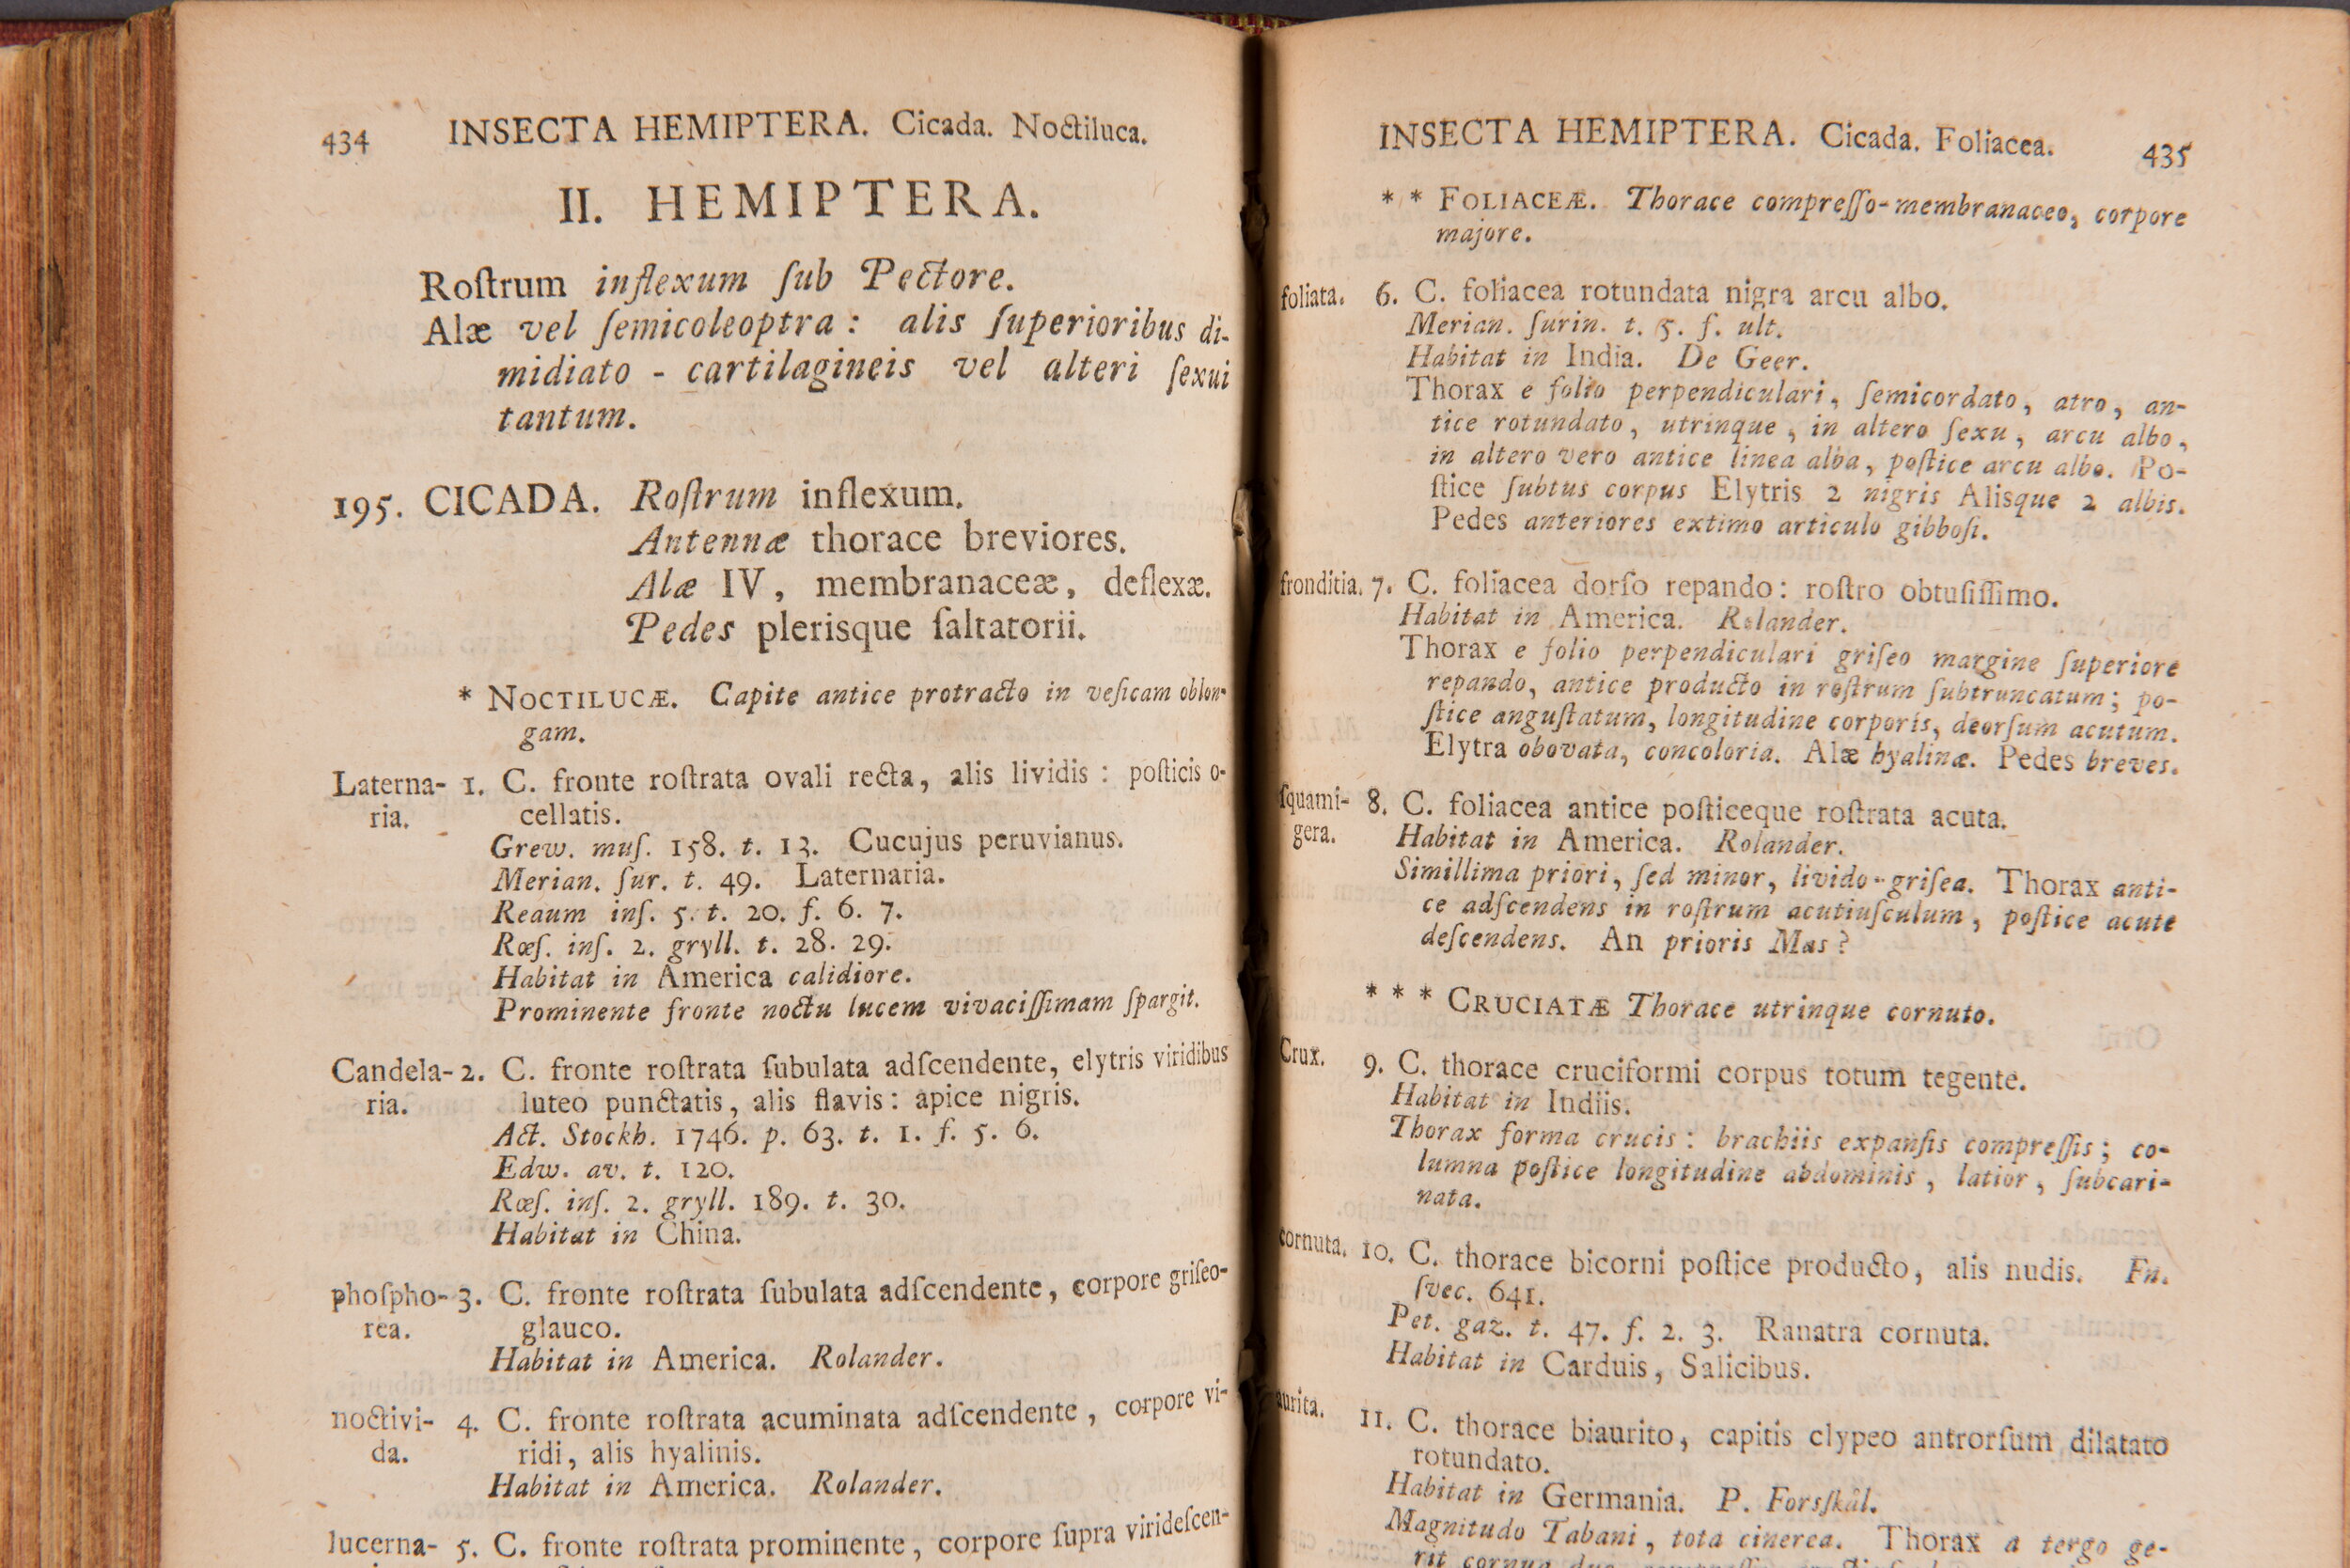
The main goal of the treatment was to prepare the book for digitization, which requires the book to be safely opened wide enough for the camera to image the full page. Unfortunately the current GPO binding utilized oversewing. Basically, the sections of the book block were not sewn through the fold but rather up to a cm in from the fold. This resulted in the book being difficult to open and hard to read because some of the printed areas were pulled into the gutter and obscured by the sewing.

The plan of treatment was to disbind the book into individual sections, and clean/repair the textblock so that digitization could be done prior to rebinding. Treatment began in October of 2017 when I cut the textblock out of the GPO covers and began the painstaking process of disbinding and removing the sewing from every section. Once the sections were separate, testing was done on all the media to make sure there was no soluable media. 40 of the 52 sections were deemed safe for a conditioned water bath. These sections were interleaved with non-woven polyester sheeting and submerged in a deionized water bath conditioned with calcium hydroxide to a pH of 8.0. The sheets were fully submerged for 15 minutes or until the water was significantly discolored from dirt and degradation product. The sections were then moved to a fresh bath with the same conditioned water, and the process repeated until 5 consecutive baths had been completed. The sections were then removed from the bath, air dried for 30 minutes on a drying rack, and then placed between felts and under weight to dry flat. The felts were changed out after the first 24 hours.

11 of the 12 remaining unwashed sections were found to contain moisture-sensitive media and so their baths were modified to contain a 50/50 mix of ethanol and conditioned deionized water. The washing proceeded just as mentioned above with the exception of the 5th and final wash being done with a 25/75 ethanol/water mix to try to flush out as much degradation product as we could without risking the media. These sections were then pulled from the bath, air dried, and placed in the felt stack with the rest of the sections.
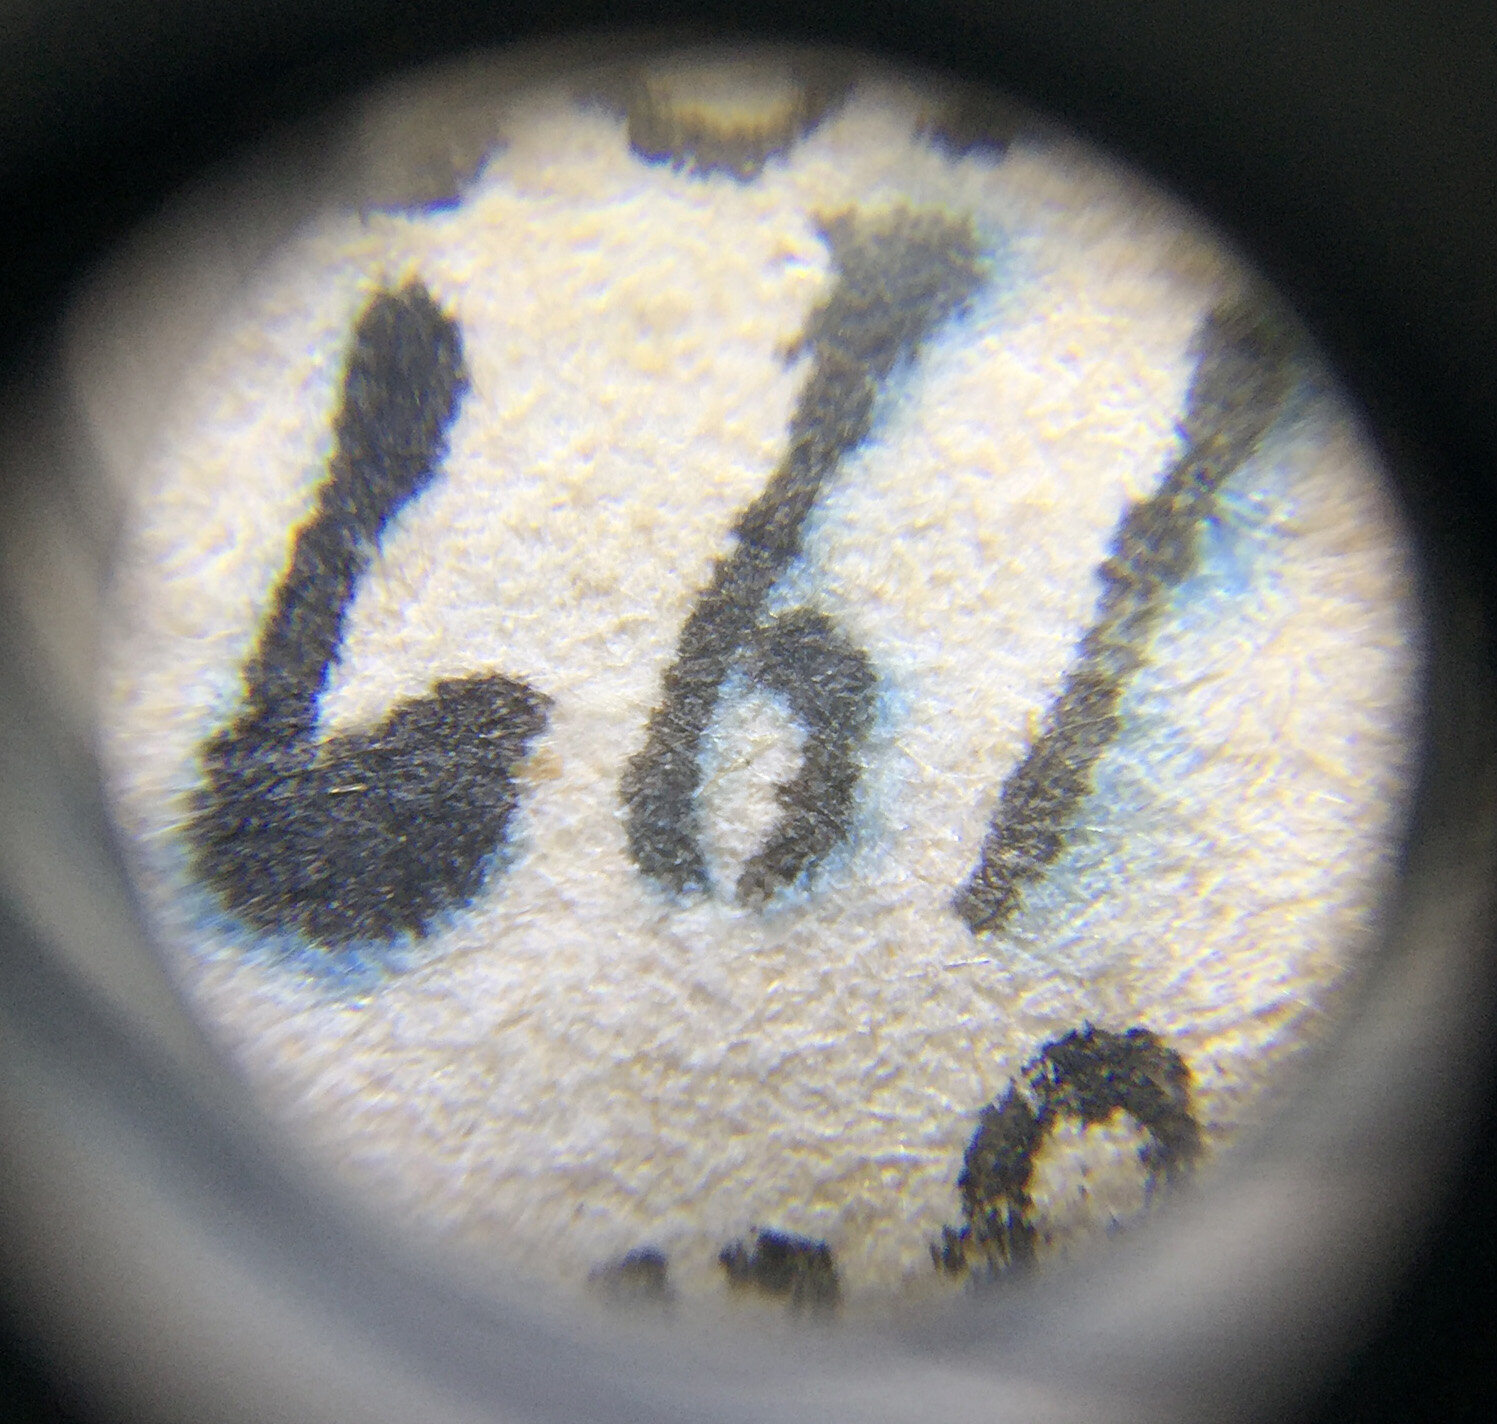
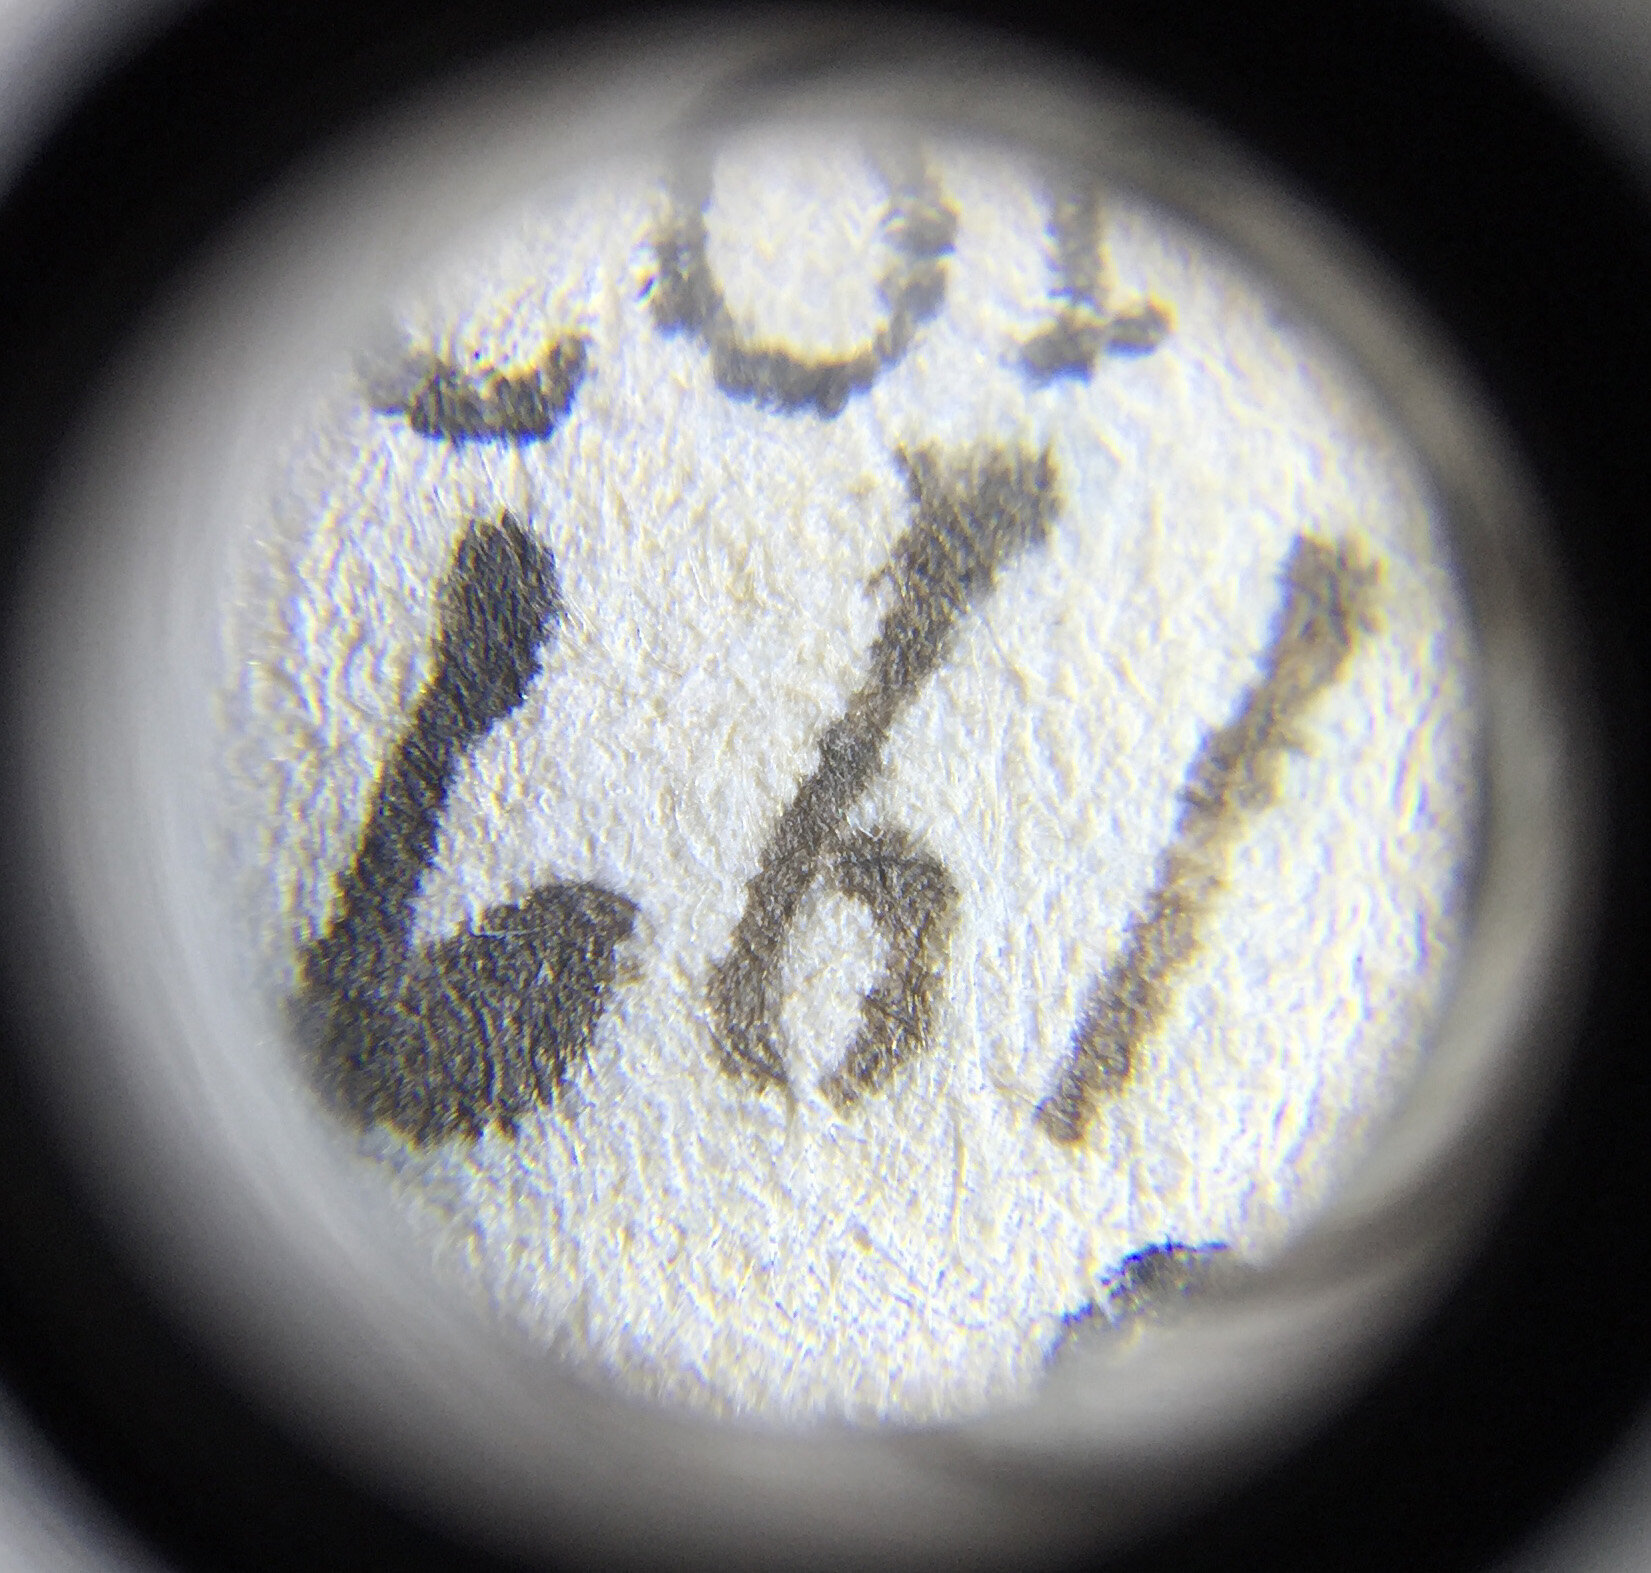
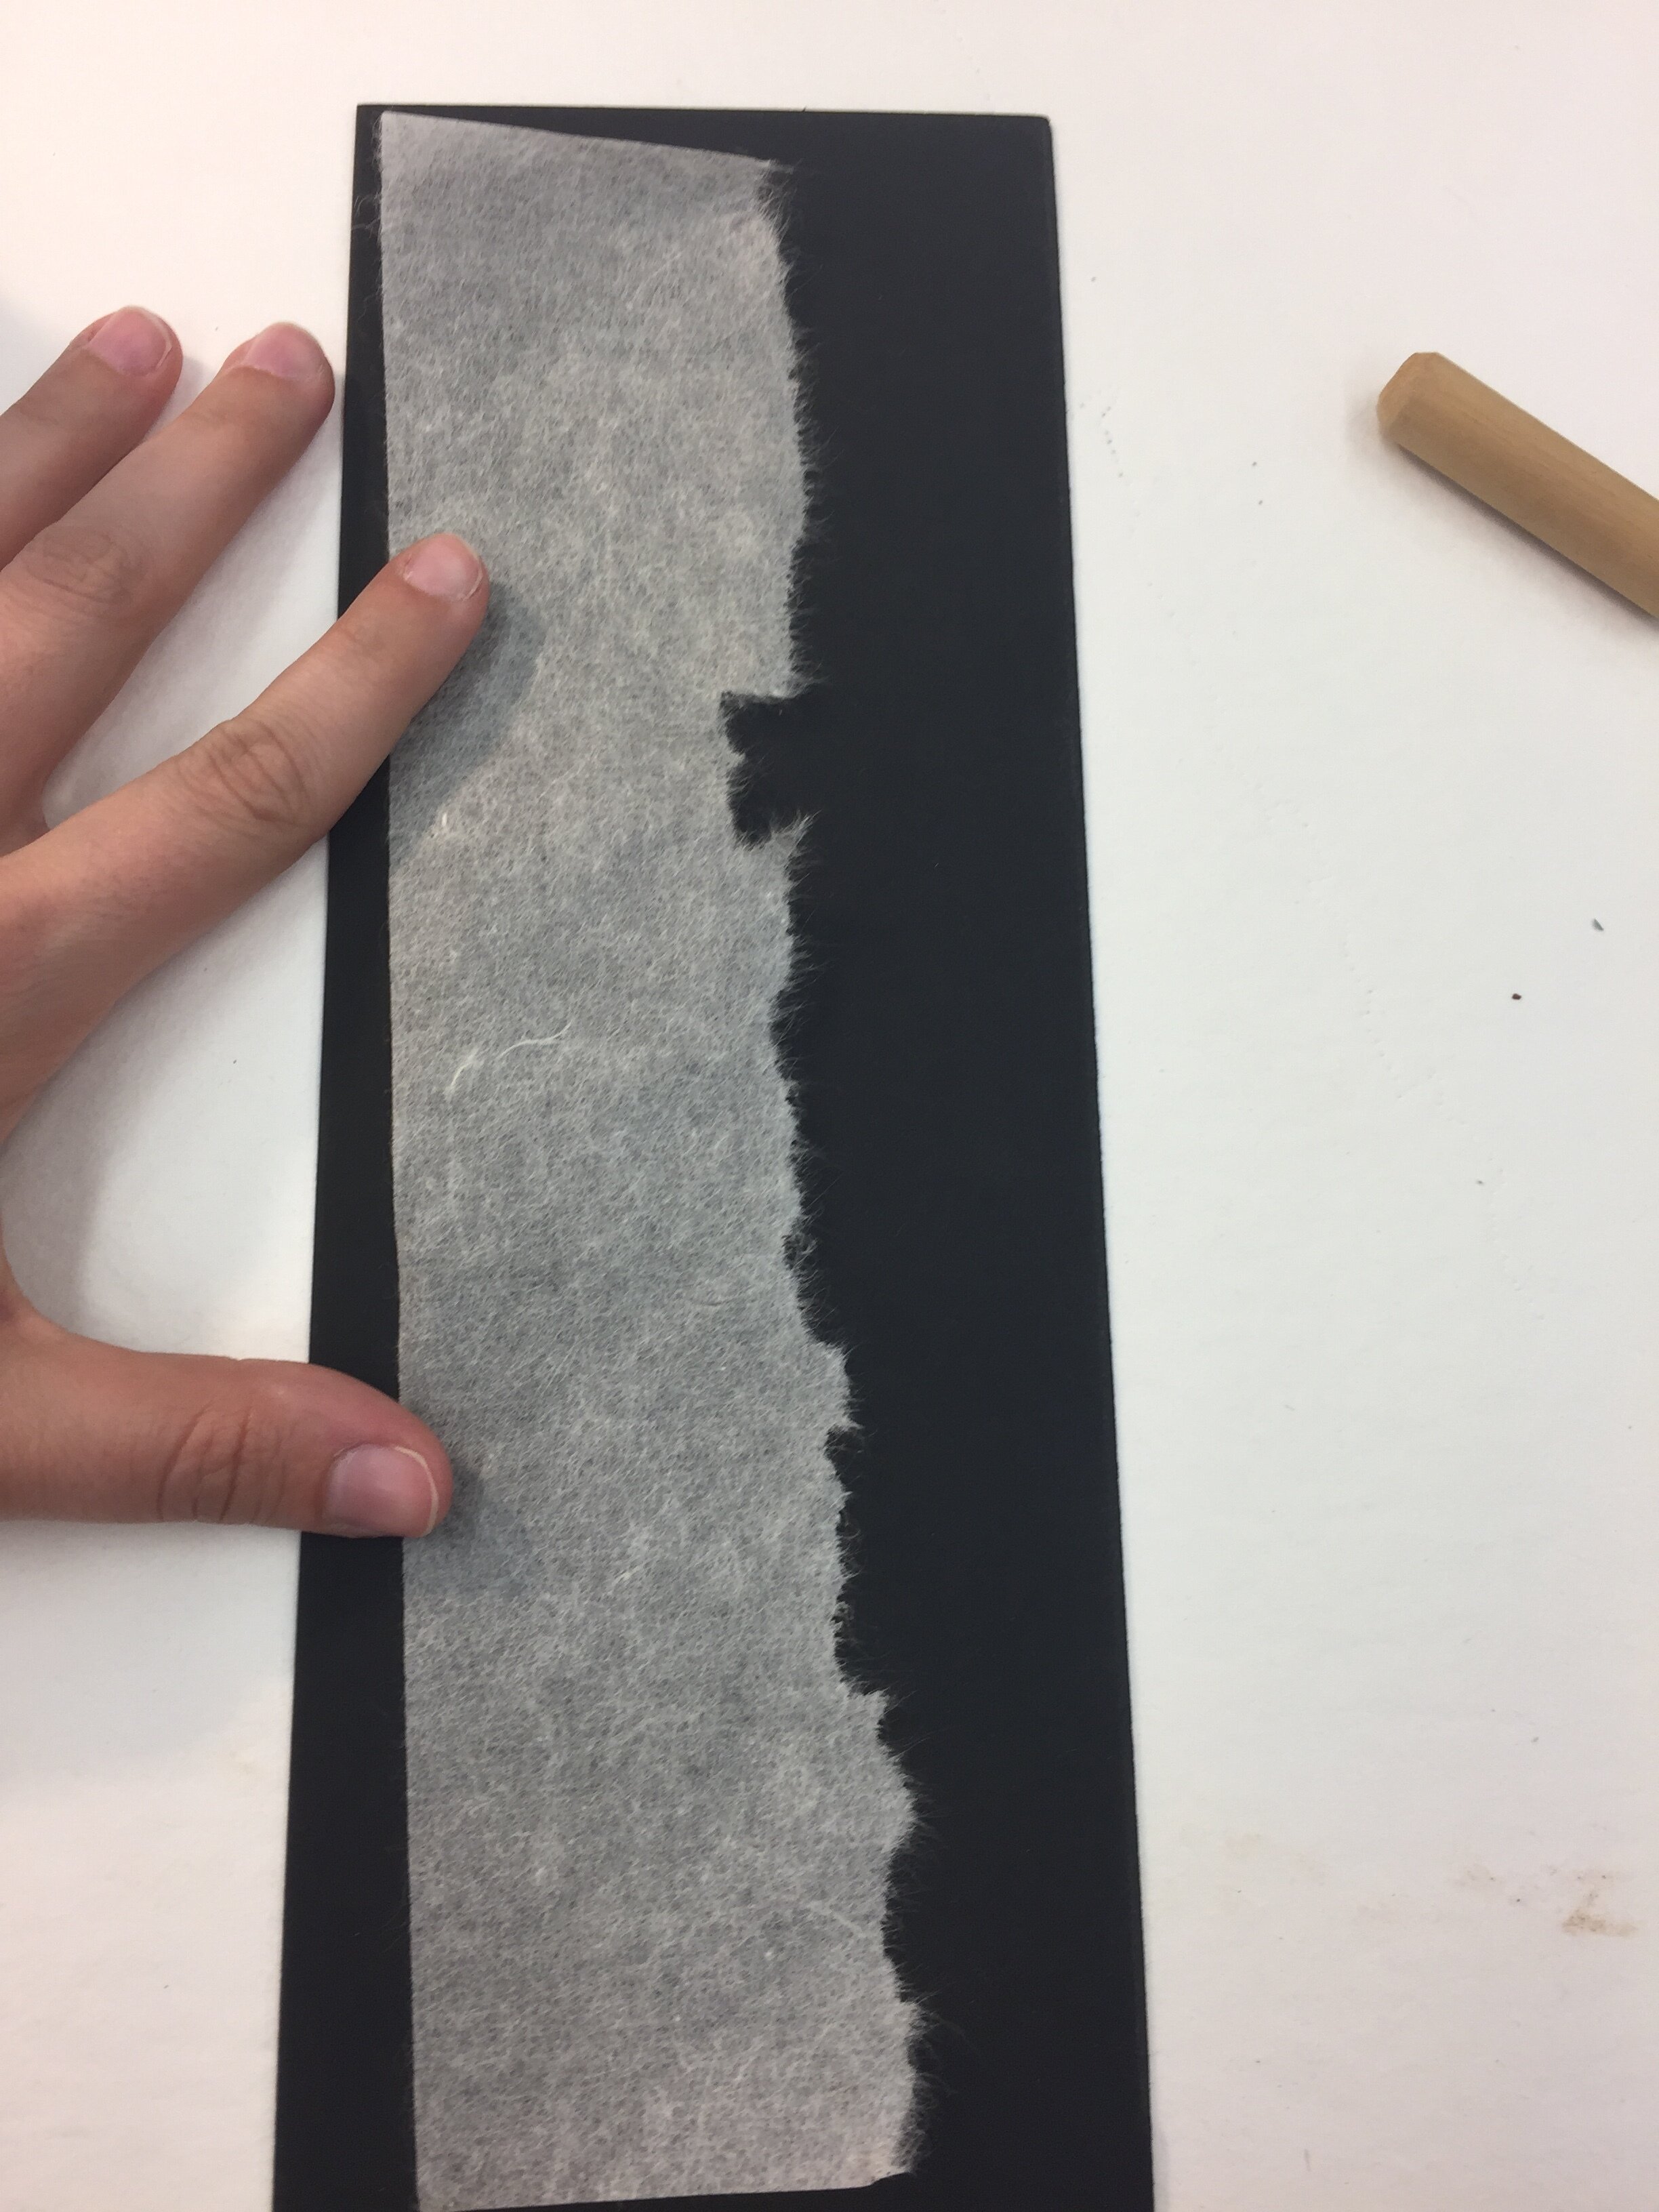
The final section to be washed was found to have an incredibly sensitive ink that bled a blue tideline immediately upon spot testing with water. I used irongall ink testing strips that turn pink in the presence of the Fe2+ ion. And the spot tested positive for irongall ink. We believed the blue tideline came from a blue additive that was commonly added to irongall ink (typically brown) to create a black ink tone. Because of the extreme sensitivity of the blue additive and the tideline it created, we chose to bleed the blue component off using ethanol and water on a suction table. The irongall ink was stable and so the only change after suction was the hue from black to brown. The section was then safe to undergo the ethanol modified wash process mentioned above. All sections remained in the felts for weeks until the next step could be performed. They were kept under observation to make sure the felts were switched out regularly to prevent mildew or mold from developing.
By December we were ready for the next step: alkalization. Because paper is naturally acidic, it is a common practice in conservation to counteract that acidity with an alkaline reserve. For this book, we used a alkaline solution of magnesium bicarbonate. The solution was produced by mixing magnesium hydroxide with cold deionized water. We carbonated the solution using a SodaStream® machine and then placed it in the refrigerator to allow the solid particulates to settle to the bottom of the bottle. The sections were submerged together in a 2-liter bath composed of 1 part magnesium bicarbonate solution to 4 parts conditioned deionized water. The bath was covered with an acrylic sheet to help contain the carbonation, and the section were left submerged and undisturbed for 25 minutes. When the bath was complete the sections were patted dry and placed back in the felts for drying.
Next came sizing. Sizing is a component of papermaking that involves soaking or brush applying an adhesive-like solution to a sheet of paper. This stiffens the sheet and is often necessary to keep ink from bleeding into the paper structure during writing or printing. Gelatin was often used as a sizing material. Because sizing can degrade over time, often it is flushed out during washing treatments. To give the washed books back a little structural integrity it is common practice to resize sheets. I resized all the sections with a 0.75%-1.0% solution of gelatin by submerging stacks of 10 sections in the heated gelatin solution until fully coated. The sections were then pulled out and allowed to drain-off on a sheet of acrylic, moved to the drying rack to air dry, and finally placed in the felt stack to completely dry underweight. Wet treatment was complete by the end of January 2018.

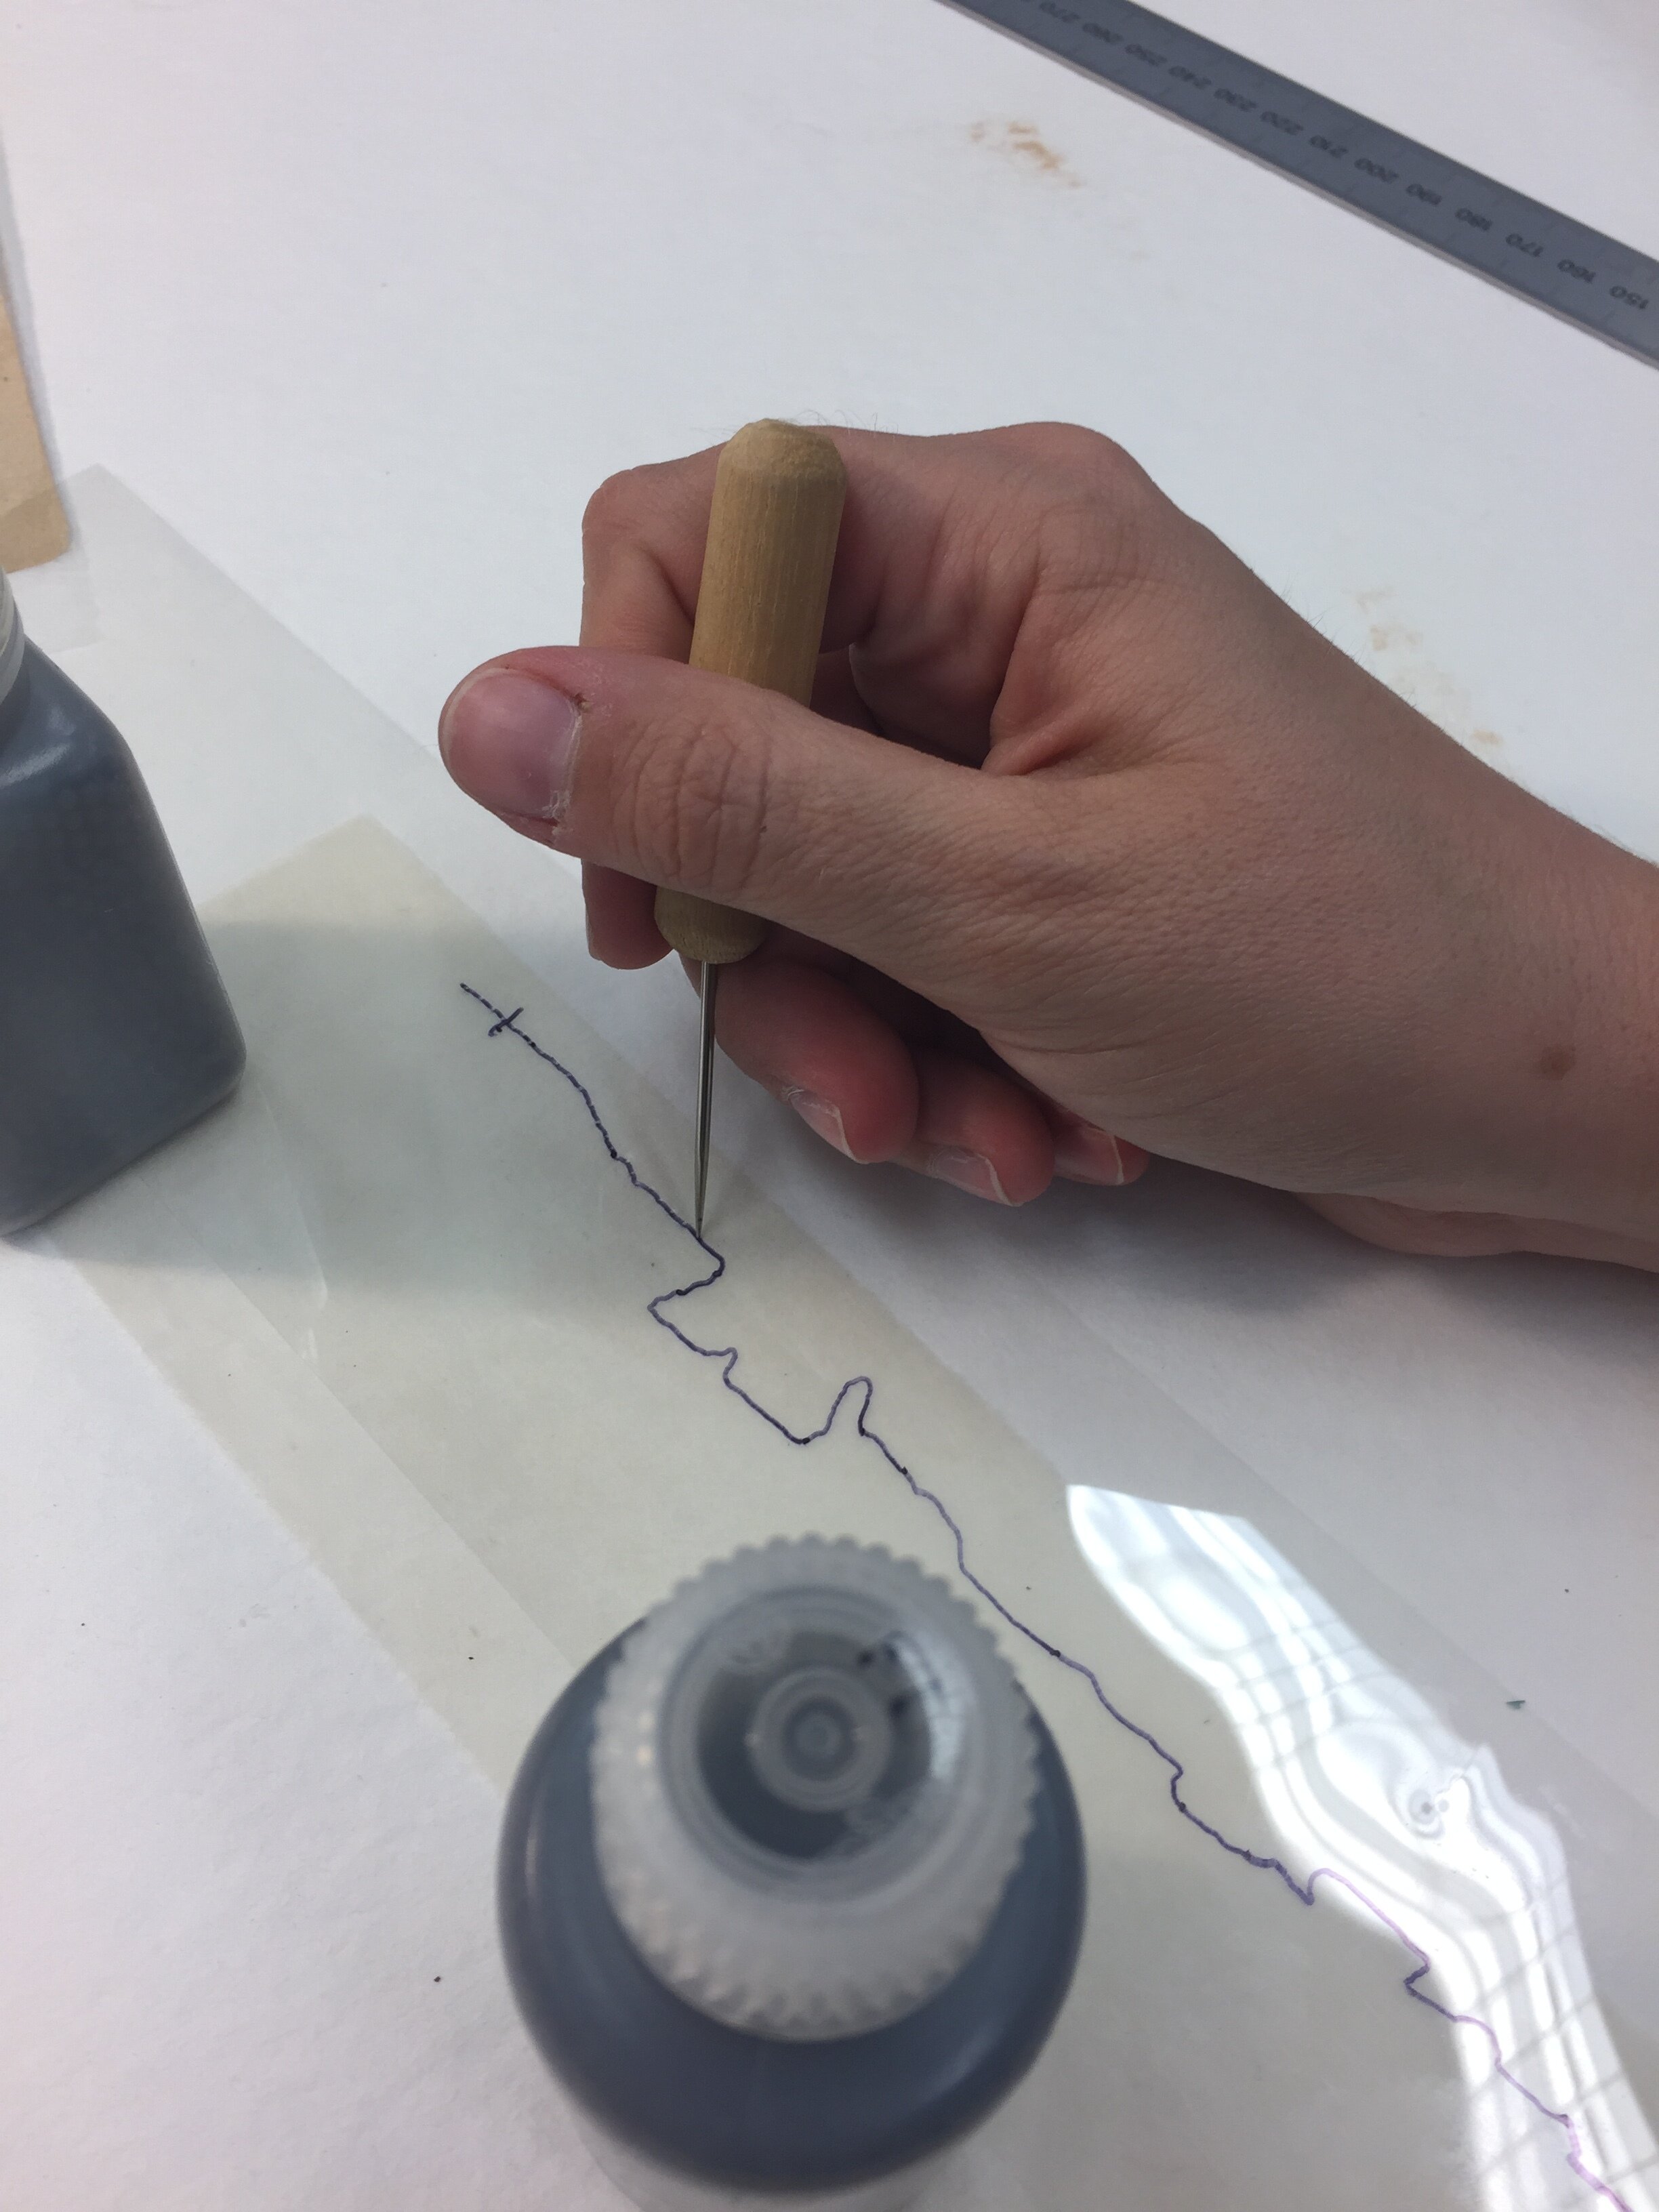
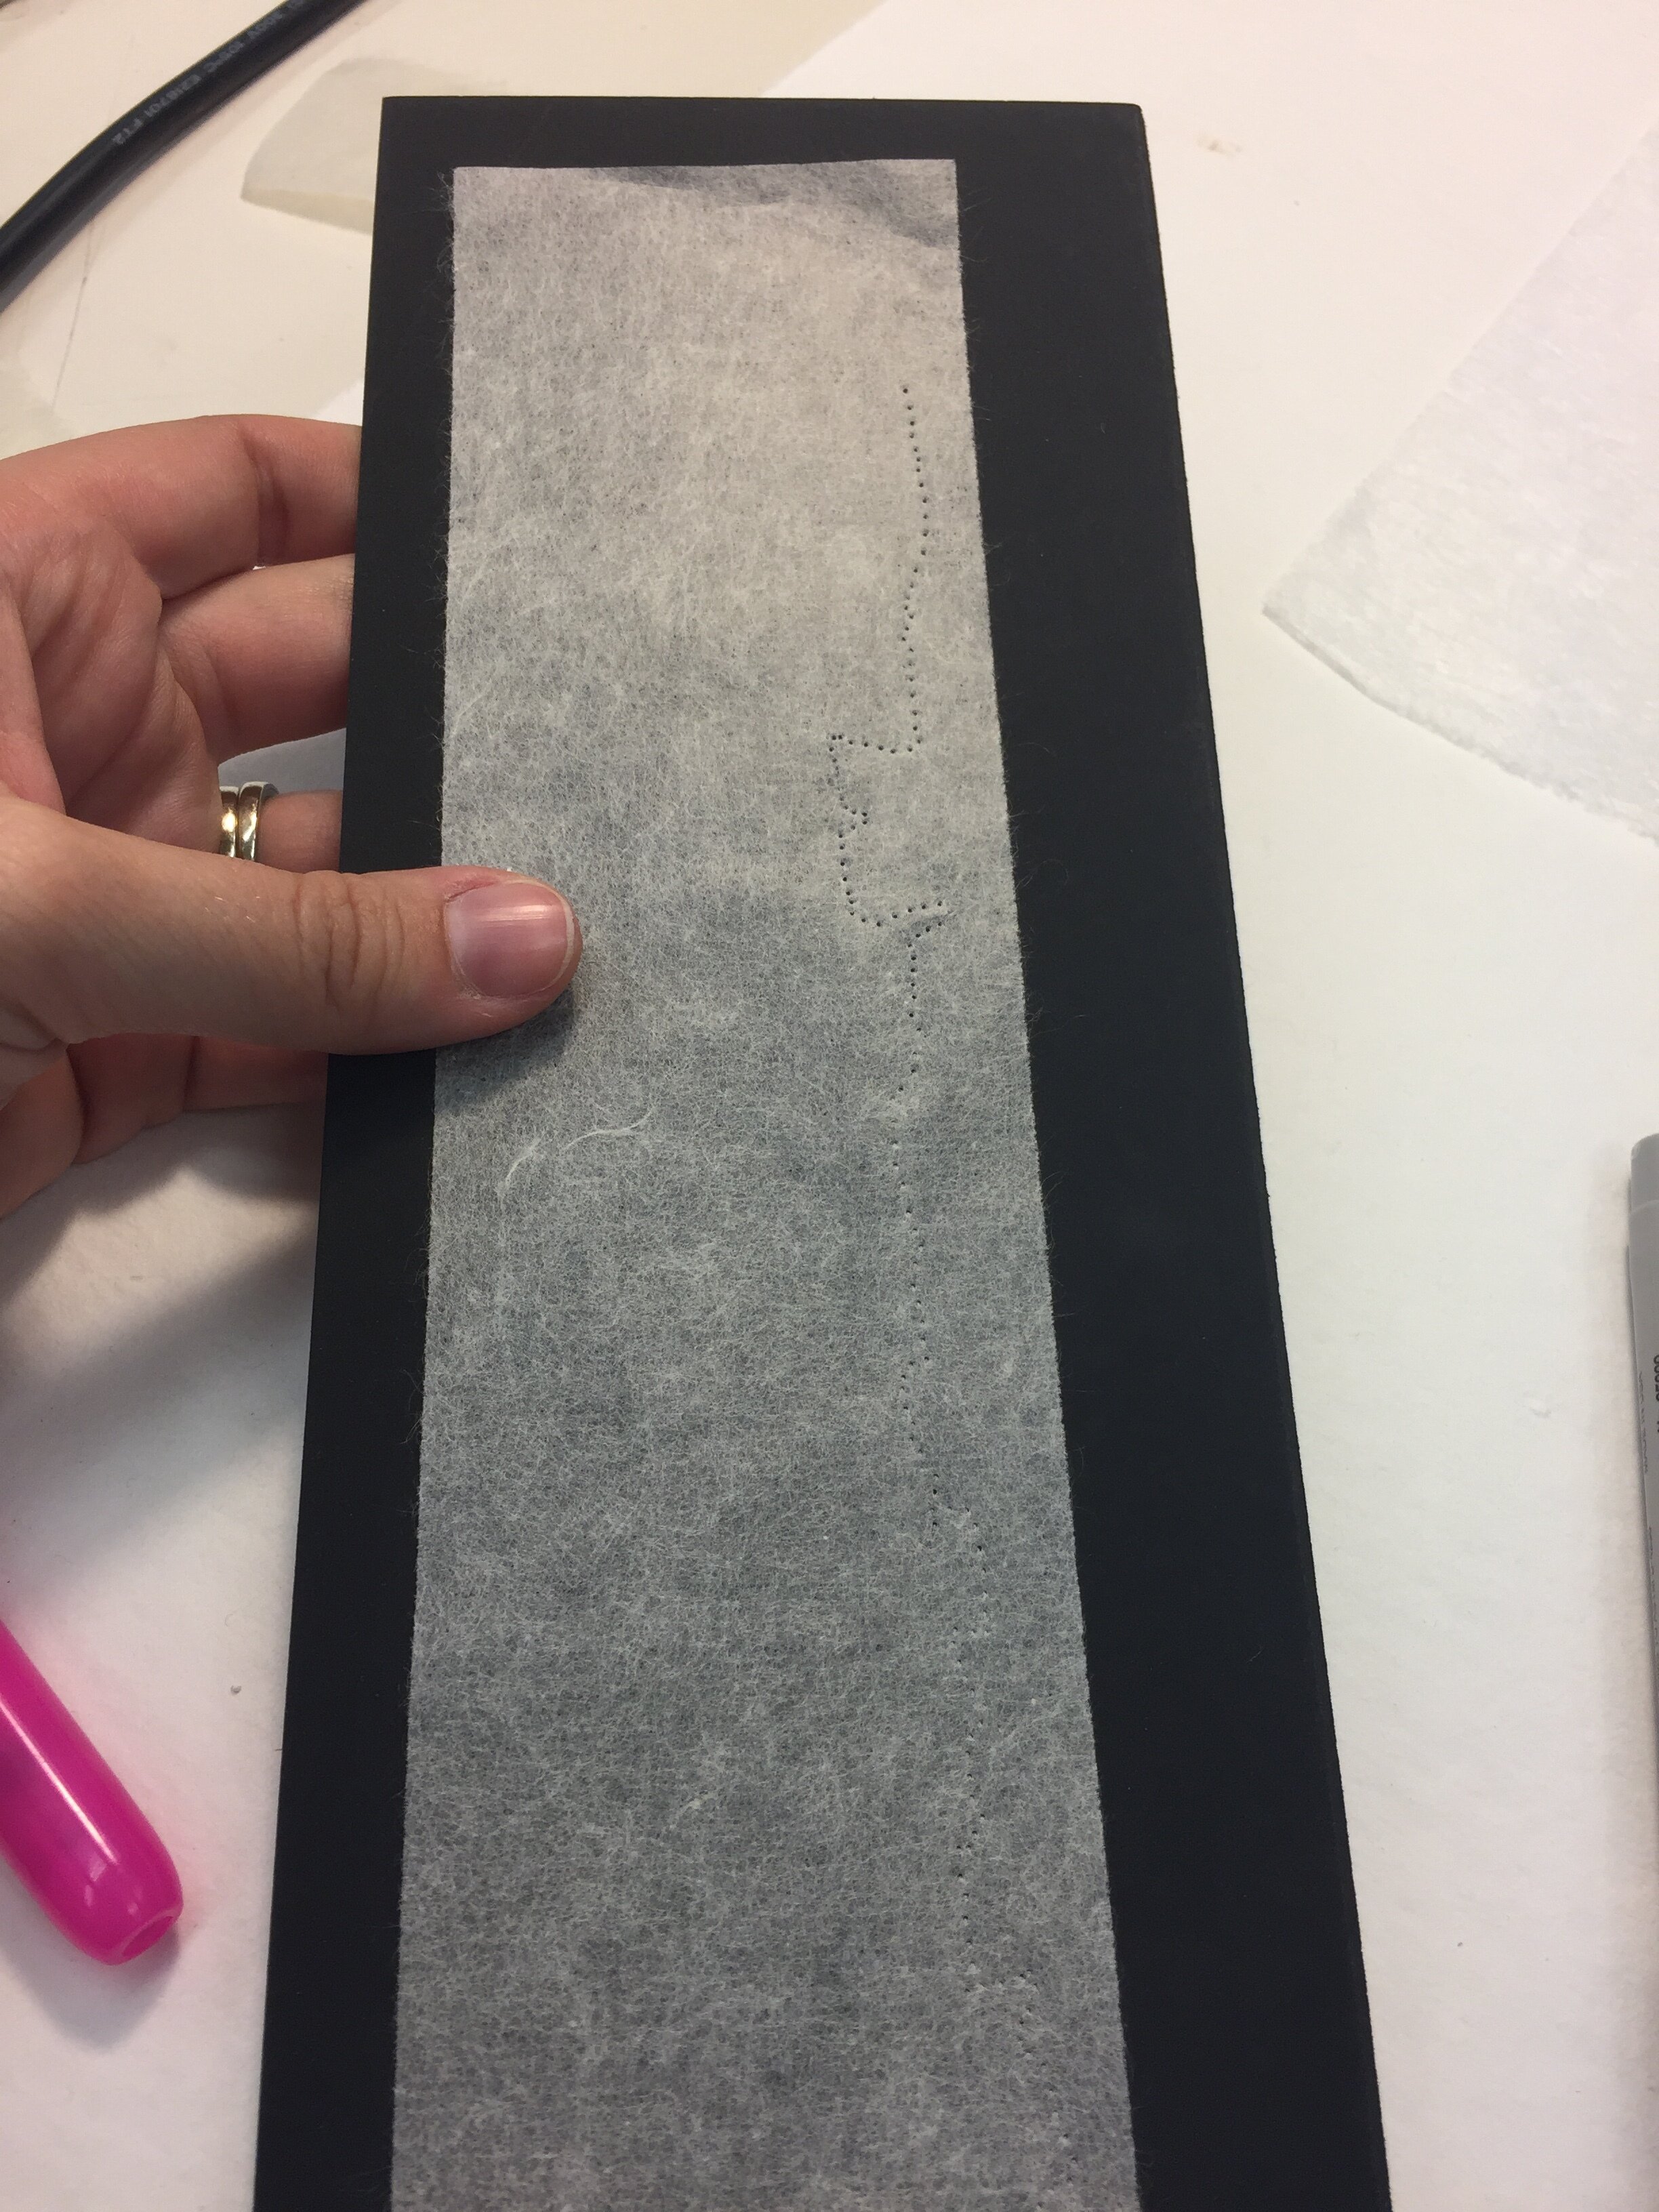
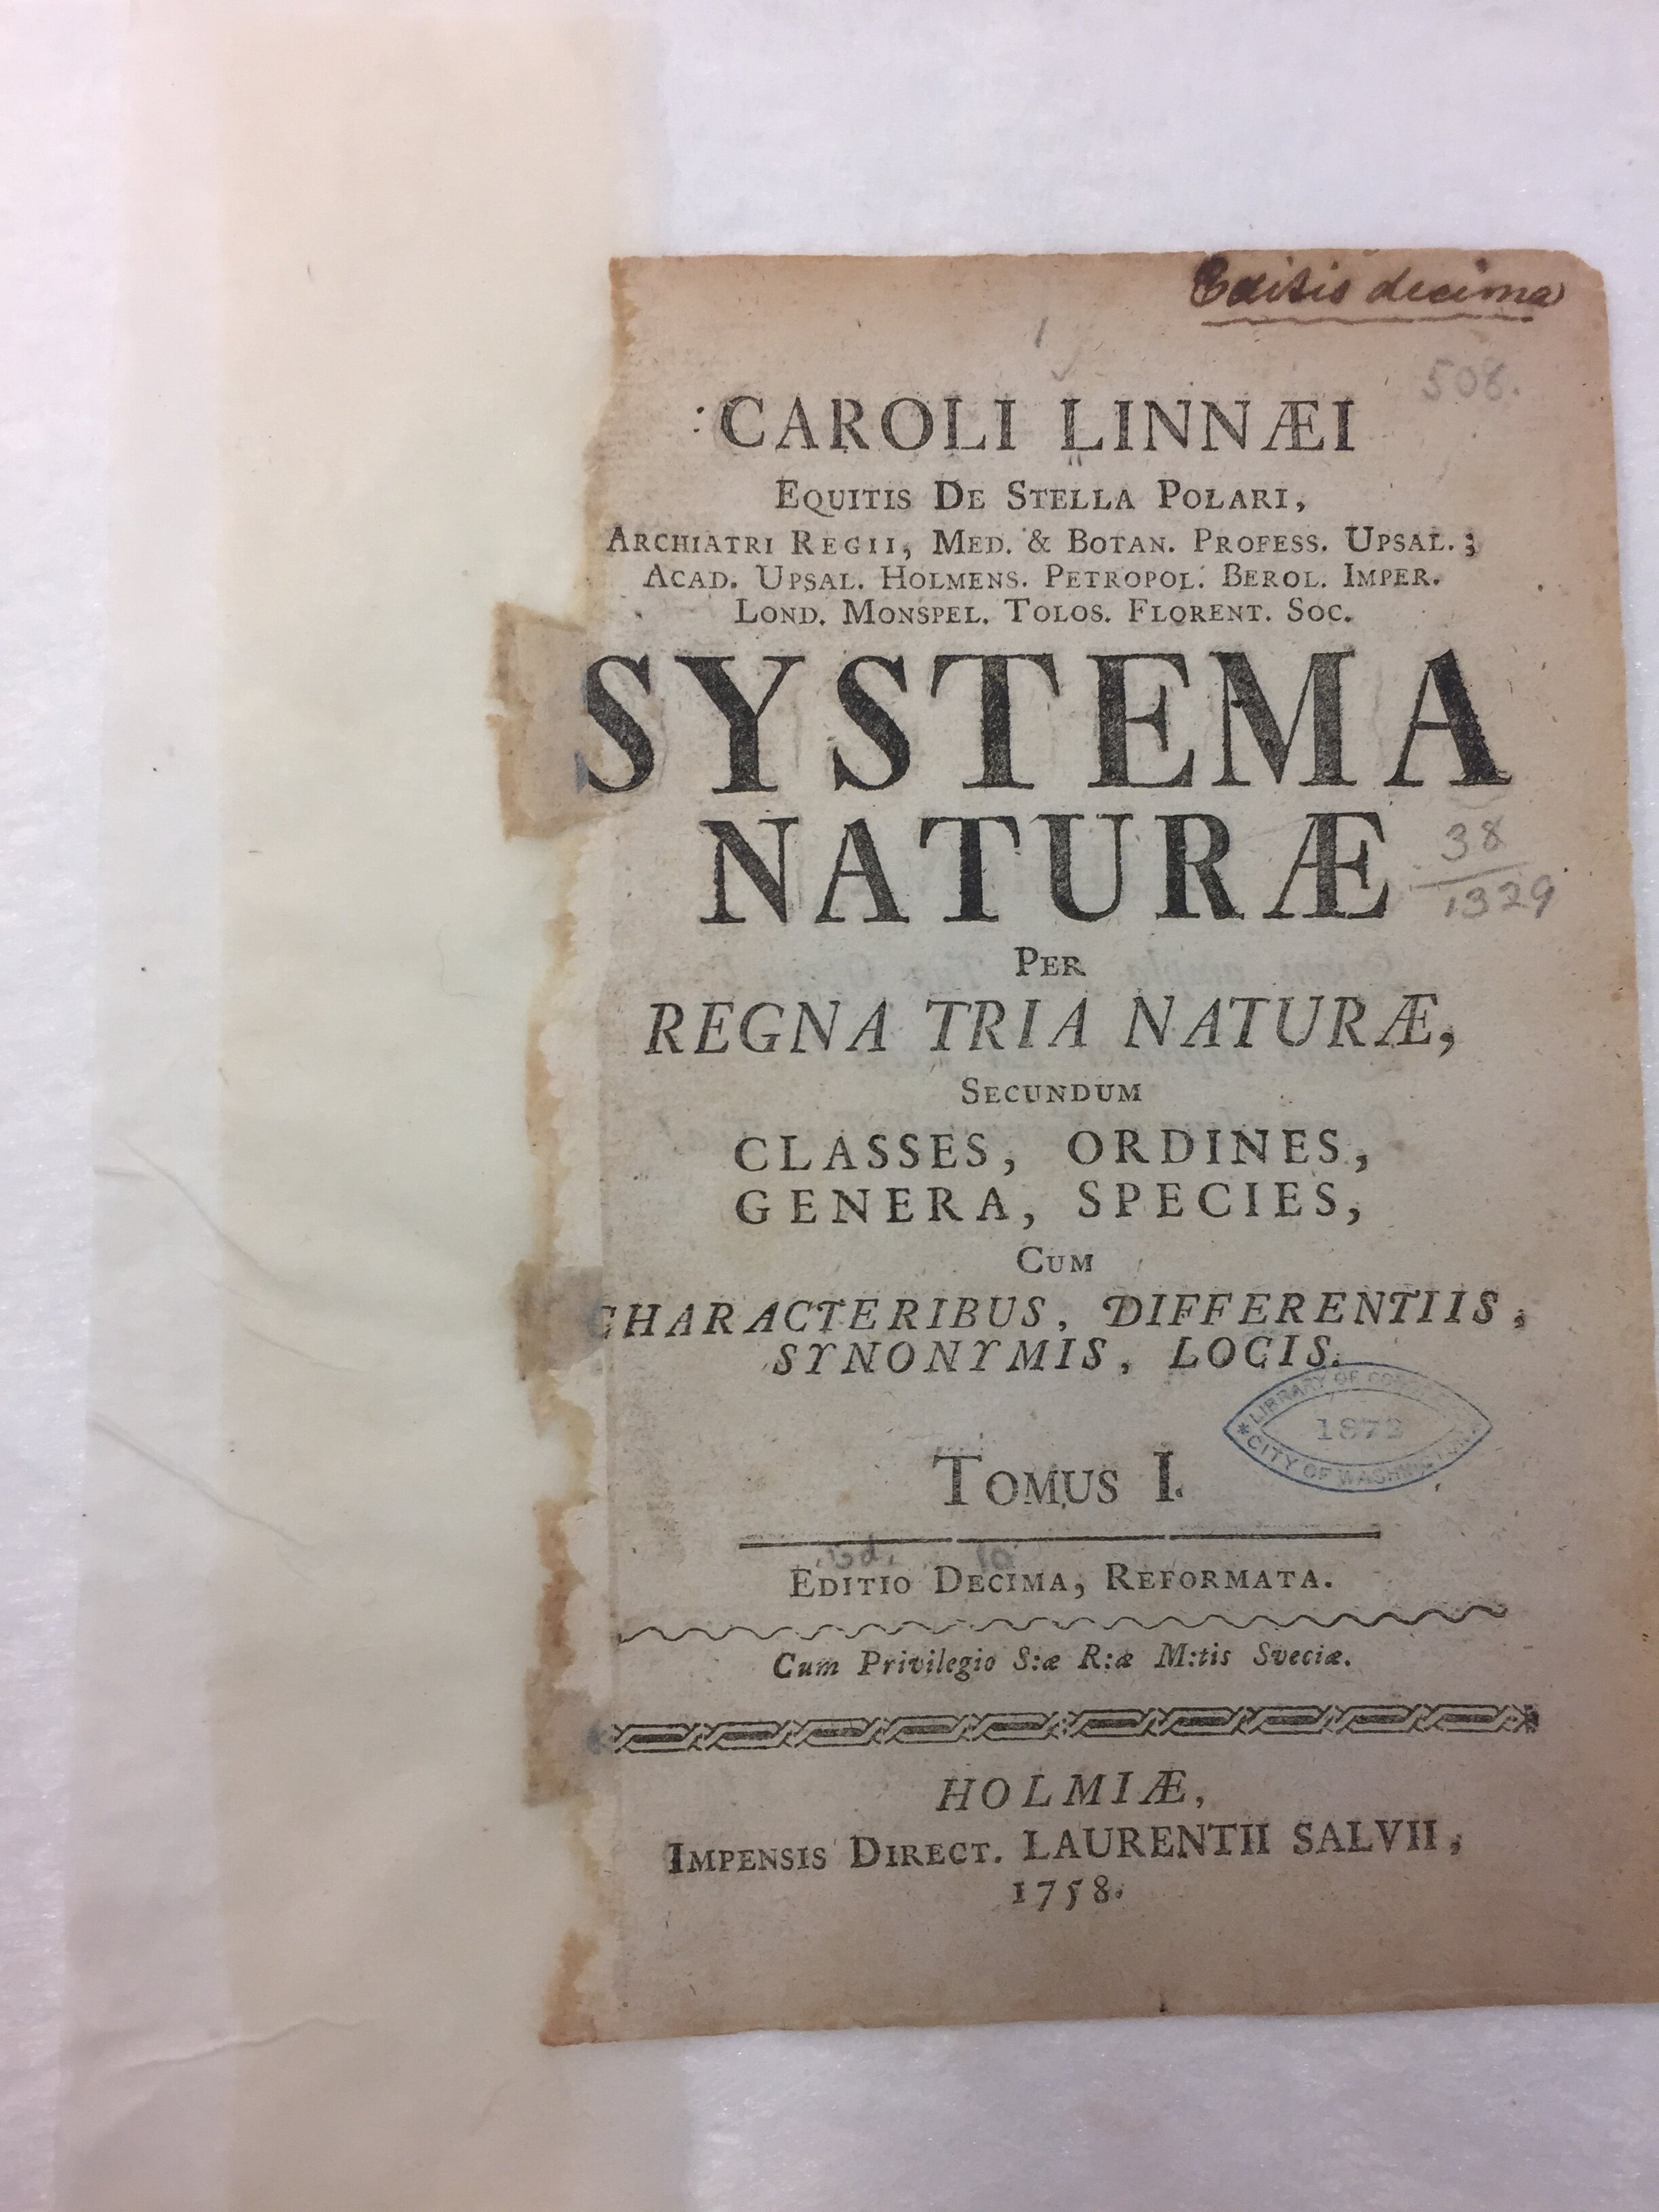
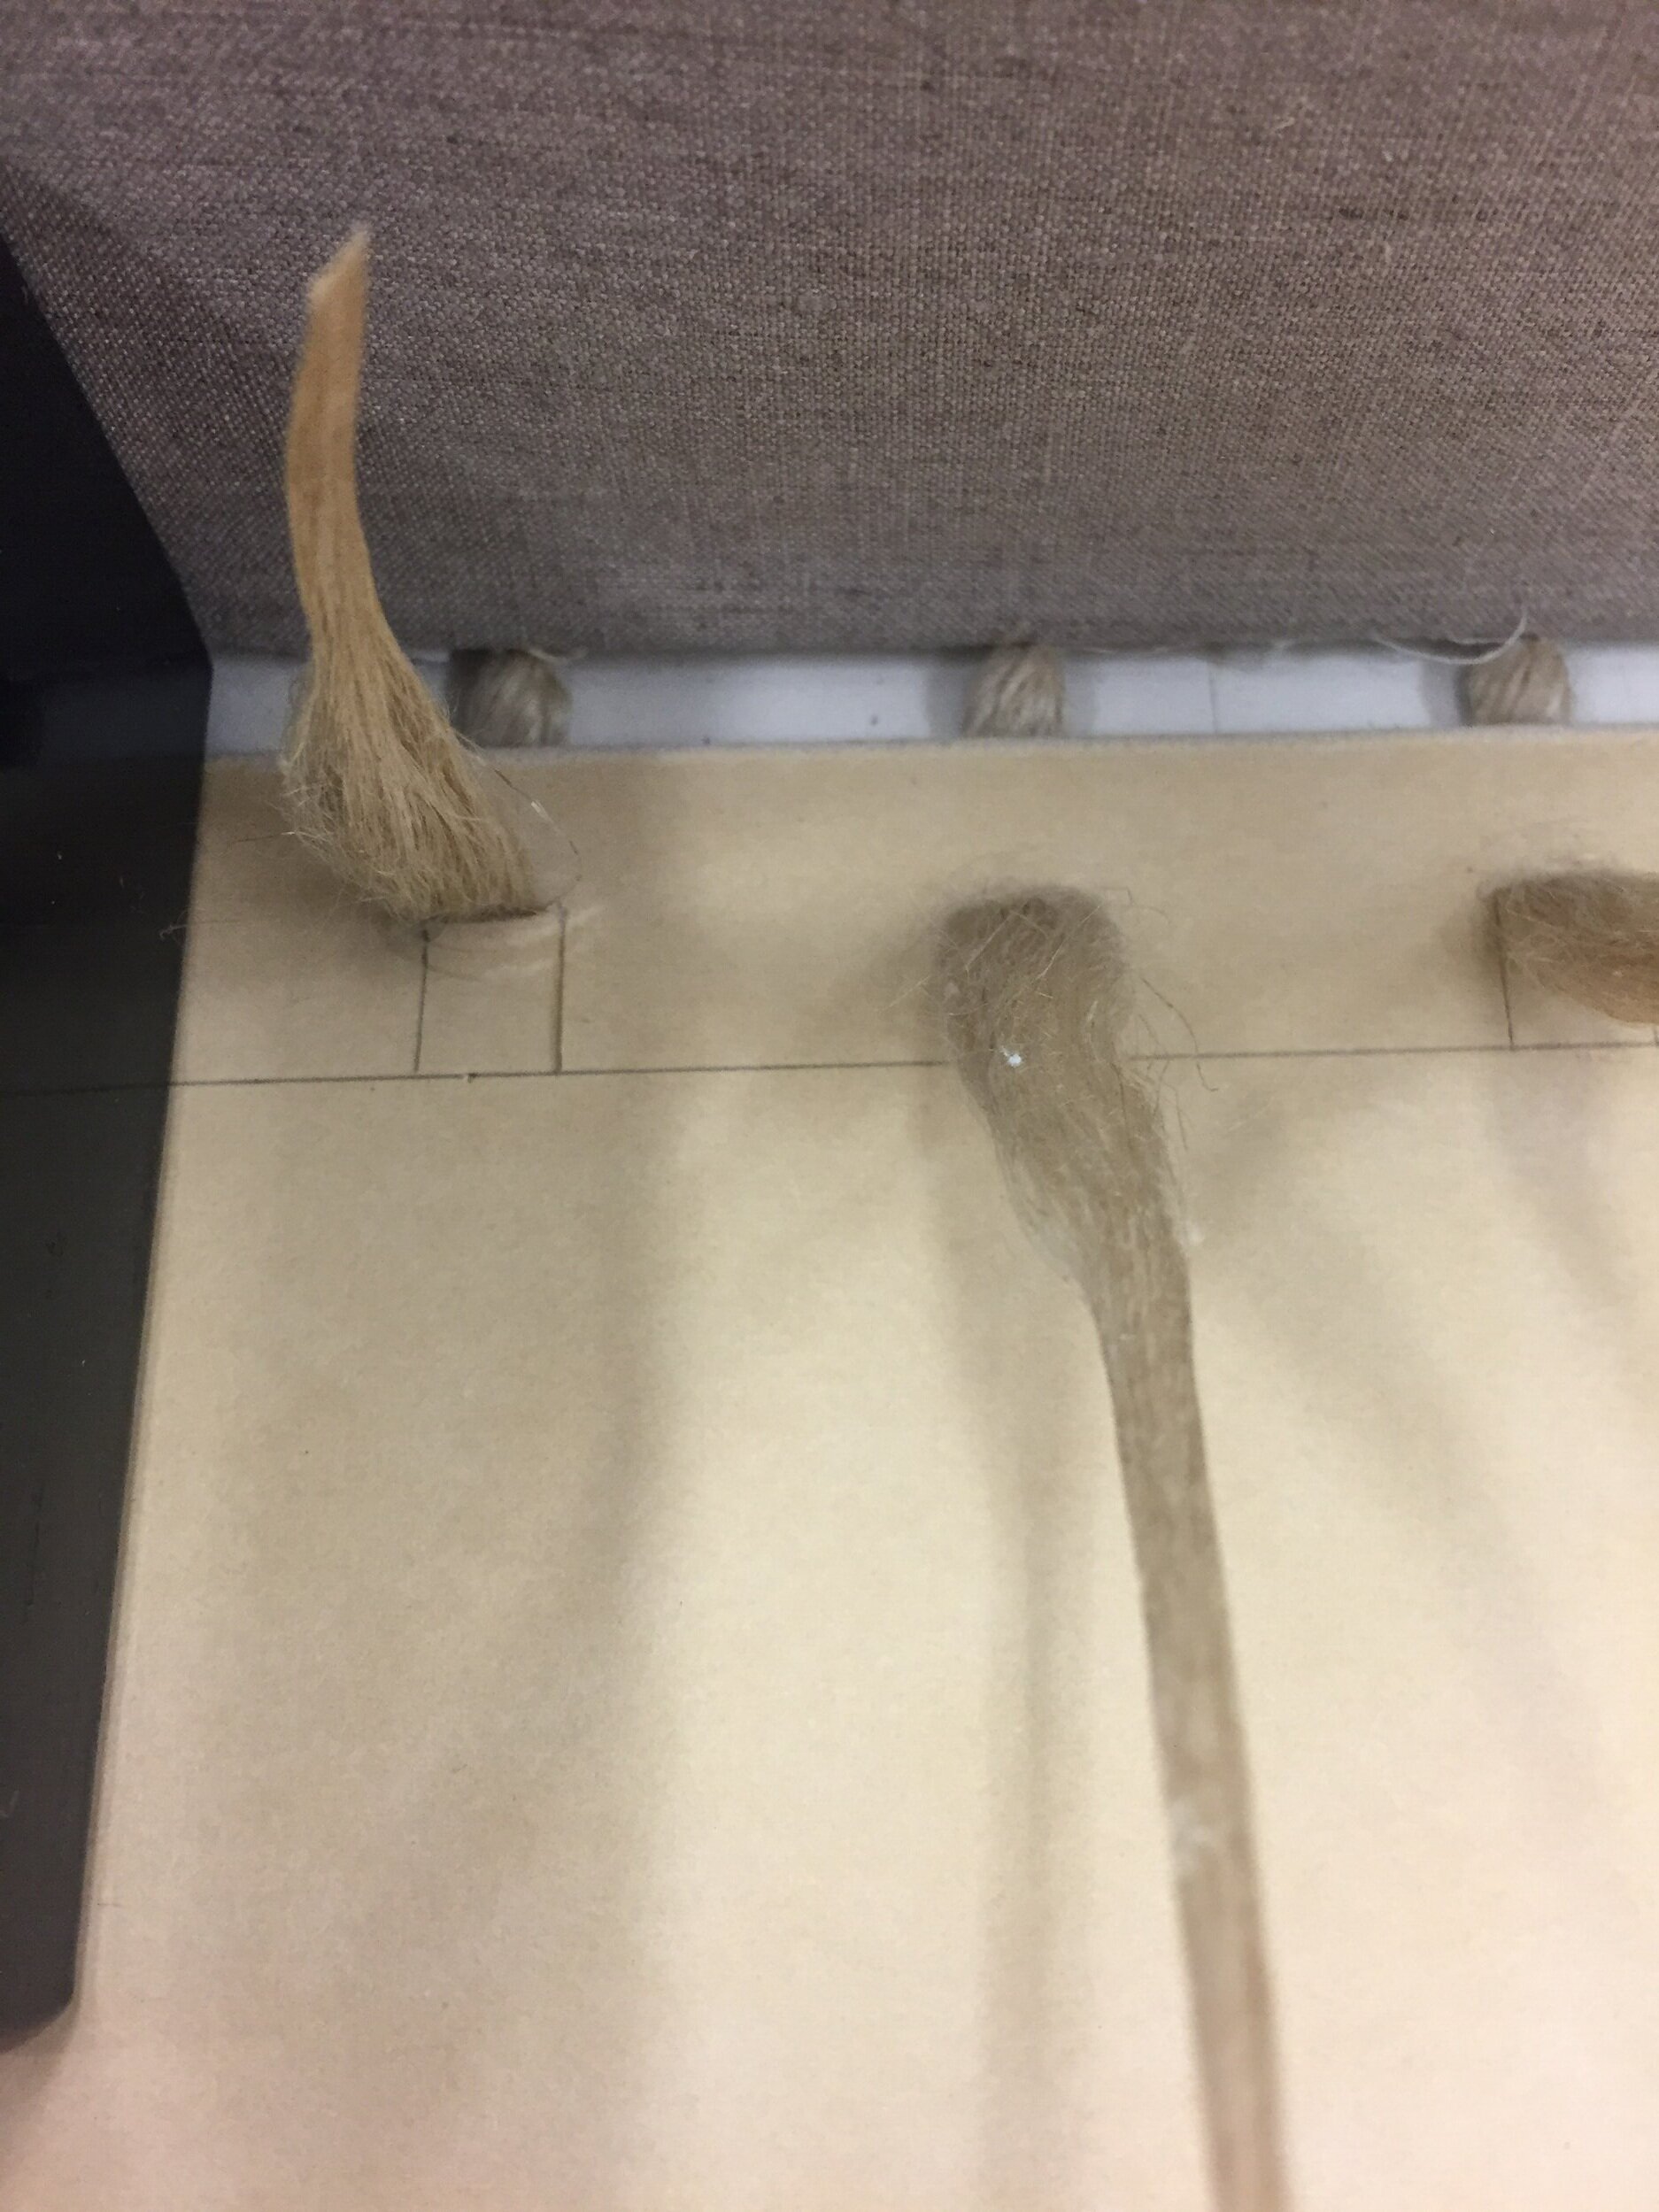
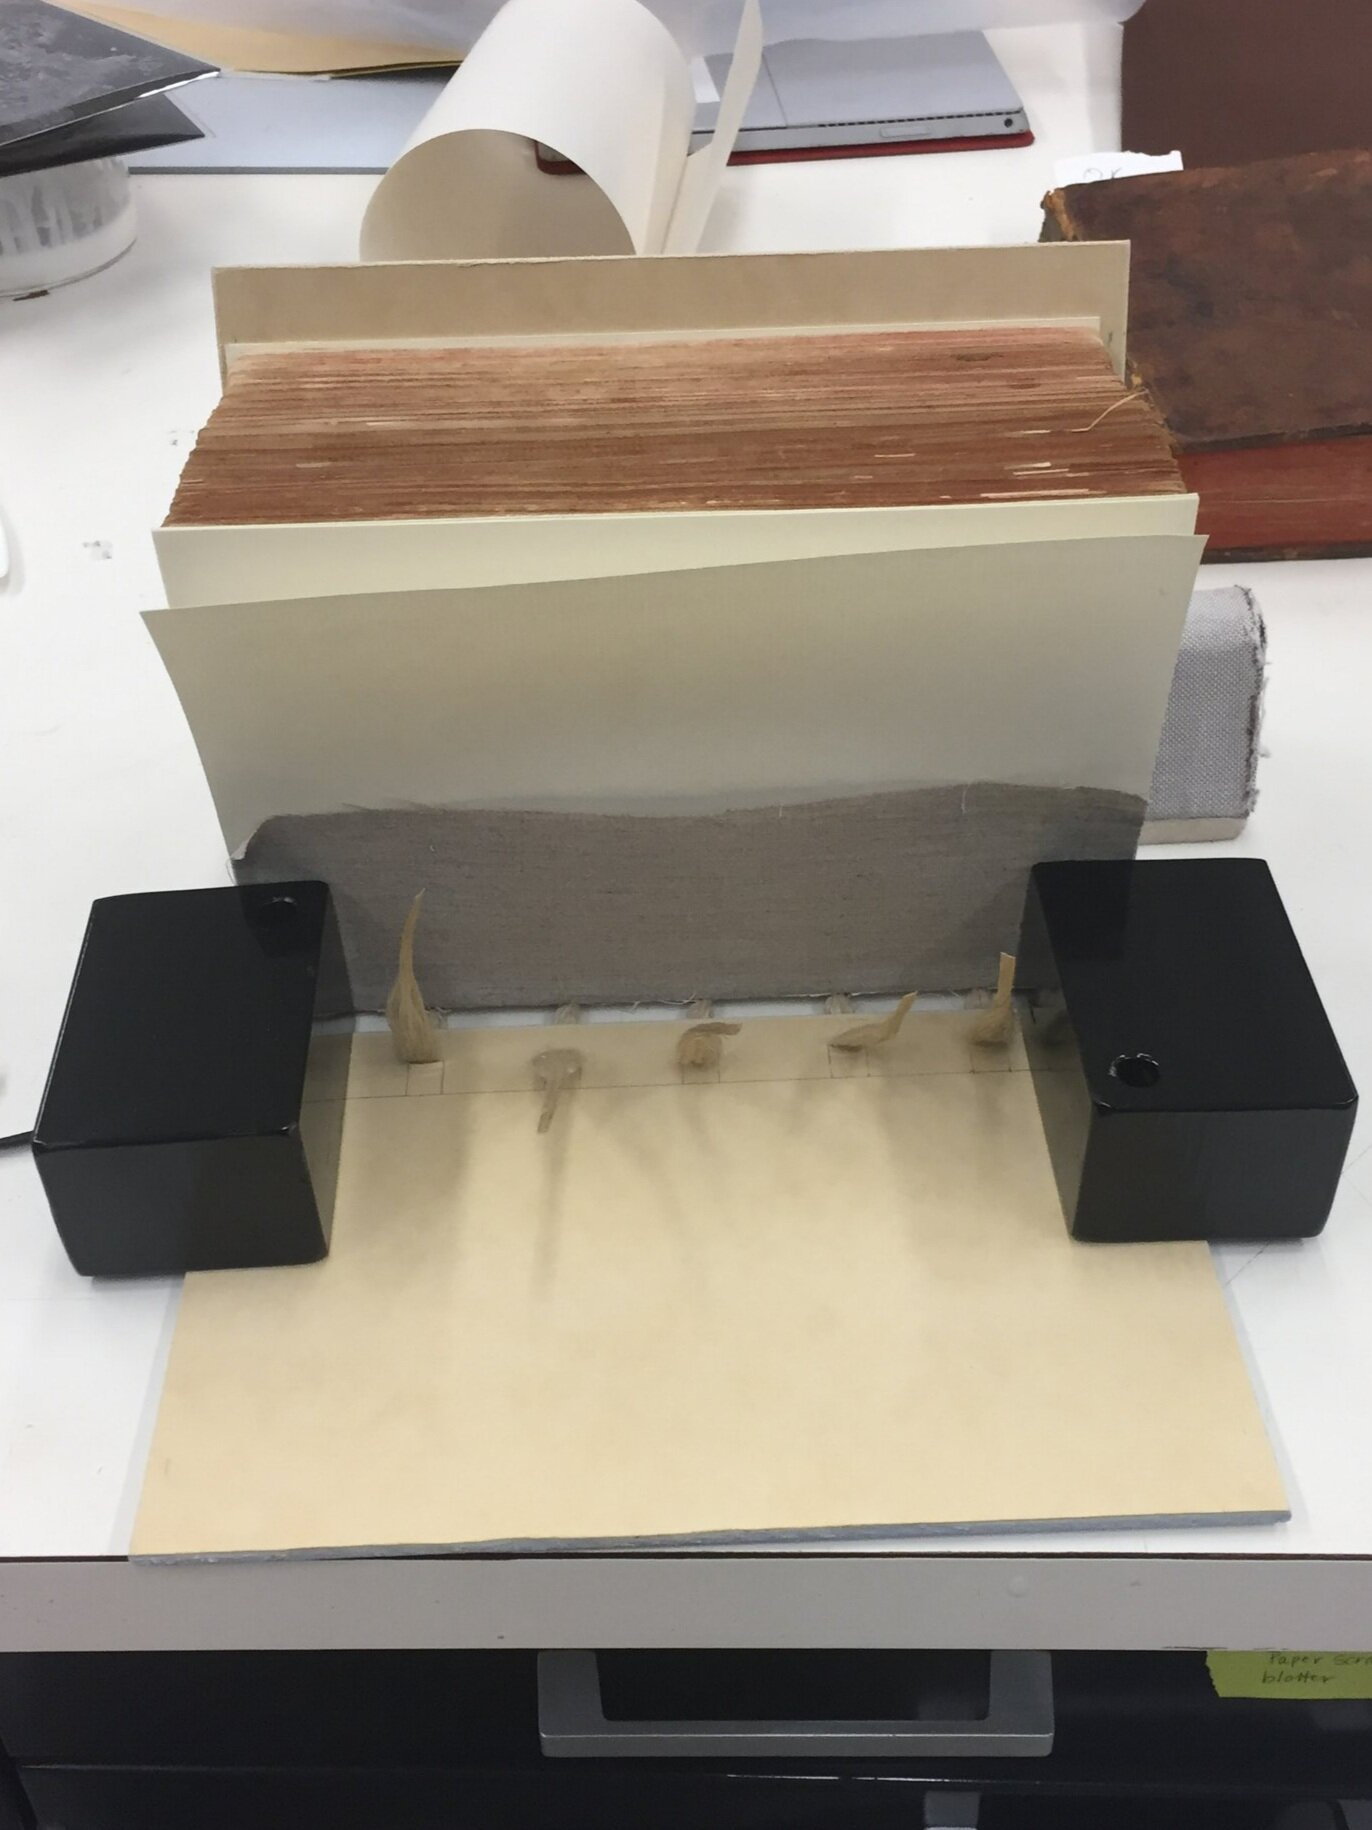
The last step before the textblock could be sent off for digitization was to make sure all tears and losses were mended. The only page that needed mending was the title page. I used a lightweight sheer kozo adhered with wheat starch paste on the recto side of the tear to not obscure the text. I then applied a light-medium weight kozo (Korean #1203) to the verso side of the tear to better stabilize the mend. I then used the same Korean kozo to guard all 52 sections of the textblock, which involved a strip of the kozo cut to the height of the textblock adhered over the fold of the outermost bifolium of the section and the interior fold of the innermost bifolium. Guarding sections like this provides the folds with more support for resewing the textblock. The textblock was then send to the digitization department where it remained until June of 2018.
By the time I received the book back for binding, it was crunch time in the conservation lab, as my internship was ending in August. But it was now time for the fun part…rebinding this great little book. I selected new endsheet paper from Griffin Mills (Early Wove Cream) and created double folio endsheets to match the size of the textblock. I then aligned the loose sections and interleaved binders board of the same size between every 8-10 sections, and placed the textblock with the endsheets into the book press for about a week to try to minimize any swell created from all the guards along the spine.
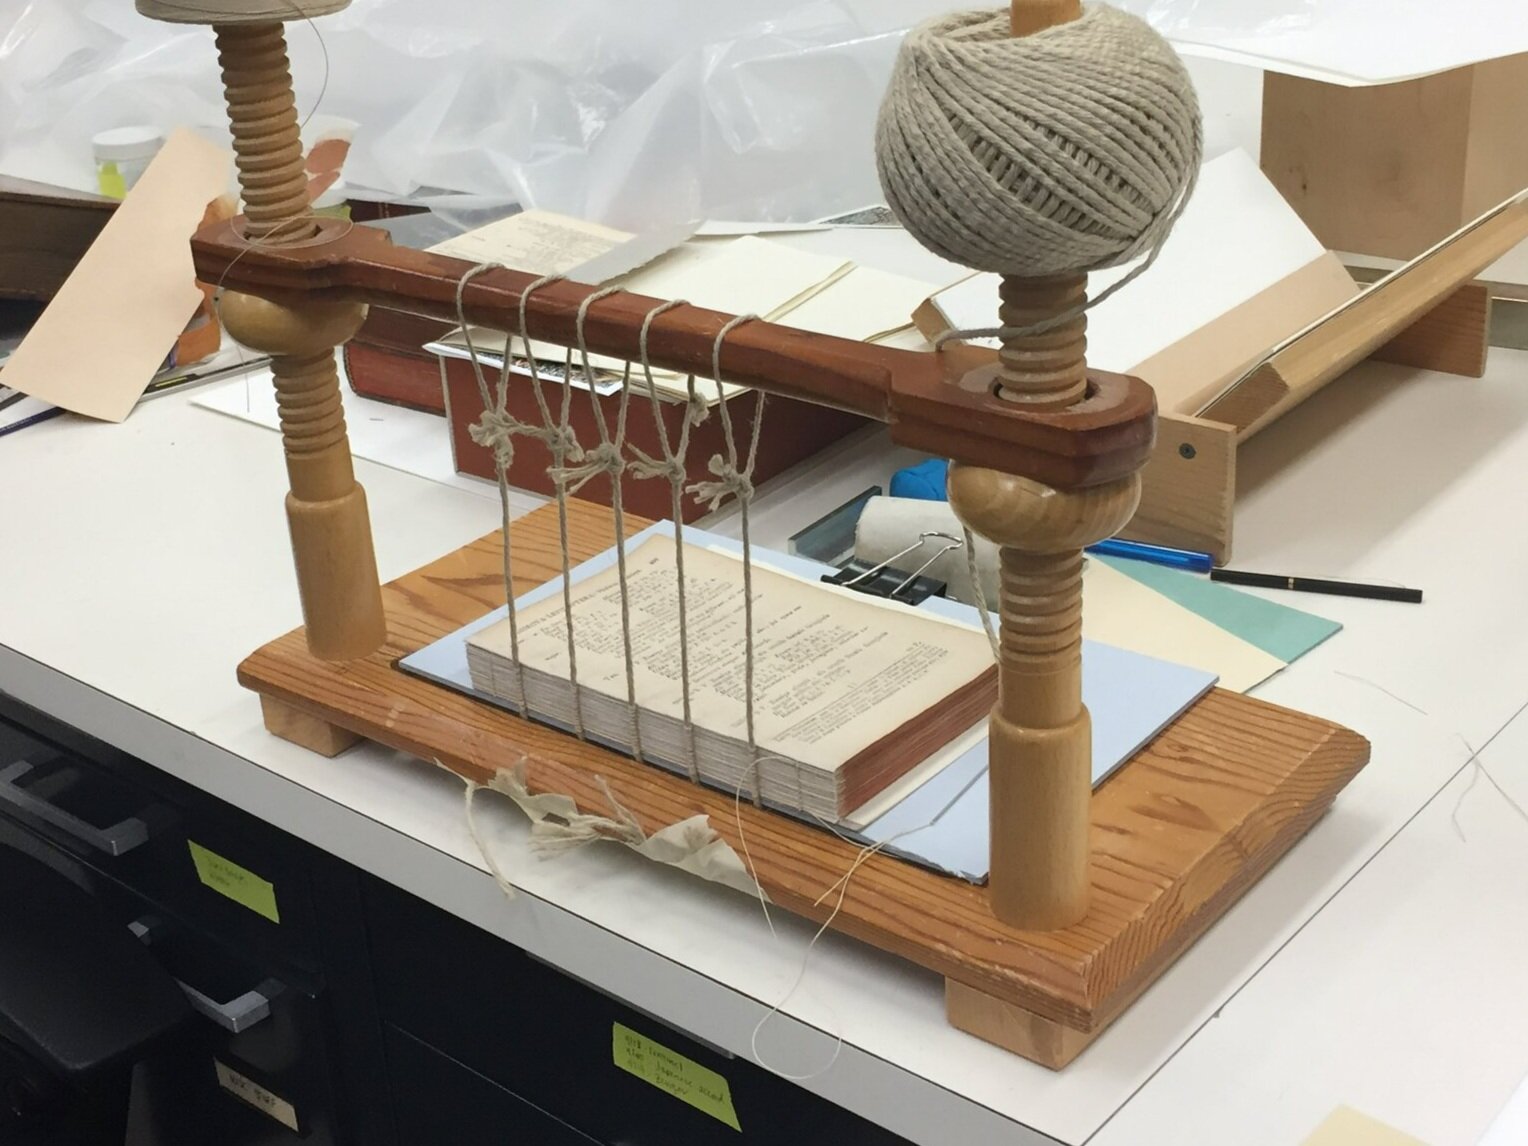
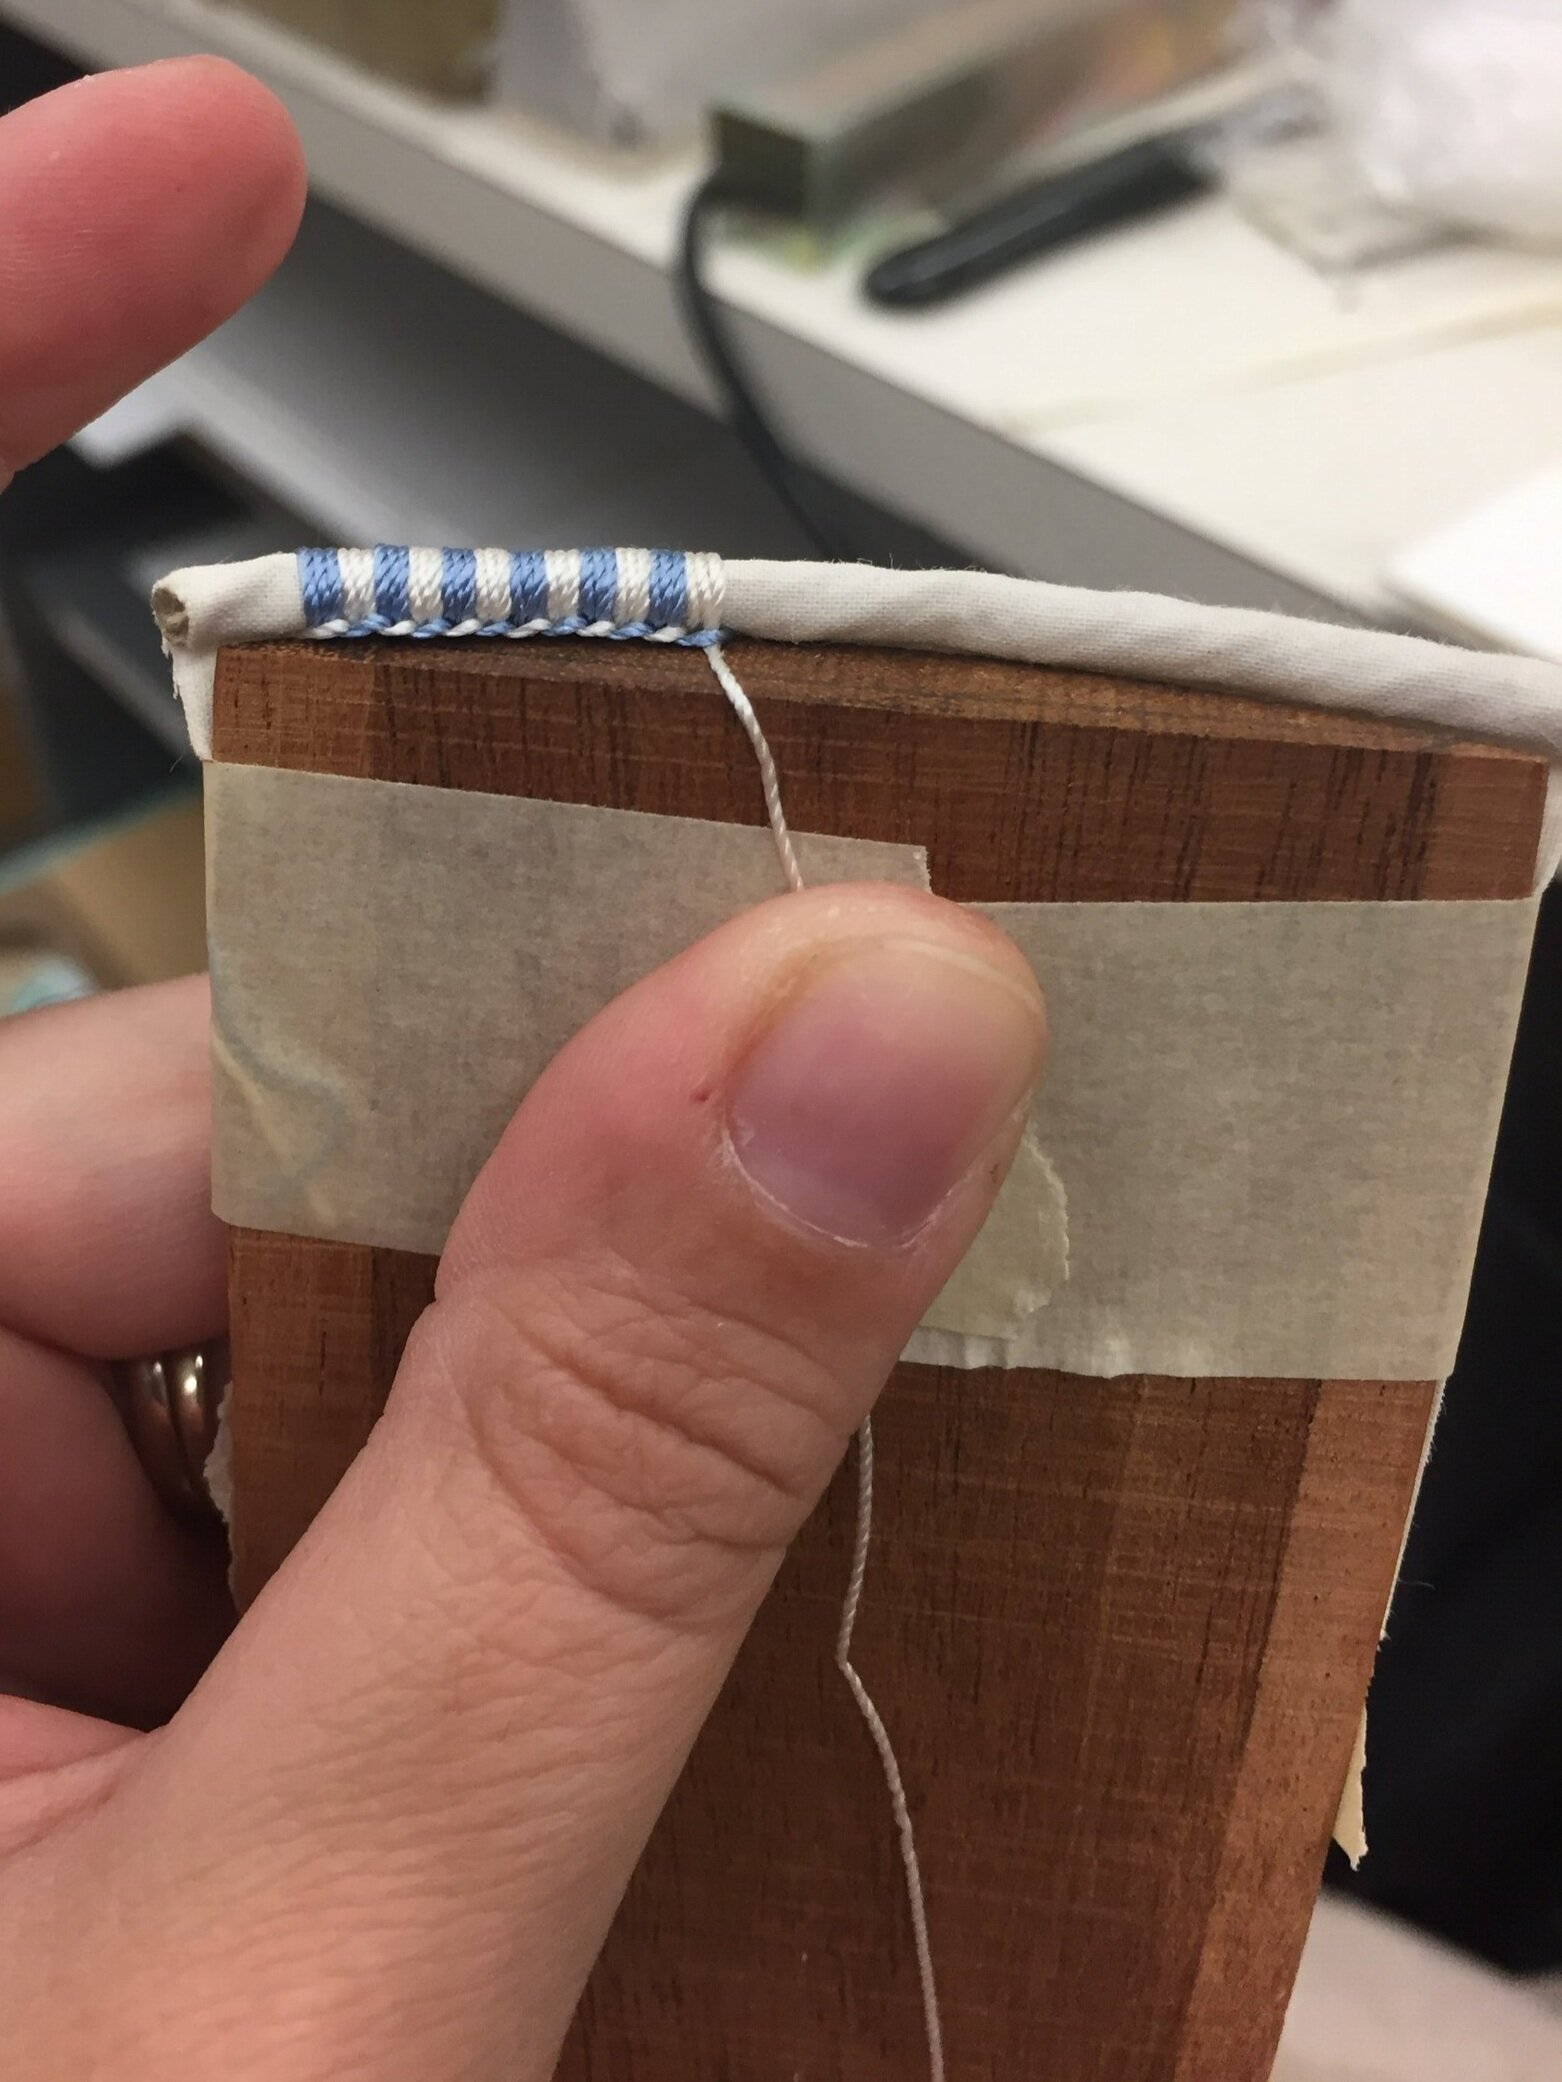
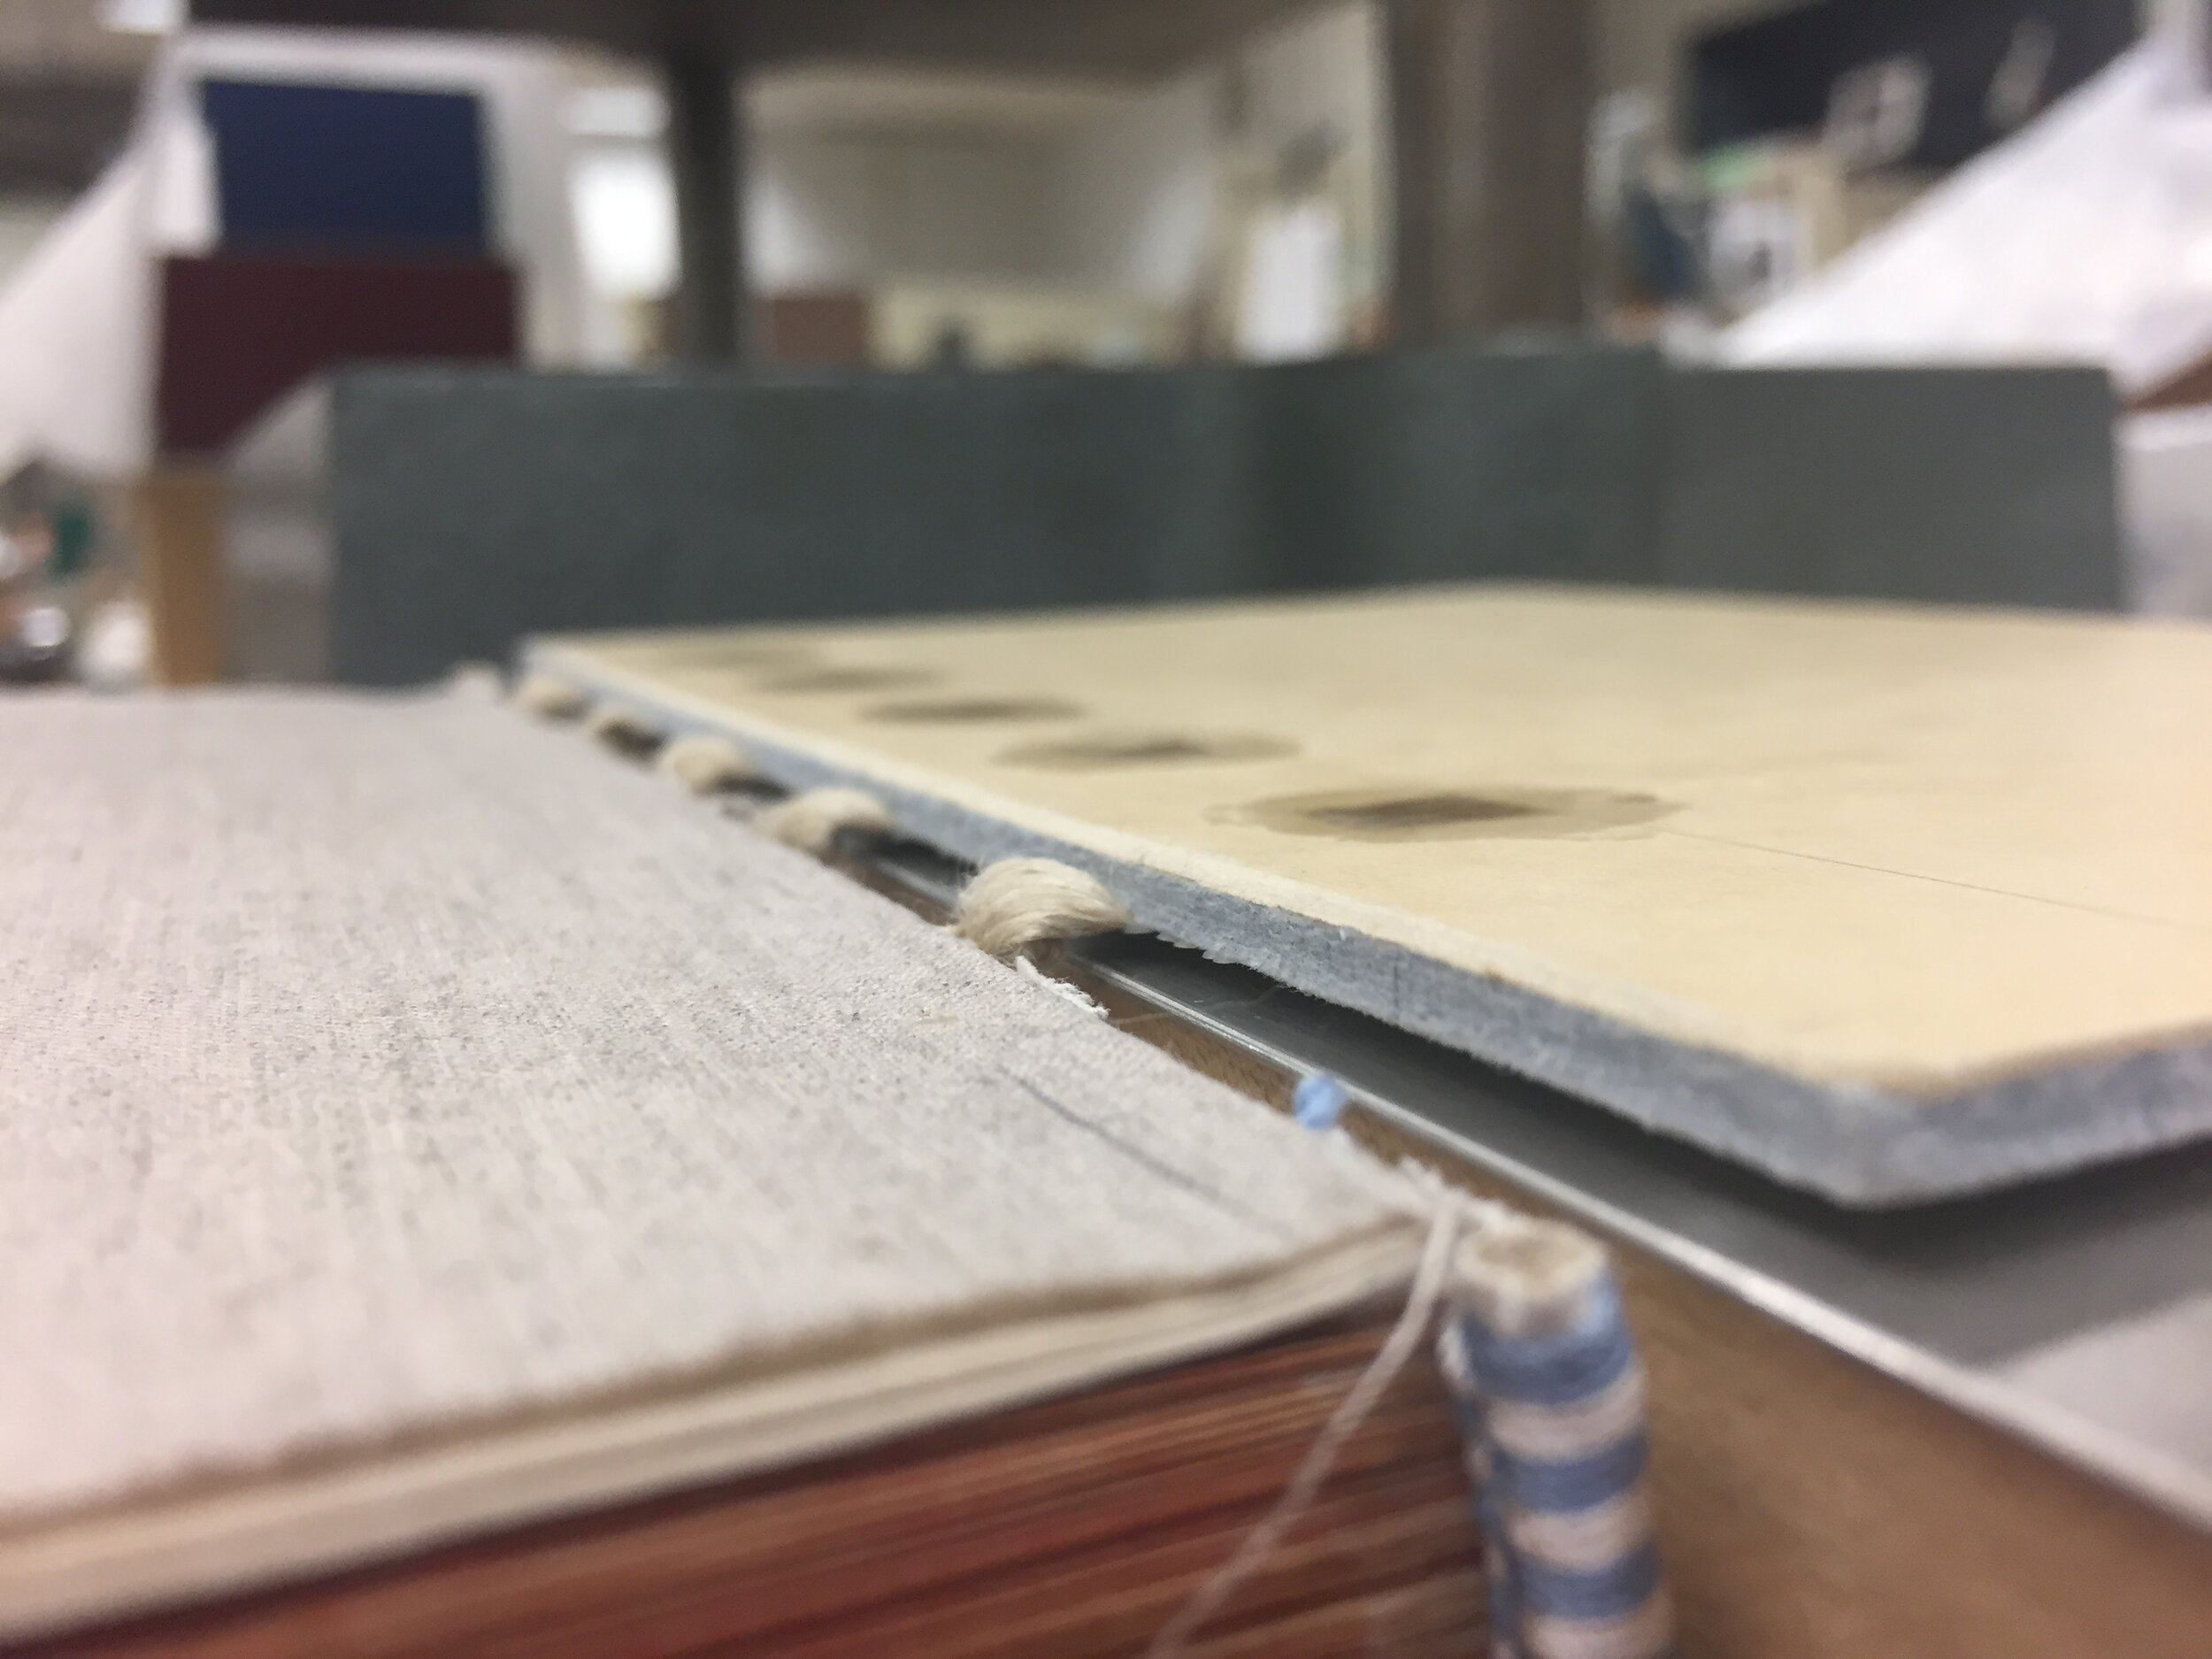
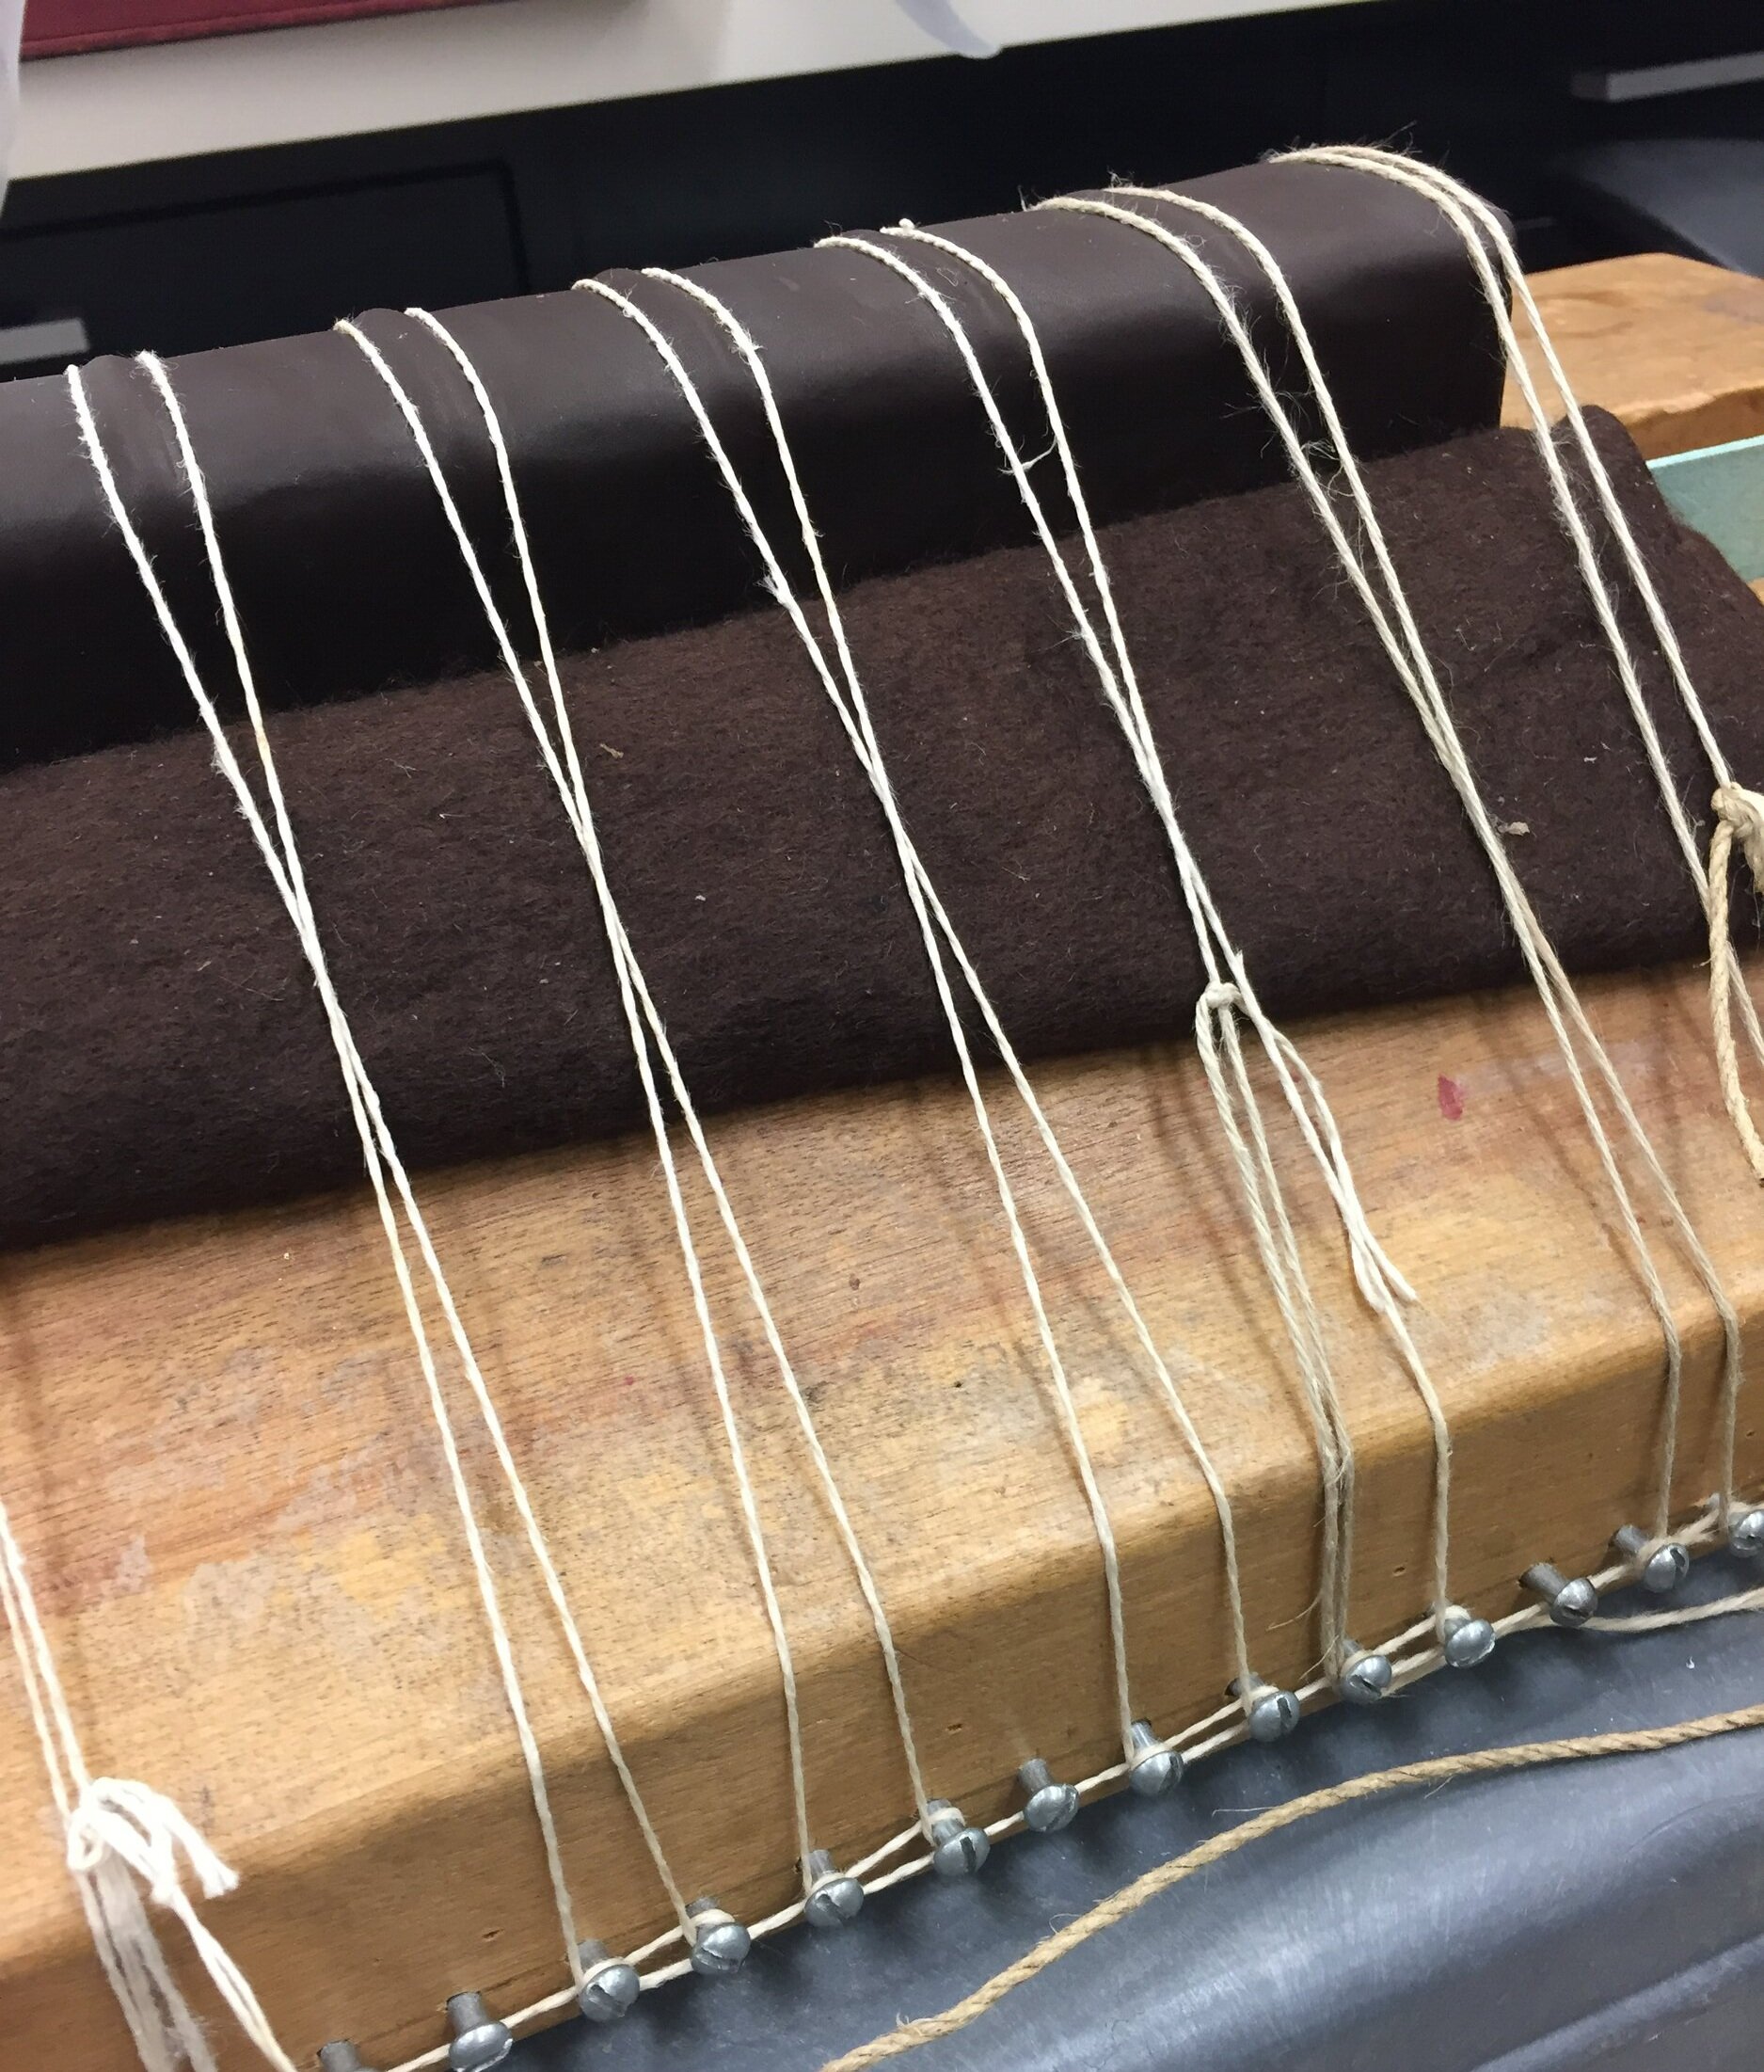
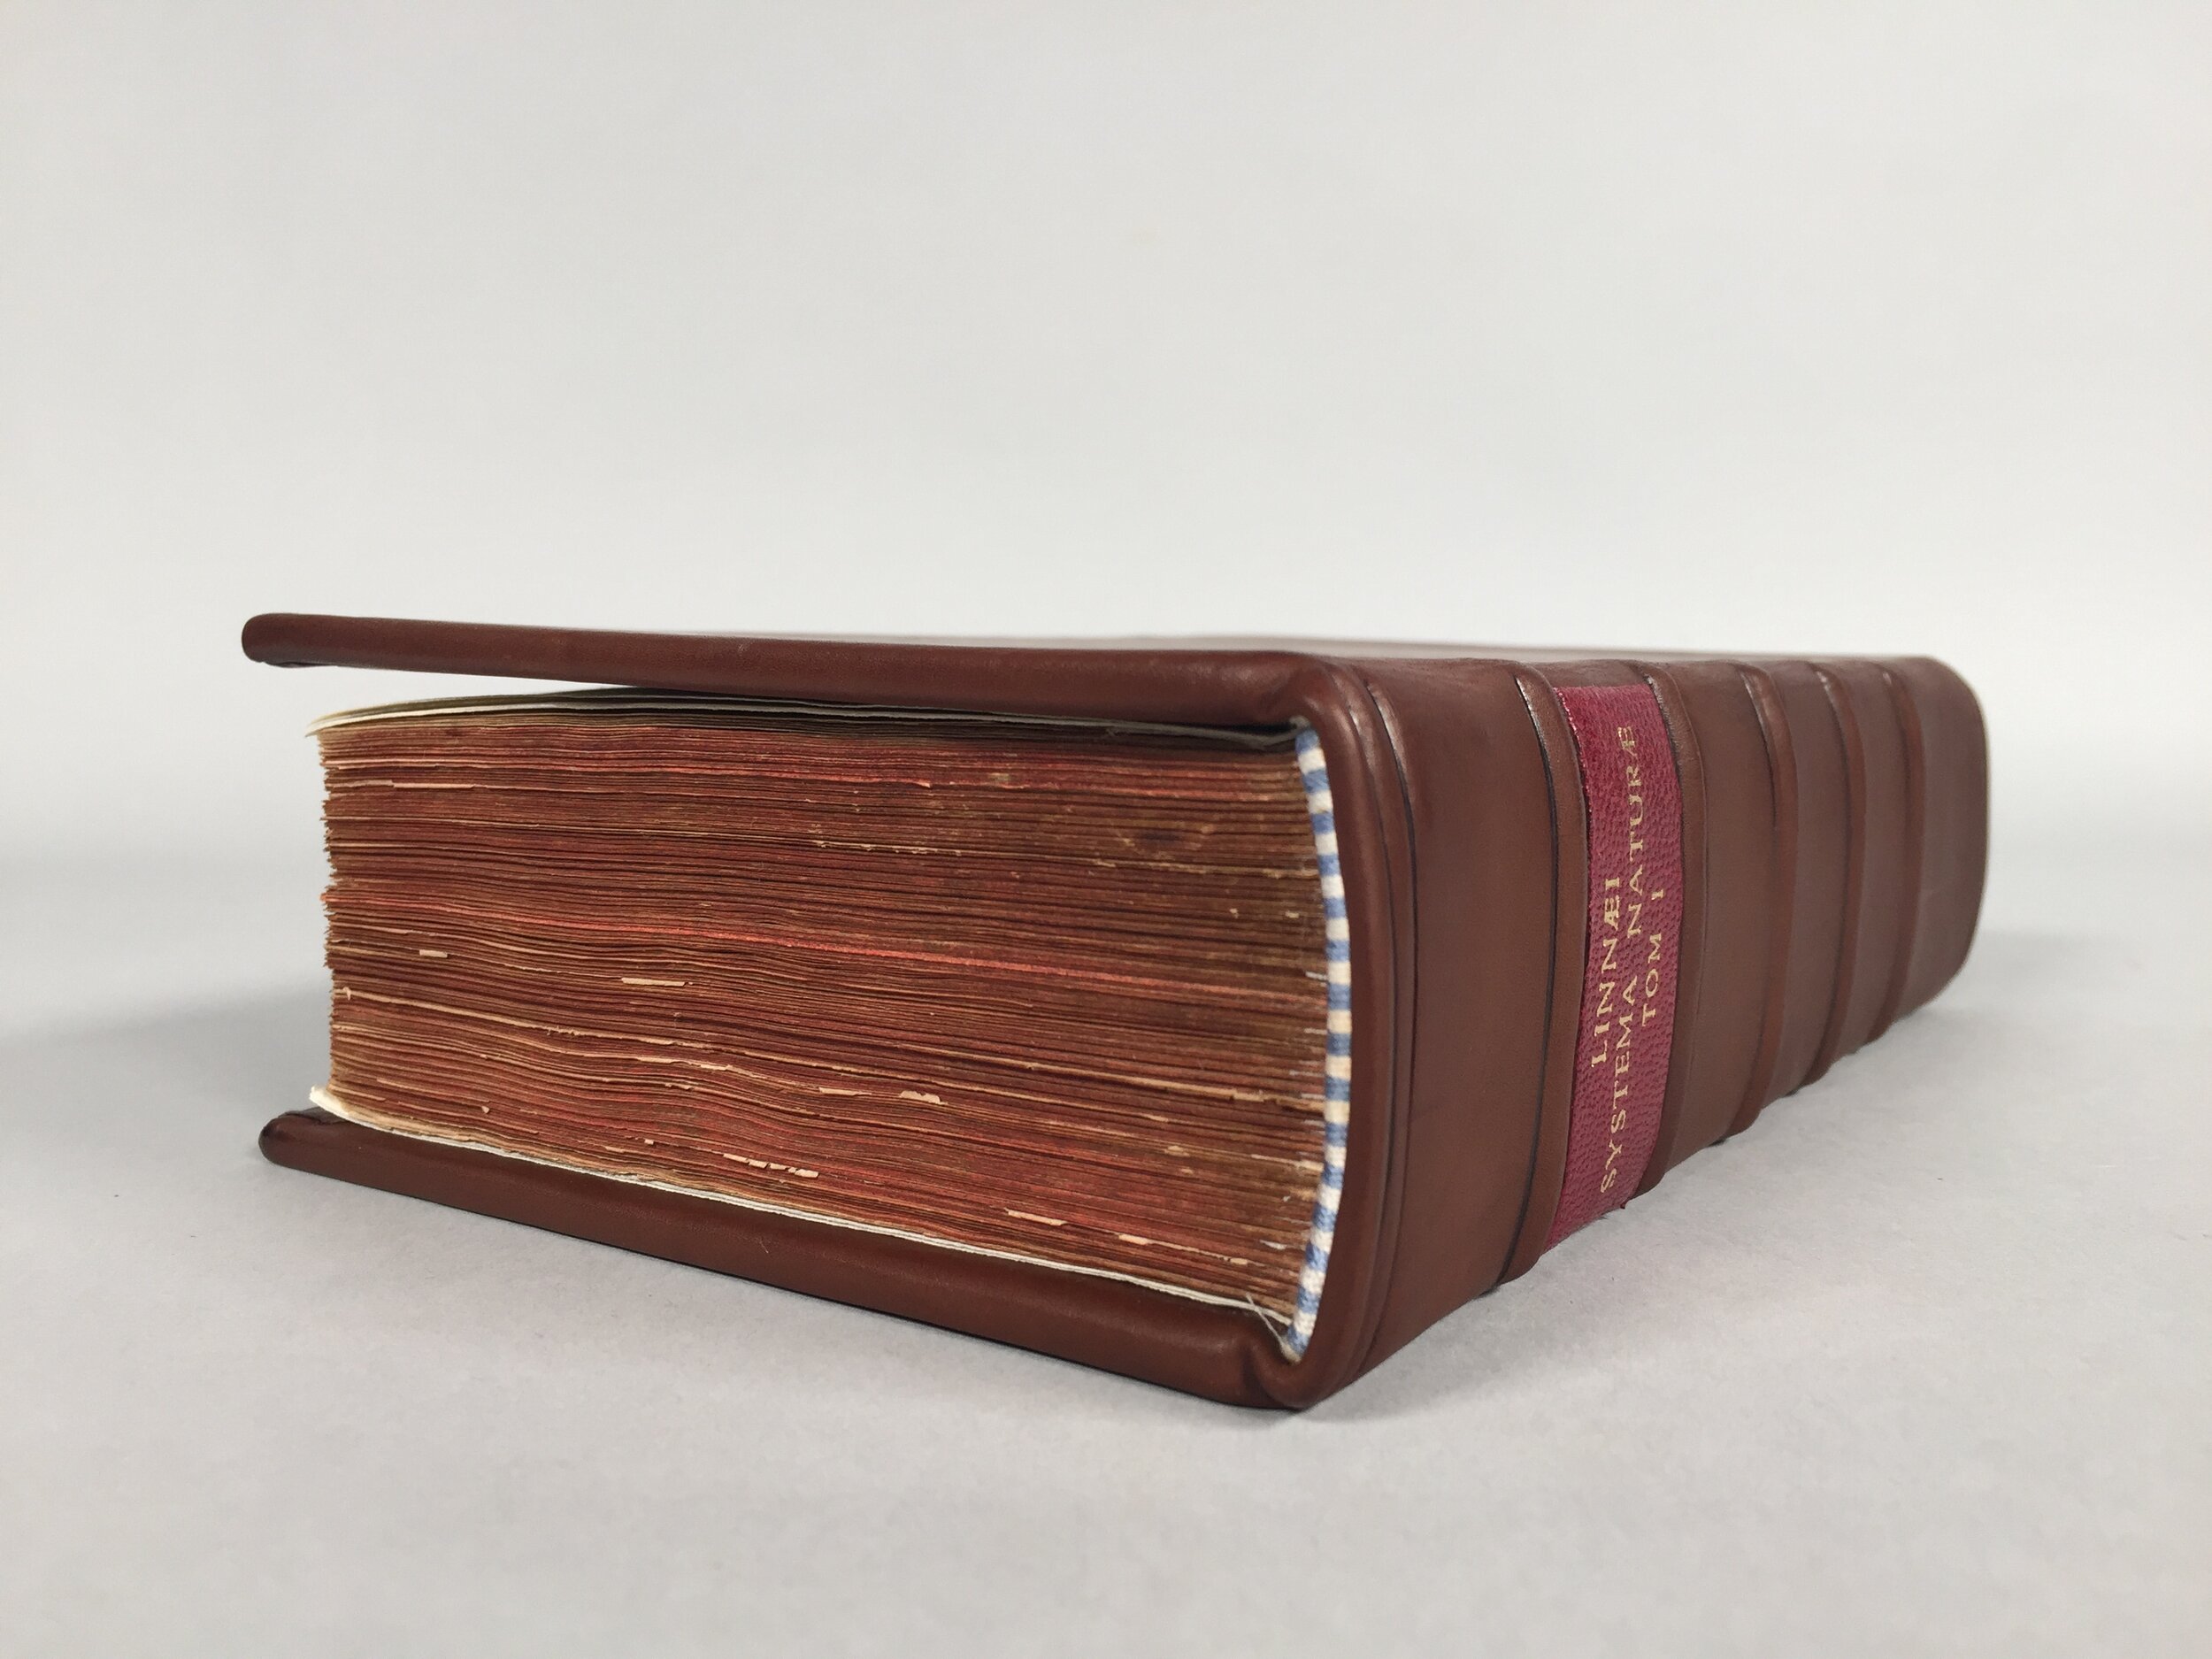
I used a traditional sewing frame to resew the textblock on 5 single linen cord supports using 35/3 thread. I double packed the first and last 10 section of the textblock, and all other sections were abbreviated-sewn two-on to avoid additional swell. Once the sewing was complete, the spine was pasted and aligned in the jobbacker to allow for a natural round. The textblock was not backed with a hammer. The spine was lined between the cords with kozo and wheat starch paste. I sewed made-endbands off the book using blue and white button silk thread in front-bead pattern on a cord core and airline linen support. These endbands were then adhered to the spine at the head and tail with a PVA/paste mix. Panels between the cords were then lined with additional linen to even the topography of the spine and stabilize the rounded conformation of the spine.
The new boards were composed of 3.0mm Eterno board laminated with a single sheet of 10-pt. board. I trimmed them just a millimeter higher than the endbands on the textblock and left the foreedge to be trimmed after the boards had been attached. The new boards were laced to the textblock using the cord supports on the spine. The cords were frayed out using an awl and scalpel and then threaded through a channel cut into the board to accommodate the thickness of the frayed cord. The cord was threaded from the exterior of the board to the interior, where a second channel was chiseled to allow the thickness of the cord to sit planar with the board. The ends of the cord were cut to fit the channels and PVA fed into the cords and pressed to create an even surface after drying. I then trimmed the fore edge on the boards and used a sanding stick to add a slight bevel to all the board edges.
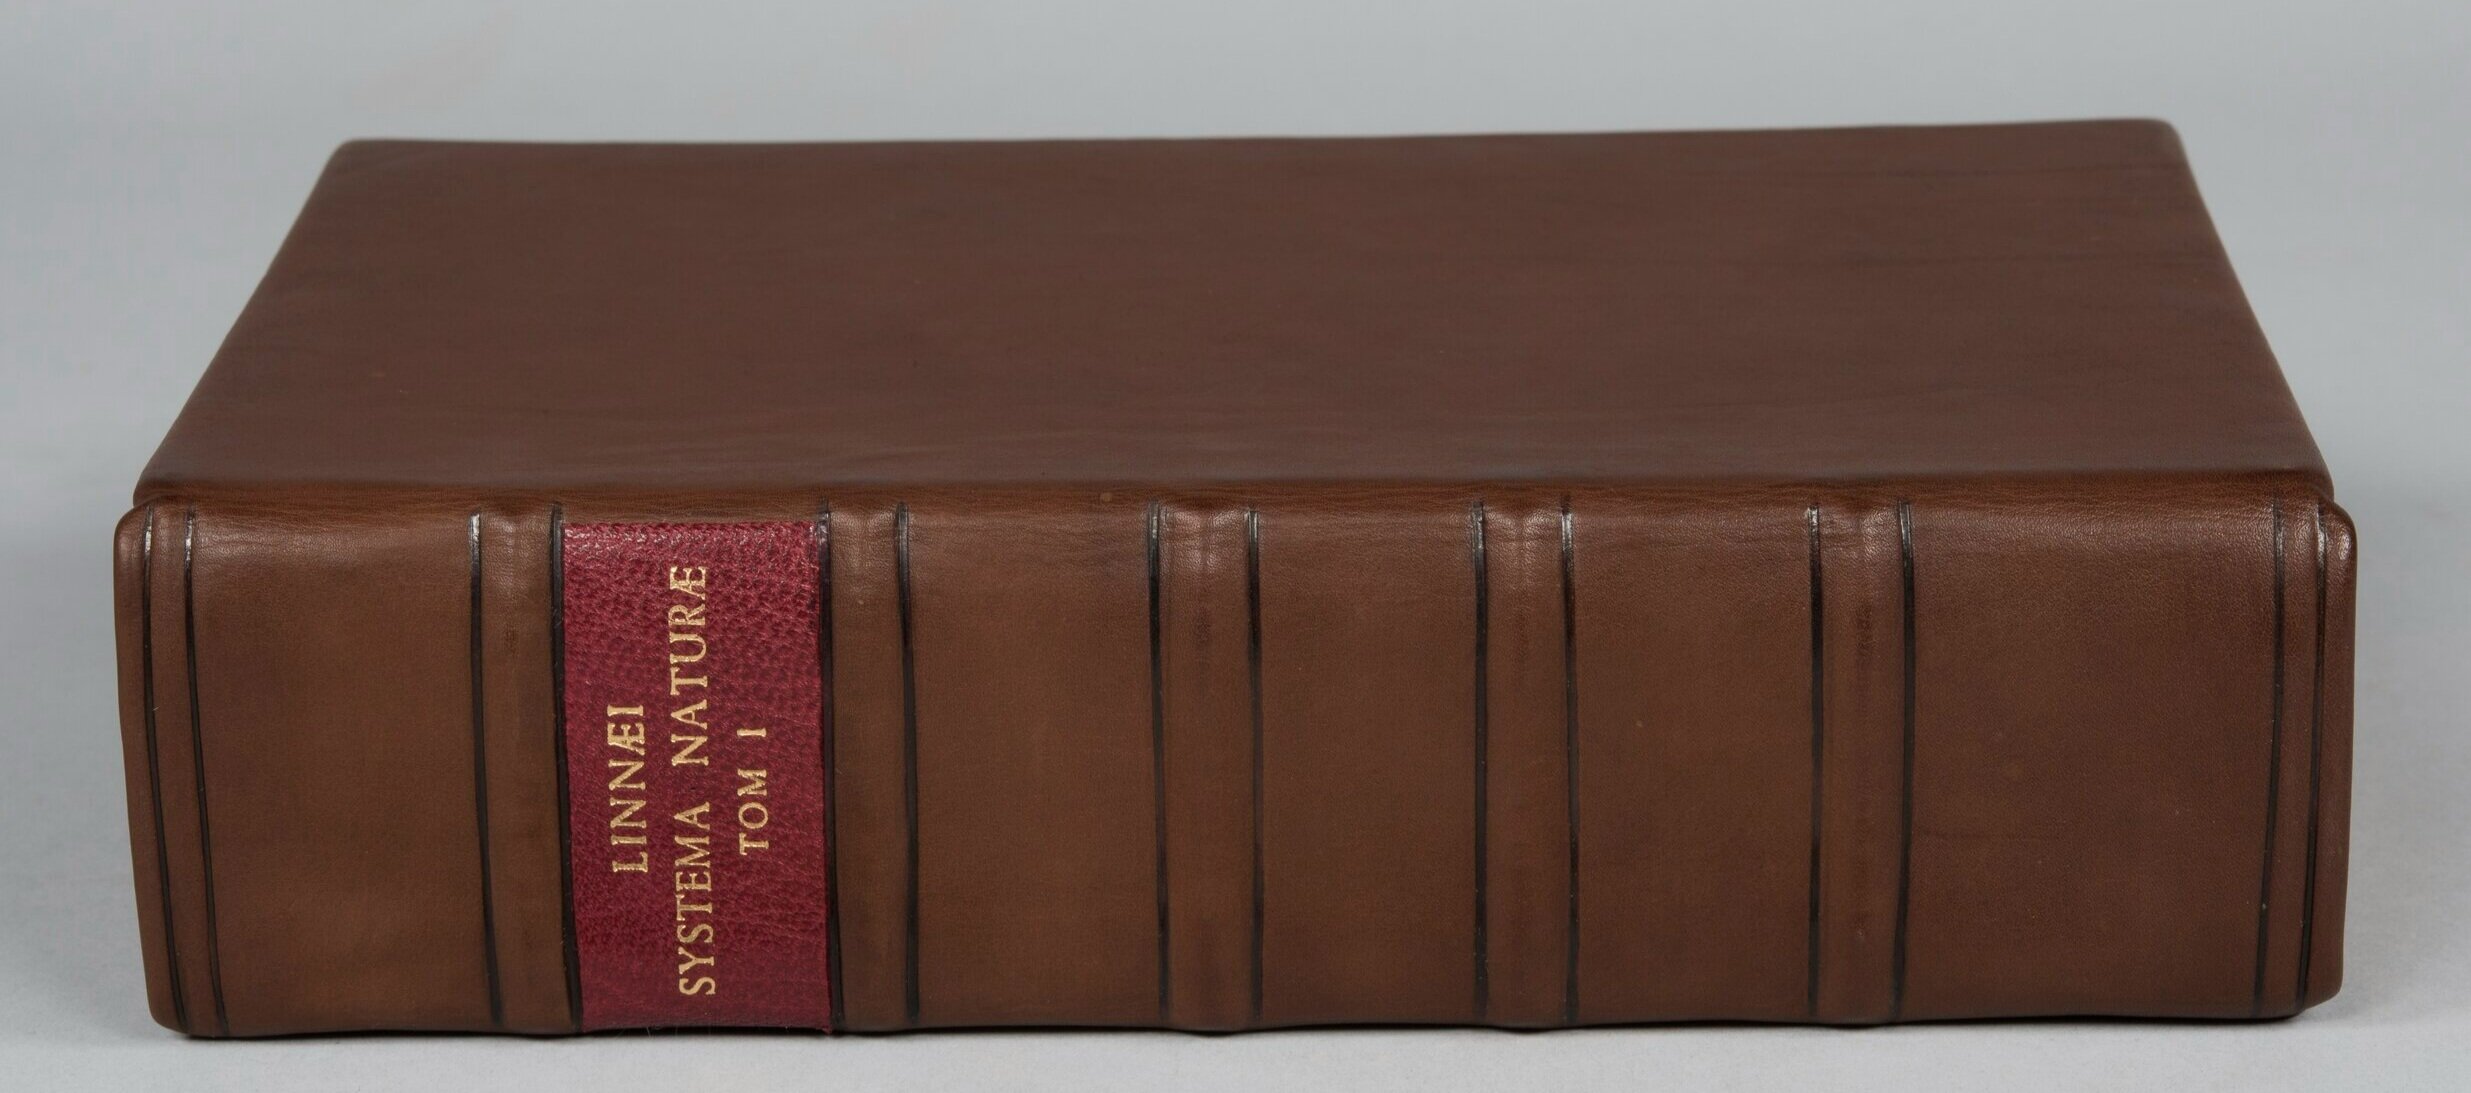
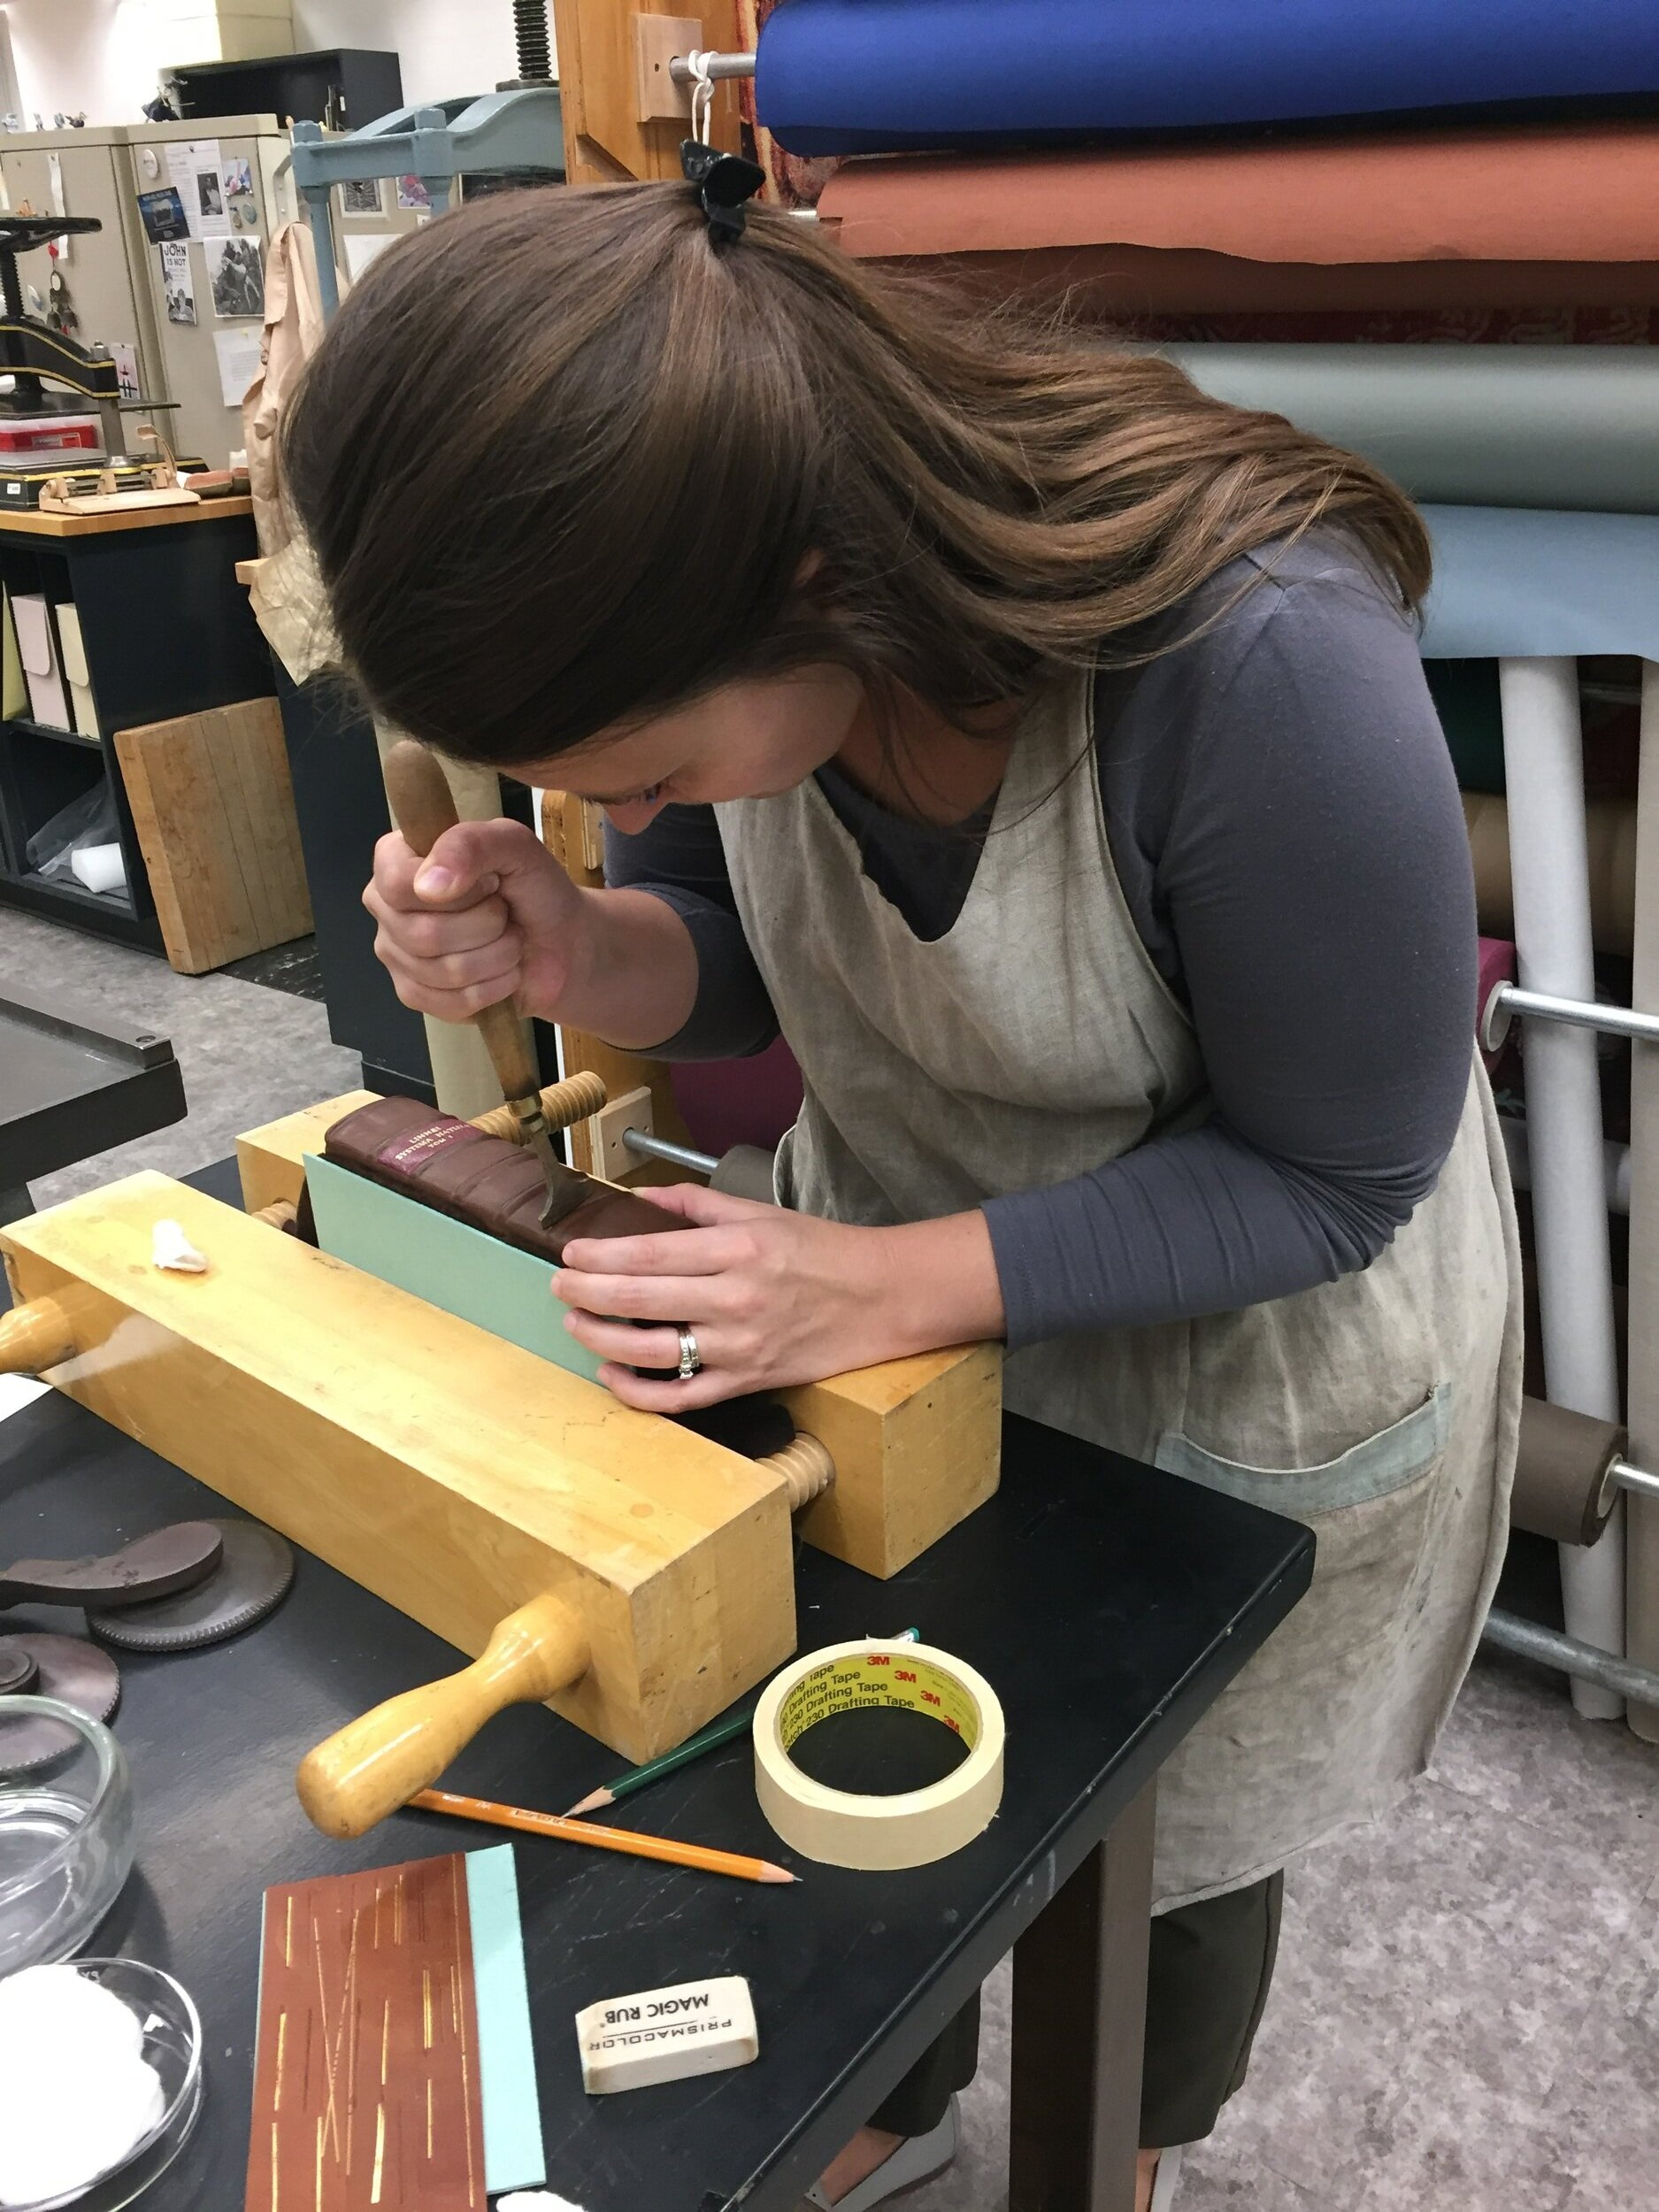
I then covered the book with a toned brown calfskin that I dyed using Seloset leather dyes. The leather was edge-pared and thinned with a modified spokeshave and French paring knife. The leather was applied to the book after being dampened with water and several rounds of paste application. The skin was first centered and stretched over the spine, worked over the board faces while in the press, and then removed to complete the turn-ins and corners. All the work had to be completed while the leather remained wet. The book was then placed in a press, tied up to work the leather into the raised cords, and left to try overnight.
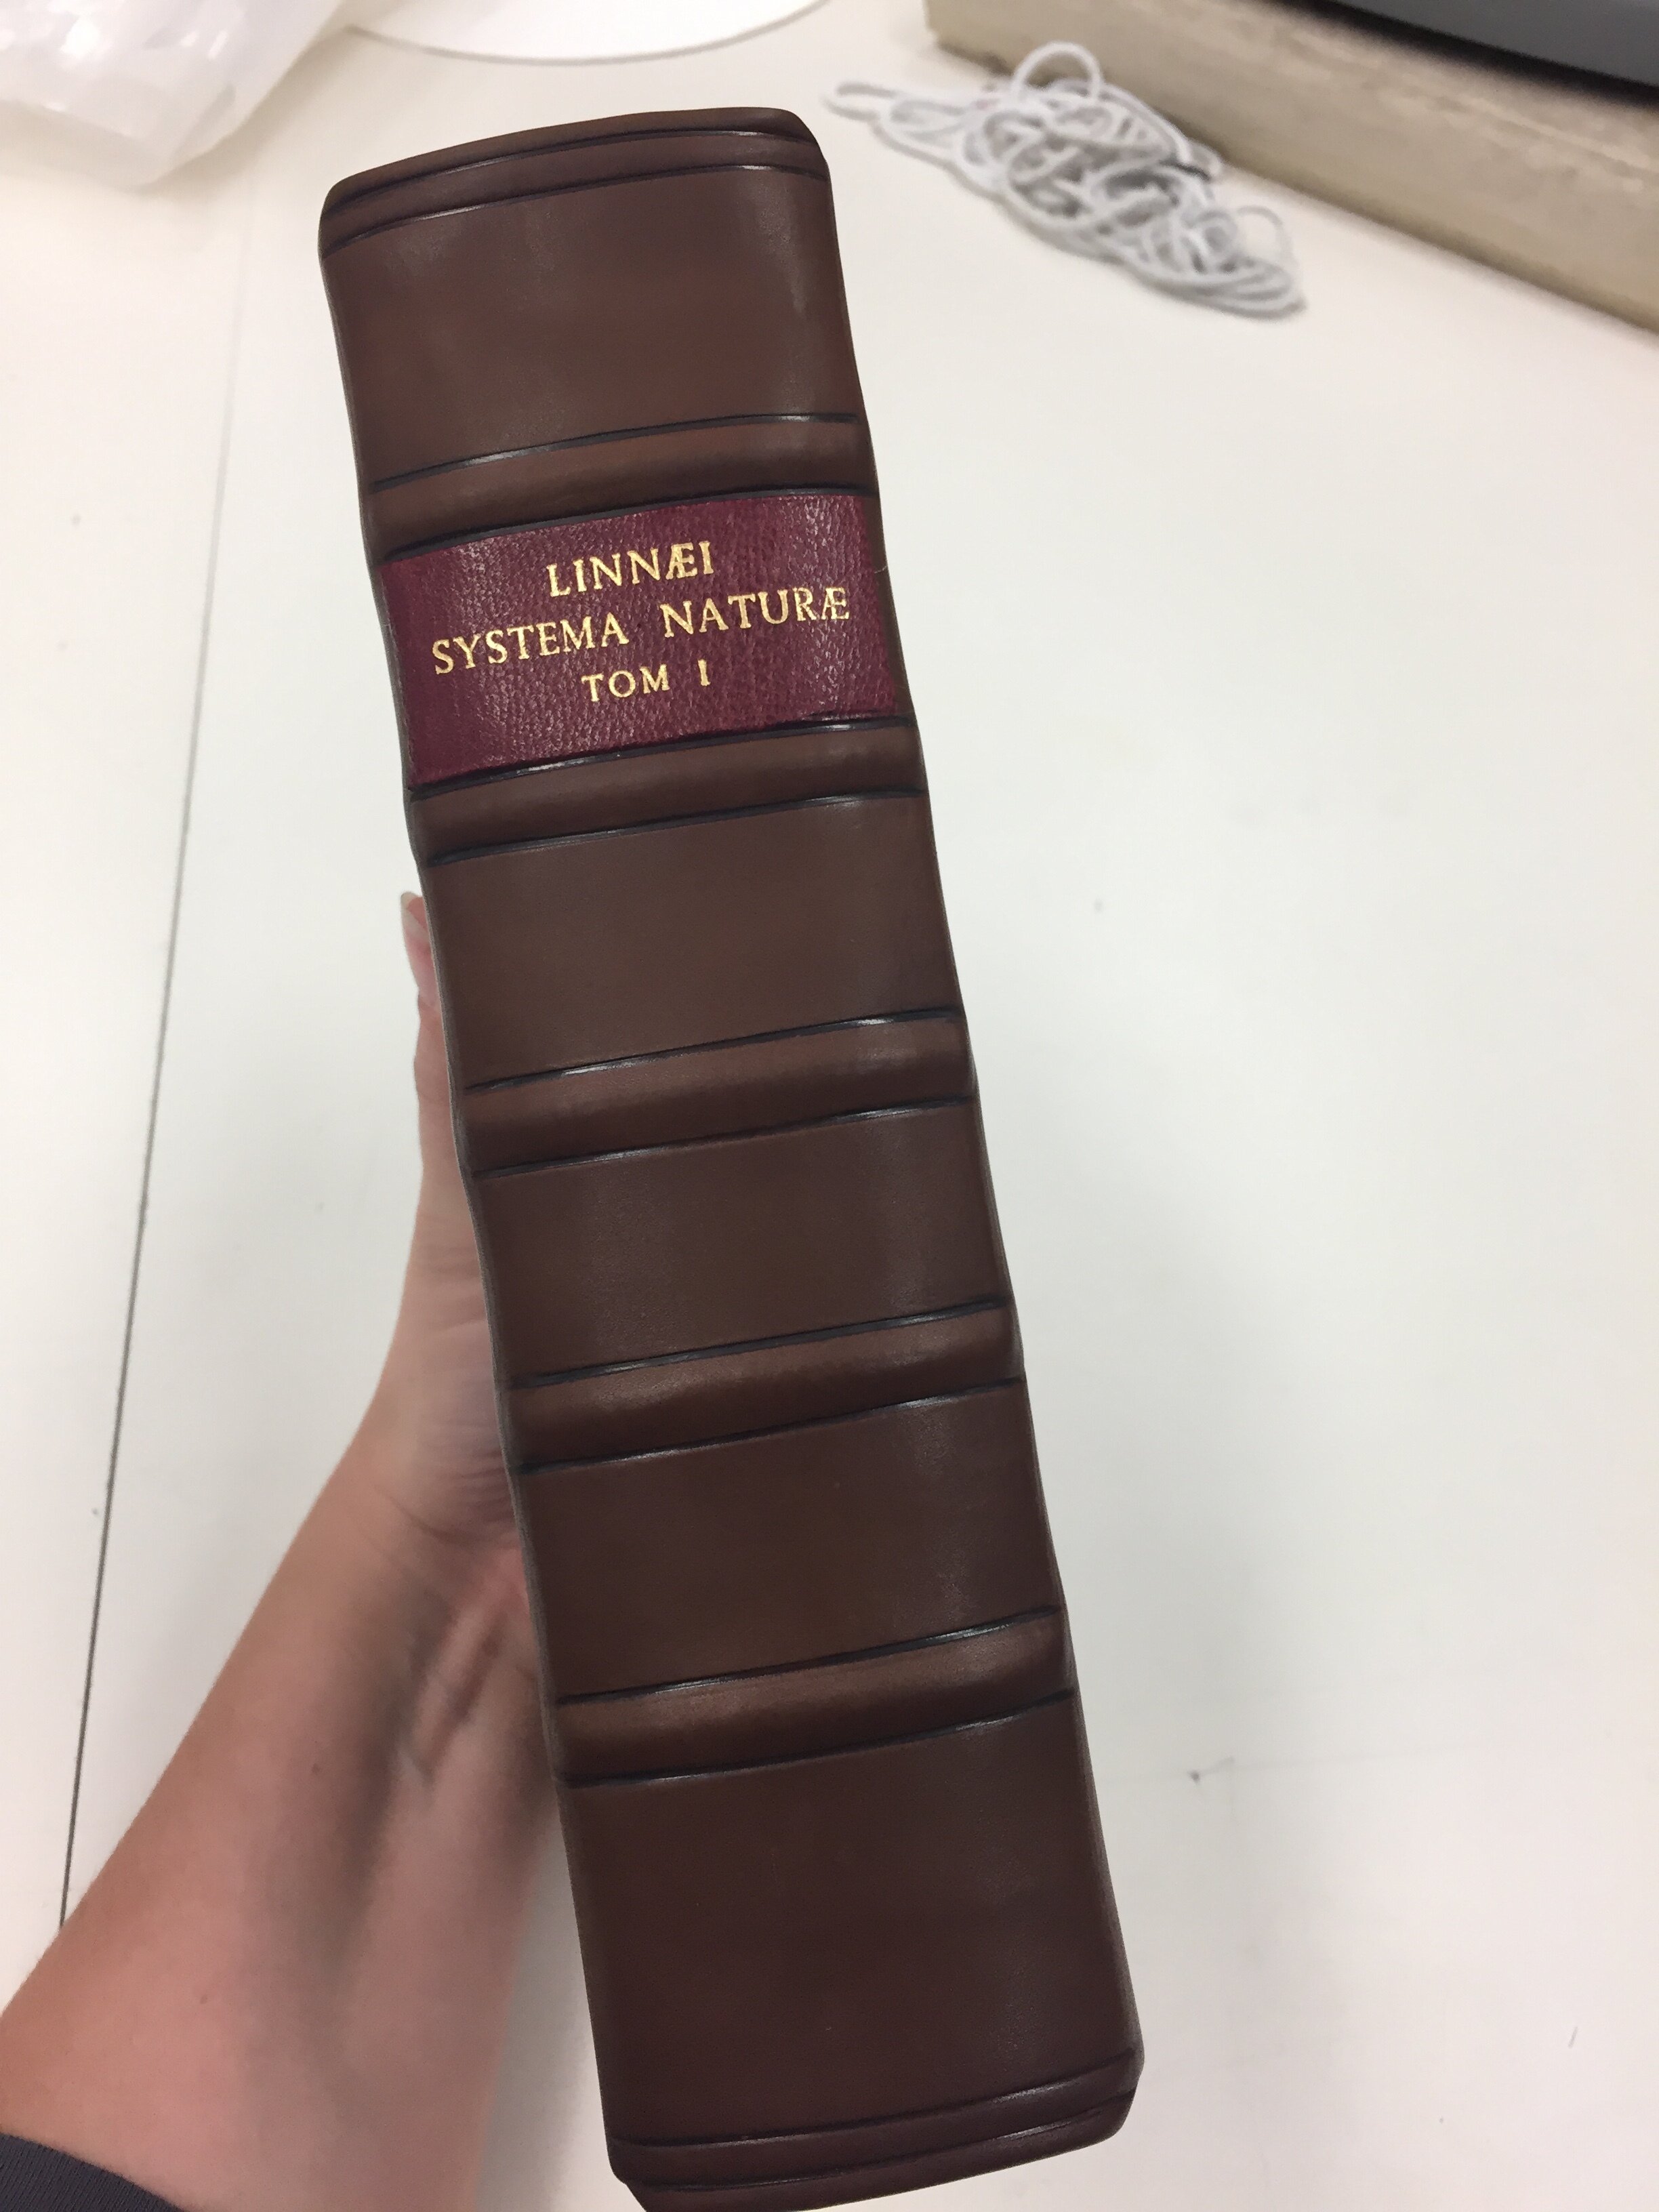
The book was finished with a maroon goat skin label. I pressed the skin while damp to flatten the grain, thinned the skin with a Schar-fix machine and lined the back with kozo. I stamped the title on the goat skin using the German Pragnant machine using gold foil. And finally I used hand tools to blind tool lines along the cords and title panel.
The treatment was completed on August 23, 2018. It was a fantastic learning experience for myself as an intern, and I featured it in my Graduate presentation that fall. The conservation team at the Library of Congress is a true treasure, and helped me greatly transition from student to conservator. You should definitely check out their website- they always have fantastic pieces to work on (as you can imagine!) https://www.loc.gov/preservation/conservators.
Thanks for reading! Skol!